Table of Contents
Advertisement
Quick Links
Quick Start Guide
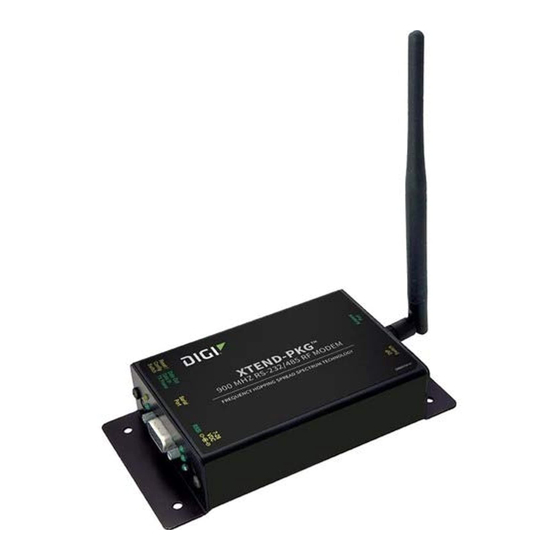
XTend-PKG-R™
RS-232/422/485 RF Modem
Create a Long Range Wireless Link In Minutes.
Connect Hardware
To install the modem and test its range, you need:
• 2 XTend RF Modems. The two XTend RF Modems are referred to as "Radio1" and "Radio2".
• Accessories (Loopback adapter, RS-232 cable, 2 RPSMA antennas, 2 power supplies)
• 1 Windows PC loaded with X-CTU Software
Hardware Setup
1. Set both Radio DIP Switches to RS-232, point-to-point modes. [Switches 1
and 5 are ON (up), and the remaining 4 switches are OFF (down)].
2. Connect the included RS-232 cable to the female DB-9 connector of
Radio1 and the male DB-9 connector of the PC.
3. Attach the serial loopback adapter to the female DB-9 connector of Radio2.
(The serial loopback adapter configures Radio2 to function as a repeater by
looping data back into the module for retransmission, as shown.)
4. Attach RPSMA antennas to each RF modem.
5. Power Radio1 & Radio2 through their respective power connectors.
Host PC
RS-232 cable
WARNING: When operating with 1 Watt power output, transmitting in close
proximity of other RF modems can damage modem front-ends. Observe a
minimum separation distance of 2' (0.6 m) between RF modems.
Install Software
Go to the X-CTU Software page at www.digi.com/xctu and launch the latest X-CTU installer.
Follow the prompts on the installation screens.
• PC Settings: Set up PC serial com ports to interface with the RF modem
• Range Test: Test RF modem's range under varying conditions
• Terminal: Read/Set RF modem parameters and monitor data communications
• Modem Configuration: Read/Set RF modem parameters
Radio1
RPSMA antennas
O
N
Radio2
(w/ loopback adapter)
1 2 3 4 5 6
Advertisement
Table of Contents

Related Manuals for Digi XTend-PKG-R


Summary of Contents for Digi XTend-PKG-R
- Page 1 2' (0.6 m) between RF modems. Install Software Go to the X-CTU Software page at www.digi.com/xctu and launch the latest X-CTU installer. Follow the prompts on the installation screens. • PC Settings: Set up PC serial com ports to interface with the RF modem •...
- Page 2 Con gure Serial Port-Modem Communications Configure a serial port to communicate with the modem: 1. Launch the X-CTU Software: Start > Programs > Digi > X-CTU On the PC Settings tab, from the dropdown list, select the PC serial Com port that will be used to connect to Radio 1.
- Page 3 (Office hours are 8am – 5pm U.S. mountain standard time) Phone: (801) 765-9885, Live Chat: www.digi.com, E-mail: tech.support@digi.com © Digi International Inc., 2013. Digi, Digi International, the Digi logo, and XTend are trademarks or registered trademarks of Digi International, Inc. 90000812-88 in the United States and other countries worldwide.
Need help?
Do you have a question about the XTend-PKG-R and is the answer not in the manual?
Questions and answers