Toyota Super SP200 Series Instruction Manual
Home-use sewing machine
Hide thumbs
Also See for Super SP200 Series:
- Instruction manual (52 pages) ,
- Instruction manual (55 pages) ,
- Quick instructions (16 pages)
Table of Contents
Advertisement
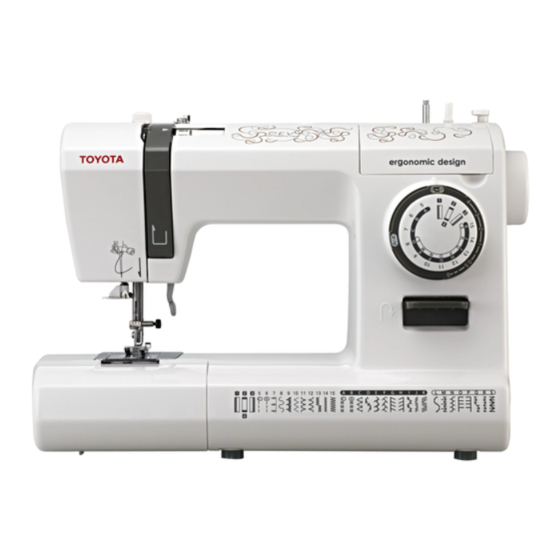
SP200 Series
Serie SP200
HOME-USE SEWING MACHINE
MÁQUINA DE COSER DE USO DOMÉSTICO
INSTRUCTION
MANUAL
MANUAL DE
INSTRUCCIONES
Read this manual carefully before use and always follow the
EN
instructions.
Keep the manual in a convenient place for easy reference.
P2 ~
If you give the sewing machine to someone else, also give
them this instruction manual.
Lea este manual detenidamente antes de utilizarla y siga
ES
siempre las instrucciones.
Guarde el manual en un lugar conveniente para poder
P64 ~
consultarlo.
Si le da la máquina de coser a otra persona, no olvide
entregarle también este manual de instrucciones.
Advertisement
Table of Contents


Need help?
Do you have a question about the Super SP200 Series and is the answer not in the manual?
Questions and answers