Sign In
Upload
Download
Add to my manuals
Delete from my manuals
Share
URL of this page:
HTML Link:
Bookmark this page
Add
Manual will be automatically added to "My Manuals"
Print this page
×
Bookmark added
×
Added to my manuals
Manuals
Brands
Makeblock Manuals
Robotics
mBot2
Instruction manual
Makeblock mBot2 Instruction Manual
Block coding
Hide thumbs
Also See for mBot2
:
Quick start manual
(31 pages)
1
Table Of Contents
2
3
4
5
6
7
8
9
10
11
12
13
14
15
16
17
18
19
20
21
22
page
of
22
Go
/
22
Contents
Table of Contents
Bookmarks
Advertisement
Quick Links
1
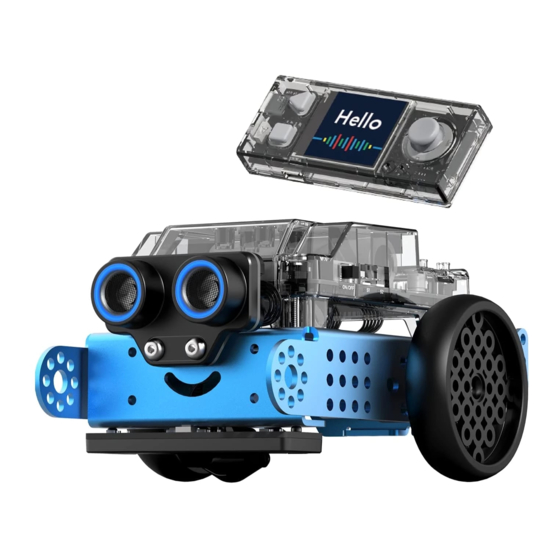
The Mbot2 Vehicle
2
B Introduction and Setup
3
C Our First Program - Hello
4
E Run the Motors
5
F Avoid or Seek
6
G Detect and Follow a Line
7
I Connect Servos, Sensors and Motors
Download this manual
MakeBlock mBot2 / CyberPi
Version 1.0
Feb 2022
1 |
P a g e
Digital Technology
Block Coding
Barry Butler
bbutl58@eq.edu.au
Table of
Contents
Previous
Page
Next
Page
1
2
3
4
5
Advertisement
Need help?
Do you have a question about the mBot2 and is the answer not in the manual?
Ask a question
Questions and answers
Related Manuals for Makeblock mBot2
Robotics Makeblock mBot2 Quick Start Manual
(31 pages)
Robotics Makeblock mBot Instruction Manual
Mbot add-on pack interactive light & sound (26 pages)
Robotics Makeblock mBot Manual
Robot kits (120 pages)
Robotics Makeblock mDrawBot Faqs
(9 pages)
Robotics Makeblock mScara User Manual
Selective compliance assembly robot arm (19 pages)
Robotics Makeblock mBot Ranger Basic Tutorial
3 in 1 robot kit with coding box, robotics coding kit for kids to learn scratch & arduino programming, stem educational building toys gift (46 pages)
Robotics Makeblock mBot Servo Pack Manual
(14 pages)
Robotics Makeblock mEggBot User Manual
(15 pages)
Robotics Makeblock mSpider User Manual
(15 pages)
Robotics Makeblock mScara-Laser Version User Manual
(19 pages)
Robotics Makeblock m Bot mega Quick Start Manual
(14 pages)
Robotics Makeblock mBot mega Quick Start Manual
(14 pages)
Robotics Makeblock mBot Neo Building Instructions
Coding robot for kids, ai learning robot support scratch & python programming (14 pages)
Robotics Makeblock mBot Ultimate 2.0 Getting Started
10 in 1 robot building toys, robotics kit app remote control robot toys compatible with arduino c & raspberry pi (3 pages)
Robotics Makeblock Codeybot User Manual
(8 pages)
Robotics Makeblock Starter Robot Kit Quick Manual
Robot tank; three-wheeled robot car; ir version (15 pages)
This manual is also suitable for:
Cyberpi
Save PDF
Print
Rename the bookmark
Delete bookmark?
Delete from my manuals?
Login
Sign In
OR
Sign in with Facebook
Sign in with Google
Upload manual
Upload from disk
Upload from URL


Need help?
Do you have a question about the mBot2 and is the answer not in the manual?
Questions and answers