Advertisement
Quick Links
After-sales services and technical support
damaged when you open the package, or if you need any technical support,
contact us for after-sales services through:
support@makeblock.com
(Service hours: �:��-��:�� & ��:��-��:�� from Monday to Friday)
www.makeblock.com
Quick S t art Guide
Manufactured by: Makeblock Co., Ltd.
Address: �th Floor, Building C�, Nanshan iPark, No.���� Xueyuan Avenue, Nanshan District, Shenzhen, Guangdong Province, China
D�.�.�_KD���������
Advertisement

Subscribe to Our Youtube Channel
Related Manuals for Makeblock m Bot mega


Summary of Contents for Makeblock m Bot mega
- Page 1 (Service hours: �:��-��:�� & ��:��-��:�� from Monday to Friday) www.makeblock.com Quick S t art Guide Manufactured by: Makeblock Co., Ltd. Address: �th Floor, Building C�, Nanshan iPark, No.���� Xueyuan Avenue, Nanshan District, Shenzhen, Guangdong Province, China D�.�.�_KD���������...
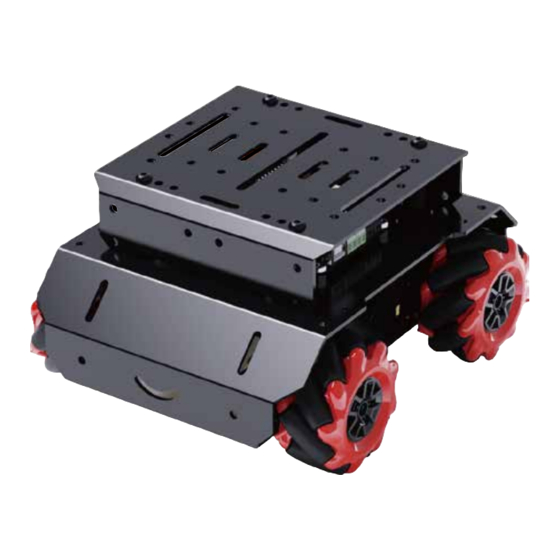
- Page 2 Parts List Body Shell x� Upper shell x� Motor Bracket x� Battery Holder Bracket x� Connector Bracket x� MegaPi x� Bluetooth Module x� DC Motor Driver x� DC Motor x� � AA Battery Holder x� IR Proximity Sensor x� Line Tracking Sensor x� Impact switch x�...
- Page 3 Install MegaPi onboard electronic module Motor Coupling x� � Pairs ��mm Mecanum wheel M�.�X��mm Screw x� Jumper wires x�(�pin) M�x�mm Screw x�� M�x��mm Screw x� M�x��mm Screw x� M� Nut x�� Plastic Spacer x�� Install the motor drive modules Install the Bluetooth module USB Cable x�...
- Page 4 Mount IR Proximity sensors to the body shell Mount MegaPi to the body shell ⚠If Plastic Spacer is not used, the metal case will short-circuit the electronic module. ⚠If Plastic Spacer is not used, the metal case will short-circuit the electronic module. Body Shell x�...
- Page 5 Mount RGB LED and impact switch to the motor bracket Mount DC motors to the motor bracket ⚠Please note the position of the electronic module and the mounting holes. Motor Bracket x� RGB LED x� DC Motor x� Impact switch x� M�x��mm Screw x�...
- Page 6 Mount Mecanum wheels to the motor bracket Mount Line tracking sensors to the connector bracket ⚠There are two kinds of Mecanum wheels, L and R, it should be as shown in the picture on ⚠If Plastic Spacer is not used, the metal case will short-circuit the electronic module. the right after installation(You can distinguish the wheels by the L, R mark on the inside of the Mecanum wheels and the direction of the roller) Connector Bracket x�...
- Page 7 Mount Connector bracket to the motor bracket ⚠Please note the up and down of the mount connector and the line-tracking sensor in the picture. Plastic Spacer x� M�x�mm Screw x� �� ��...
- Page 8 Bodyshell installation Mount IR proximity sensor to the Upper shell ⚠If Plastic Spacer is not used, the metal case will short-circuit the electronic module. Upper shell x� IR Proximity Sensor x� M� Nut x� Plastic Spacer x� M�x��mm Screw x� ��...
- Page 9 5V 5V GND RX2 TX2 A6 A7 A8 A9 A10 A1 1 A12 A14 A15...
-
Page 10: Module Location
Please refer to the figure below to connect the electronic module Module location ⚠If the Pins are connected in the wrong order, the electronic module may be damaged after ⚠If the motors or left and right wheels are connected in the wrong order, they will not move in the default direction. - Page 11 Connect the motor plug to MegaPi Upper shell installation ⚠If the DC motor terminals are not connected in the order shown in the figure, the vehicle will move in an abnormal direction. When the DC motors are connected in the correct order if the vehicle still moves in an abnormal direction when you are programming or remote-controlling it, you need to check again whether the position of the left and right Mecanum wheels is as shown in the right figure.
-
Page 12: Battery Holder Installation
Install the battery holder on the bracket Battery holder installation When the battery is low, the robot will not work properly. � AA Battery Holder x� M�x�mm Screw x� Battery Holder Bracket x� M�x�mm Screw x� �� ��... - Page 13 �. When swinging left and right in front of mBot Mega, the robot will move horizontally. �. When the left and right infrared proximity sensors are blocked at the same time,mBot Mega will move Search for "Makeblock" & "mBlock” in App Store backwards.
- Page 14 mBot Mega_说明书_D1.1.6_K Before connecting the Mega by the APP, please make sure that the GPS and Bluetooth are turned on and authorized to the APP. When the battery power is too low, there is a chance that it will lead to Bluetooth disconnection, and this will be more likely to happen in high-speed mode.
Need help?
Do you have a question about the m Bot mega and is the answer not in the manual?
Questions and answers