Advertisement
Quick Links
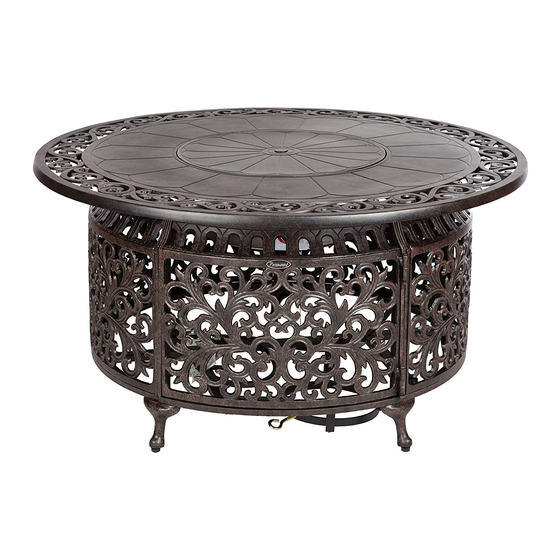
Sedona Cast Aluminum LPG Round Fire Pit
Before returning to your retailer, our Florida-based customer service is available.
Call toll-free (866) 985-7877
Email
Live chat
cservice@welltraveled.net
www.balkenehome.com 9 a.m. – 6 p.m., EST
Item#: 61168
WARNING
9 a.m. – 9 p.m., EST
1105
Advertisement

Related Manuals for Fire Sense 61168


Summary of Contents for Fire Sense 61168
- Page 1 Sedona Cast Aluminum LPG Round Fire Pit Item#: 61168 WARNING Before returning to your retailer, our Florida-based customer service is available. Call toll-free (866) 985-7877 9 a.m. – 9 p.m., EST Email cservice@welltraveled.net www.balkenehome.com 9 a.m. – 6 p.m., EST...
- Page 2 TABLE OF CONTENTS Table of Contents Page 2 Before You Begin Page 2 Package Contents Page 3 Safety Information Page 4 Assembly Page 5-8 Operating Instructions Pages 9-12 Conversion to Natural Gas Pages 13-15 Care and Maintenance Page 16 Troubleshooting Page 17 Warranty Information Page 18...
-
Page 3: Package Contents
PACKAGE CONTENTS PART DESCRIPTION QUANTITY Table Top Table Feet Side Panel 1 Side Panel 2 Side Panel 3 Side Panel 4 Door Burner Bracket Burner Removable Burner Cover Gas Tank Support Protective Cover LPG Tank Cover Glass Beads Also required but not included: AAA Battery (install by unscrewing igniter button) HARDWARE CONTENTS Stud 8x45mm... - Page 5 ASSEMBLY ASSEMBLY PREPARATION Before beginning assembly, be sure to empty contents of carton and make sure all parts are present. If any parts are missing, please contact Customer Service at (866)-985-7877, Monday-Friday, 9 a.m. - 9 p.m. EST or email at cservice@welltraveled.net. Place all parts on a soft, level surface for assembly.
- Page 6 ASSEMBLY Locate the Table Feet . Align the holes in the Table Feet with the holes in the Side Panels. Insert Bolt through Washer then insert Bolt/Washer through holes. Slide Washer over Bolt end, then slide on Spring Washer , and secure with Nut .
- Page 7 ASSEMBLY Attach the Burner Bracket holes in the Burner Bracket panels. Then insert Bolt through Washer , and insert Bolt/ Washer through holes. Slide Washer over Bolt end, then slide on Spring Washer , and secure with Nut . Use Wrench secure.
- Page 8 ASSEMBLY Put the Removable Burner Cover on the Burner. When the COMPLETELY, cover it with the Protective Cover . DO NOT PUT THE PROTECTIVE FIRE PIT COVER ON A HOT FIRE PIT. Connect hose and regulator to cylinder. The propane gas and cylinder are sold separately.
- Page 11 FOR YOUR SAFETY...
- Page 12 NOTE: If burner fails to remain lit, close all valves and wait at least 5 minutes before attempting to light. Figure A Figure B Figure...
- Page 16 Note: In a salt-air environment (such as near an ocean), corrosion occurs more quickly than normal. Frequently check for corroded areas and repair them promptly. Caution: before attempting service.
-
Page 17: Troubleshooting
TROUBLESHOOTING CORRECTIVE ACTION PROBLEM POSSIBLE CAUSE... - Page 18 an additional year Before returning –...
Need help?
Do you have a question about the 61168 and is the answer not in the manual?
Questions and answers