
Related Manuals for Pakedge WX-1


Summary of Contents for Pakedge WX-1
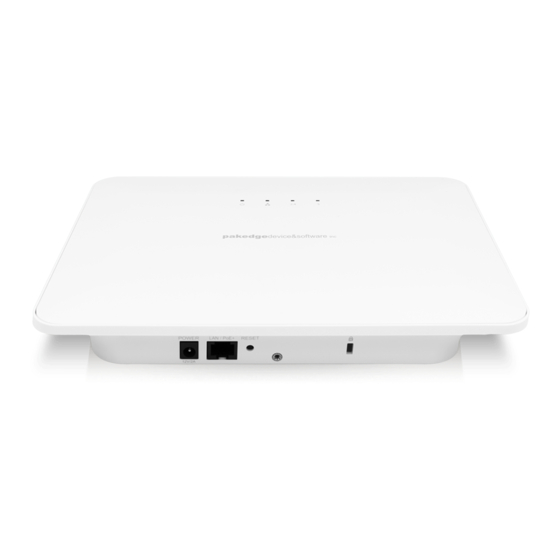
- Page 1 WX-1 802.11ac 3x3 Wireless AP with OvrC, Plenum Rated OvrC Enabled QUICK START GUIDE...
- Page 2 • Powered by PoE+ or 12V AC power adapter (included) • OvrC built in pkdge.co/wx1-ug • For more detailed instructions, refer to the WX-1 User Guide ( System requirements • Windows or Mac PC with an Ethernet interface Default settings and credentials •...
-
Page 3: Mounting Options
Mounting options Wall-mount bracket Security screw tab Mounting holes: A: Double-gang electrical wall box Security screw tab Horizontal mounting B: Single-gang electrical wall box, European outlet Vertical mounting box, U.S. 4” and 3.5” round juction boxes... - Page 4 1 Line the two tabs on the top of the wall bracket with the two pockets on the back of the access point. Slide the AP downwards to lock it in place, then secure it with a security screw.
- Page 5 Spacer To properly route the Ethernet cable to the AP, use the provided spacer. 1 Attach the wall bracket to the spacer. 2 Route the cable through the spacer. 3 Screw the assembled unit to the wall.
- Page 6 4 Attach the rectangular feet. 5 Line the two tabs on the top of the wall bracket with the two pockets on the back of the AP. Slide the AP downwards to lock it in place, then secure it with a security screw.
- Page 7 Use 25 mm screw when using T-bar bracket T-bar bracket spacer 1 Place the appropriate-size T-bar bracket into the slots on the back of the AP and line up the two holes on the T-bar bracket with the two mounting points T-bar bracket spacers (optional) on the back of the AP.
- Page 8 Powering up The access point can be powered by PoE+ or by the included power adapter. To power up the access point: 1 Connect power using a POE+ injector, a POE+ switch, or the included power adapter. The access point should now be up and running with its default settings. It does not need to be configured to be functional.
-
Page 9: Logging In To The Access Point
1 Connect a computer to the access point with an Ethernet cable. 2 Enter 192.168.1.250 into your web browser. You should see a login page. 3 In the username box, type pakedge. In the password box, type pakedgea, then click Log in. The Quick Setup page opens. - Page 10 Notes: • The Quick Setup page includes the most important configurations in one place, so you can save time configuring the network. • This page will display the first time you connect to the access point. After connecting, you can also access this page and the Wireless settings page from the dashboard.
- Page 11 Registering your device with OvrC OvrC gives you remote device management, real-time notifications, and intuitive customer management, right from your computer or mobile device. Setup is plug-and- play, with no port forwarding or DDNS address required. To add this device to your OvrC account: Mobile Access Point Apps...
-
Page 12: Technical Support
Technical Support For technical help: www.pakedge.com/portal support@pakedge.com (650) 385-8703 Find details of this product’s 3-Year Limited Warranty at snapav.com/warranty or request a paper copy from Customer Service at (866) 424-4489. Find other legal resources, such as regulatory notices and patent information, at snapav.com/legal...
Need help?
Do you have a question about the WX-1 and is the answer not in the manual?
Questions and answers