Advertisement
Advertisement
Table of Contents

Related Manuals for Pakedge WK-1


Summary of Contents for Pakedge WK-1
- Page 1 WK-1 802.11ac 2x2 Wireless AP with BakPak Lite BakPak Lite QUICK START GUIDE...
- Page 2 • BakPak Lite built in: Manage device from the standard BakPak interface (firmware v1.31 and later only) pkdge.co/wrx-ug • For more detailed instructions, refer to the WK-1 User Guide ( System requirements • Windows or Mac PC with an Ethernet interface Default settings and credentials •...
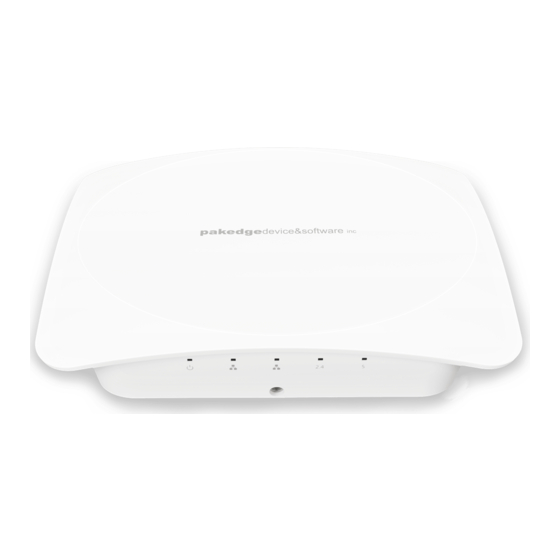
- Page 3 Powering up The access point can be powered by PoE+ or by the included power adapter. To power up the access point: 1 Connect power using a POE+ injector, a POE+ switch, or the included power adapter. The access point should now be up and running with its default settings. It does not need to be configured to be functional.
- Page 4 1 Connect a computer to the access point with an Ethernet cable. 2 Enter 192.168.1.250 into your web browser. You should see a login page. 3 In the username box, type pakedge. In the password box, type pakedgea, then click Log in. The Quick Setup page opens.
- Page 5 Notes: • The Quick Setup page includes the most important configurations in one place, so you can save time configuring the network. • This page will display the first time you connect to the access point. After connecting, you can also access this page and the Wireless settings page from the dashboard.
- Page 6 Registering your device with BakPak Lite You can connect your access point to your existing BakPak account or create a new account to manage all of your BakPak network management agents. To register your device to your BakPak account: 1 In the device’s Dashboard, click BakPak. The BakPak Registration page opens. 2 Follow the on-screen instructions to complete your device registration.
- Page 8 Technical Support For technical help: www.pakedge.com/portal support@pakedge.com (650) 385-8703 For regulatory information: www.pakedge.com/regulatory Latest version at pkdge.co/wk1-qsg 11734 S. Election Road Draper, UT 84020 Main: (650) 385-8700 Fax: (650) 685-5520 www.pakedge.com sales@pakedge.com QSG-A004-D 2018-10-25 MS ©2018 Control4. All rights reserved.
Need help?
Do you have a question about the WK-1 and is the answer not in the manual?
Questions and answers