Advertisement
Quick Links
Advertisement

Subscribe to Our Youtube Channel
Summary of Contents for Pakedge WA-2200-O
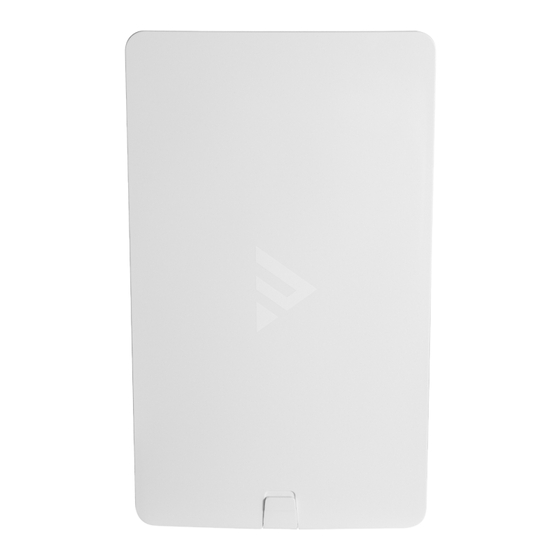
- Page 1 WA-2200-O, WA-2200-0-1 802.11ac 2x2 Wave 2 Access Point, Outdoor BakPak Lite QUICK START GUIDE...
- Page 2 WA-2200-O features • 802.11ac dual-band 2×2 wireless technology • Advanced Wave 2 wireless technology with MU-MIMO and beamforming • Powered by PoE+, with 2 Gigabit Ethernet ports • Single- to multi-AP cloud configuration with built-in BakPak Lite • Outdoor access point with UV protection material •...
- Page 3 Planning the wireless network For tips on planning your network and positioning the access points, see: pkdge.co/wirelessdesign • Wireless Design Guide at pkdge.co/ap-bp • Best Practices for Access Point Placement Guide at Wireless Design Placement Guide Guide...
-
Page 4: Mounting Options
Mounting options Attaching Ethernet port cover and security screw Security screw... - Page 5 Pole mount...
- Page 6 Wall mount...
- Page 7 Powering up The AP is powered by PoE+. To power up the access point: 1 Connect power using a PoE+ injector or switch (both sold separately). The access point should now be up and running with its default settings. It does not need to be configured to be functional.
- Page 8 To log in to the access point: 1 Connect the access point to your PoE+ switch or injector with an Ethernet cable. 2 Log in to your Pakedge router to find the IP address assigned to the access point under the DHCP Client Table.
- Page 9 5 Enter and verify a new username and password (required) before continuing, then click Apply to complete the setup. Caution: For international models, you must change the Country Code (a drop-down list defaulting to GB - United Kingdom), to the specific country of operation. Note: pkdge.co/wa2200-ug Refer to the user guide (...
- Page 10 Registering your device with BakPak Lite You can connect your access point to your existing BakPak account or create a new account to manage all of your BakPak network management agents. To register your device to your BakPak account: 1 In the device’s Connections tab, to the right of the “This product is not managed by BakPak”...
- Page 11 To begin managing and configuring the AP, you need to create a BakPak site for it. To create a BakPak site: 1 Log in to your BakPak account, then click Add Site to create a site. 2 In the Management Agent list, select the first WA-2200-O, complete the site information, then click OK.
- Page 12 Adding WA-2200 Series APs to the site After the BakPak site is created, the WA-2200-O will act as the “master AP” for adding more WA-2200 Series APs to the site. For the full multi-AP deployment guide, pkdge.co/wa2200-multi see To add APs and provision them with the existing configuration:...
- Page 13 3 Click OK. The APs are added to the site. 4 To apply the master AP’s settings to the new APs, in the BakPak site select the master AP, then complete the site information and click Save & Apply Multiple at the bottom.
-
Page 16: Technical Support
Technical Support For technical help: dealer.pakedge.com support@pakedge.com (650) 385-8703 For regulatory information: pkdge.co/regulatory Latest version at pkdge.co/wa2200o-qsg 11734 S. Election Road Draper, UT 84020 Main: (650) 385-8700 Fax: (650) 685-5520 www.pakedge.com sales@pakedge.com 200-00634-A 2019-07-12 MS ©2019 Control4. All rights reserved.


Need help?
Do you have a question about the WA-2200-O and is the answer not in the manual?
Questions and answers