Advertisement
Quick Links
INSTALLATION MANUAL
Applied Machines: AAJ1/AAJ3/AC4F; ACN2/ACN3
MFP: 26 ppm/24 ppm/22 ppm/21 ppm/20 ppm
Product Code: 266i/246i/226i; 225i/215i/205i
1. Pre-installation check items
■ General checks
• Refer to "Pre-installation check items" described
in the installation manual of the main body.
• Be sure to turn OFF the main power switch of
the main body and unplug the power cord before
starting the installation.
• Do not turn the power ON before the instruction.
■ Notice about this option
● Tools/jigs required for installation
• Cleaning pad
• Alcohol (isopropyl alcohol)
■ Notice about description contents of the
manual
• This manual provides the illustrations of the ac-
cessory parts and machine that may be slightly
different in shape from yours.
In that case, instead of the illustrations, use the
appearance of your machine to follow the instal-
lation procedure. This does not cause any signif-
icant change or problem with the procedure.
• If none of the later steps instruct you to use the
parts including screw and cover that you re-
moved following the instructions described in this
manual, discard them.
2019. 8 Printed in China
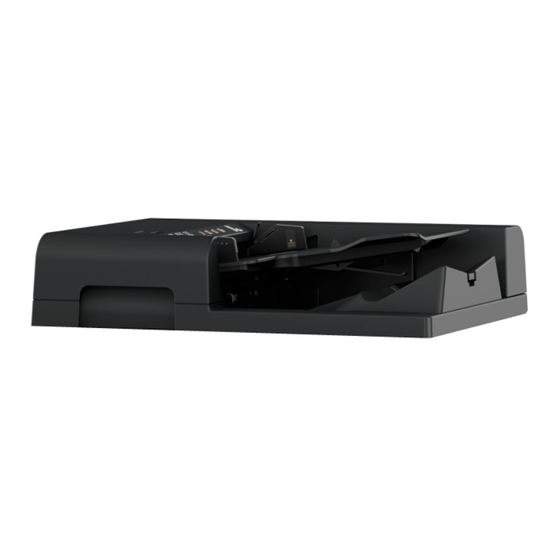
DF-633
Reverse Automatic Document Feeder
E-1
2. Accessory parts
No.
Name
1. Original mat
2. Chart
3. Shoulder screw
4. Installation
manual
WARNING
Keep this bag away from babies and chil-
dren. Do not use in cribs, beds, carriages,
or playpens.
The thin film may cling to nose and mouth
and prevent breathing. This bag is not a
toy.
Shape
Q'ty
1
1
1
1 set
AAJ4-9550-12
Advertisement

Related Manuals for Konica Minolta DF-633


Summary of Contents for Konica Minolta DF-633
- Page 1 DF-633 Reverse Automatic Document Feeder INSTALLATION MANUAL Applied Machines: AAJ1/AAJ3/AC4F; ACN2/ACN3 MFP: 26 ppm/24 ppm/22 ppm/21 ppm/20 ppm Product Code: 266i/246i/226i; 225i/215i/205i 1. Pre-installation check items 2. Accessory parts Name Shape Q’ty ■ General checks 1. Original mat • Refer to “Pre-installation check items” described in the installation manual of the main body.
-
Page 2: Installation Procedures
(4) Place the reverse automatic document feeder 3. Installation procedures (DF) in position. (1) Turn OFF the main power switch and unplug the power cord from the power outlet. (2) Unplug the connector of the power cord to the main body. (5) While raising the DF by applying a force up- ward at the position shown in the illustration, insert and tighten the supplied shoulder screw. - Page 3 (6) Remove the rear cover from the main body. (9) Connect the wire harness of the DF to the main (11 screws) body. <266i/246i/226i> <For models 266i/246i/226i> a) Insert the insertion part of the cable tie of the wire harness of the DF into the hole shown in the illustration.
- Page 4 <For models 225i/215i/205i> (10) Attach the harness fixing cover in the manner a) Insert the insertion part of the cable tie of the shown below to hold the DF wire harness in wire harness of the DF into the hole shown in place.
- Page 5 (11) Reinstall the rear cover to the main body. (11 (12) Plug the connector of the power cord to the screws) main body. Note: WARNING • Make sure that the harness fixing cover is not detached, and then attach the rear cover. Use the appropriate power cord.
-
Page 6: Adjustment Procedures
■ Adjusting DF skew 5. Adjustment procedures ● Measuring DF skew ■ Zoom ratio adjustment (For models 266i/246i/226i) (Only for models 266i/246i/226i) (1) Touch “ADF automatic adjustment.” (1) Display the Service Mode screen. (2) Touch “Skew Measurement.” (For details of how to display the Service Mode (3) Place the chart in the document feeding tray. - Page 7 (3) Load the test chart in the document feeding ● Adjusting DF skew tray and make 1-sided copy five consecutive (1) Open the DF top door. times. (Set the chart with the front side facing up, and the arrow pointing to the left when viewing from the front.) (2) While lifting the document feeding tray, remove the DF rear cover.
- Page 8 (4) The DF is shifted in the direction of the arrow, ■ Attaching the original mat and the position of the scale is adjusted. (1) Raise the DF. <For models 266i/246i/226i> • If the value of “Scale” on the screen is a positive number: A direction •...
- Page 9 (4) Clean the indicated location on the original mat (7) Gently raise the DF and press the original mat with the cleaning pad soaked with alcohol. up against the DF by hand so that it is affixed in position. (5) Align the original mat with its rear edge being 0.5 to 1.0 mm away from both FD and CD (8) Close the DF.
- Page 10 (6) Place the chart in the document feeding tray. Note: (Set the chart with the front side facing up, and If the values are out of the specified range, refer the arrow pointing to the left when viewing from to the service manual and make adjustments. the front.) ■...
- Page 11 (4) Make a full size copy in 2-SIDE → 2-SIDE ● Zoom ratio adjustment copy mode. (1) Display the Service Mode screen. Note: (For details of how to display the Service Mode When AD-509 is not installed, make a full size screen, see the service manual.) copy in 2-SIDE →...
- Page 12 ● Registration CD adjustment (Width B) ● Registration FD adjustment (Width A) (1) Display the Service Mode screen. (1) Display the Service Mode screen. (For details of how to display the Service Mode (For details of how to display the Service Mode screen, see the service manual.) screen, see the service manual.) (2) Press the [▼] or [▲] key to select “ADJUST”...
Need help?
Do you have a question about the DF-633 and is the answer not in the manual?
Questions and answers