Table of Contents
Advertisement
Owners Manual
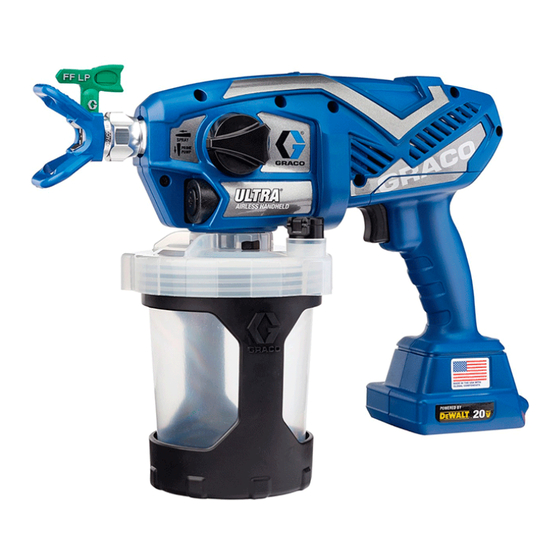
Cordless HandHeld
Airless Sprayers
Project Series Paint Sprayers
Important Safety Instructions
Read all warnings and instructions in this manual, and in related manuals, before
using the equipment. Be familiar with the controls and the proper usage of the
equipment. Save these instructions.
Important Medical Information
Read the medical alert card provided with the gun. It contains injection injury
treatment information for a doctor. Keep it with you when operating the equipment.
844-241-9499
For portable spray applications of water-based architectural paints and coatings only.
Not approved for use in explosive atmospheres or hazardous (classified) locations.
3A4749D
EN
Additional Manual
Languages
Advertisement
Table of Contents


Need help?
Do you have a question about the Project Series and is the answer not in the manual?
Questions and answers