Table of Contents
Advertisement
Quick Links
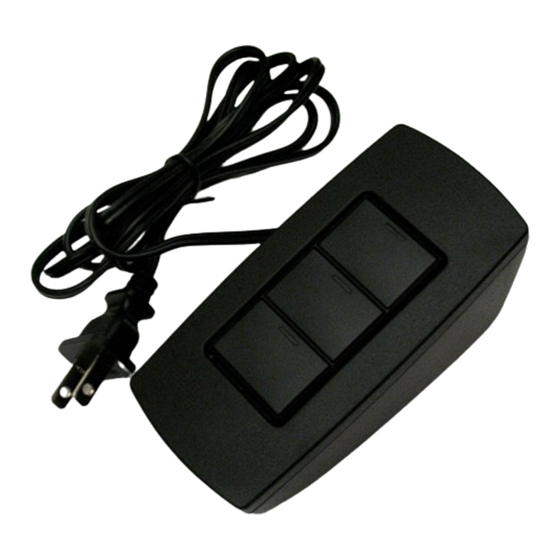
Keypad Tabletop Kit
C4-KPTK1-M-x
Installation Guide
Supported Model
C4-KPTK1-M-x Keypad Tabletop Kit
This kit can be used with any model of the Control4
2-Button, 3-Button, or 6-Button Keypad.
Box Contents
• Keypad tabletop base
• Keypad tabletop faceplate (connected to base
with two (2) screws)
• Three (3) wire nuts
• Keypad Tabletop Kit C4-KPTK1-M-x Installation
Guide (this document)
Installation Instructions
1
If installing a 3-Button or 6-Button Keypad and
you need to replace the keycaps, do it now.
Control4 offers standard engraved keycaps and
custom engraved keycaps (both sold separately)
so you can personalize 3-Button and 6-Button
Keypads.
Note:
Custom engraving is not available for
2-Button Keypads.
To replace keycaps:
a
Remove the black plastic sub-plate from the
multi-button keypad by removing the screw
at the top and bottom of the device.
b
Pinch both sides of the
keycap retainer at both
ends—working first at the
top, then the bottom—to
gently remove the retainer.
DO NOT pry the retainer off
with a screwdriver.
c
Remove the default keycaps
from the keycap retainer and replace each
one with the engraved keycap of your choice.
Be sure to place the LED at the top.
d
Carefully snap the retainer back into place,
taking care not to damage the retainer clips.
2
Ensure the keypad tabletop base is not plugged
in to a power outlet.
WARNING! Risk of Electrical Shock.
Disconnect the power supply before
making electrical connections. Contact with
components carrying hazardous voltage can
cause electrical shock and may result in severe
personal injury or death.
3
On the bottom of the
keypad tabletop base,
remove the screws and
then remove the faceplate.
4
Use the wire nuts provided to connect the
keypad wires to the keypad tabletop base as
indicated in the next table.
Advertisement
Table of Contents

Related Manuals for Control 4 C4-KPTK1-M Series


Summary of Contents for Control 4 C4-KPTK1-M Series
- Page 1 To replace keycaps: Remove the black plastic sub-plate from the multi-button keypad by removing the screw at the top and bottom of the device. Pinch both sides of the Keypad Tabletop Kit keycap retainer at both ends—working first at the C4-KPTK1-M-x top, then the bottom—to Installation Guide...
- Page 2 Plug the installed tabletop keypad into a power outlet in a convenient location, such as near a night stand or a table near the room entrance. Keypad Tabletop Kit Installation Guide Configure the device using Composer Pro. Regulatory Information Wireless Keypad Wires Wires Inside Keypad Industry Canada Statement Tabletop Base...
- Page 3 control4.com | ©2011 Control4. All rights reserved. Control4, the Control4 logo, the Control4 iQ logo and the Control4 certified logo are registered trademarks or trademarks of Control4 Corporation in the United States and/or other countries. All other names and brands may be claimed as the property of their respective owners.
Need help?
Do you have a question about the C4-KPTK1-M Series and is the answer not in the manual?
Questions and answers