Advertisement
Quick Links
Advertisement

Related Manuals for GT Laguna


Summary of Contents for GT Laguna
- Page 1 MODELS Laguna Palomar QUICK START GUIDE HARDTAIL RIM BRAKE...
- Page 2 Still have questions? GT rider support staff are ready to help you. Feel free to risk in many ways. Begin by reading the give ‘em a ring at (800) 245-3872 a great source of help is at your local GT retailer or other professional complete GT Bicycle Owner’s manual accompanying this bike and available bicycle retailer.
- Page 3 THE 4 MAJOR STEPS TO GETTING YOUR BIKE READY TO RIDE 1. INSTALL HANDLEBARS 2. INSTALL SEAT POST 3. INSTALL THE FRONT WHEEL 4. INSTALL PEDALS SETUP STEP 1 STEP 2 STEP 3 STEP 4 CONGRATS!
- Page 4 GETTING YOUR BIKE READY FOR ASSEMBLY TOOLS NEEDED + This video applies to assembling most GT hardtail mountain bikes equipped with rim brakes. • Pliers or Screwdriver • Philips head Screwdriver + First, open the box with a screwdriver. •...
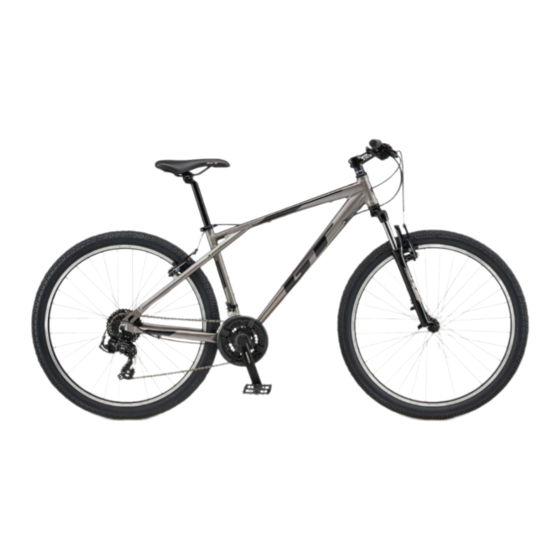
- Page 5 KEY PARTS OF THE BIKE REFERENCED IN THIS GUIDE SADDLE HANDLEBARS STEM SEATPOST FRONT AXLE SETUP STEP 1 STEP 2 STEP 3 STEP 4 CONGRATS!
- Page 6 STEP 1 INSTALL HANDLEBARS 1. Using the included Allen wrench, remove the bolts and the faceplate from the stem. The stem is what connects the handlebar to the fork. Set them aside together, so you don’t lose anything. 2. Insert the handlebar into the stem, and put the faceplate back on, loosely tightening one of the bolts.
- Page 7 STEP 2 INSTALL THE SEATPOST 1. Insert the seatpost into the frame. Locate the minimum insertion line on the seatpost. Insert the seatpost into the frame, taking care insert it beyond the minimum insertion line. Align the seat with the top tube. 2.
- Page 8 STEP 3 INSTALL THE FRONT WHEEL 1. First, make room for the tire by squeezing the brakes together and releasing the brake cable. This will spread them open to allow the tire to slide in easily. 2. In the parts box, you’ll find the quick-release skewer. The quick release has an adjusting nut, two springs, and the quick release lever.
- Page 9 STEP 3 INSTALL THE FRONT WHEEL 4. Roll the tire into the fork and set the fork dropouts down onto the axle. Ensure the quick-release lever is on the left-hand side of the bike. 5. If it’s too loose, open the quick release lever back up, tighten the adjusting nut more and then close the quick release lever again.
- Page 10 STEP 4 INSTALL PEDALS Pedals may or may not be included with your bike’s build. 1. Next, install the pedals. Locate the left and right stickers on the crank, and also on the pedals. 2. Screw the pedals in the direction of the front wheel. 3.
- Page 11 CONGRATULATONS! YOUR NEW GT BIKE IS NOW ASSEMBLED Before you ride, it’s important to perform a few pre-ride checks. 1. Double-check the tightness of your seatpost clamp and adjust if needed. You’ll know it’s tight enough when you have to push it firmly for it to close.
- Page 12 CONGRATULATONS! CONTINUED... 5. Double check that your quick release is tight. When you close the quick release lever it should leave a mark on your hand. 6. Make sure your reflectors are tight and positioned correctly. The rear must point straight back, and the front must be perpendicular to the ground.
- Page 13 OUR STORY Since 1972 GT Bicycles has proudly been developing bikes, for every type of rider, with a consistent mission. That mission is the same reason everybody throws a leg over their very first bike – pure fun, plain and simple. GT Bicycles remains true to...
Need help?
Do you have a question about the Laguna and is the answer not in the manual?
Questions and answers