
Related Manuals for Oasis Osmosis Home


Summary of Contents for Oasis Osmosis Home
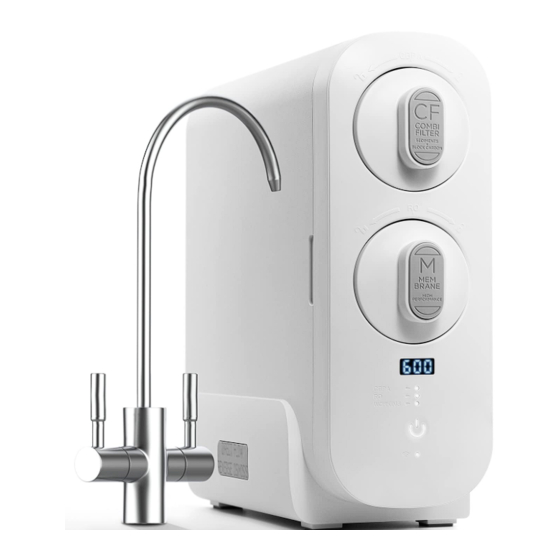
- Page 1 Congratulations on your new Oasis Osmosis Home RO system purchase! Let’s learn how to install it in just 30 minutes!
- Page 2 Required Tools: Adjustable wrench Screw driver Utility knife Variable speed drill Drill bit Flash light Towel...
- Page 3 Check the box to make sure you have all the components: System Housing x 1 set Power Cord x 1 Activated Carbon Block White 3/8” PE tubing Composite Filter x 1 White 2/8” PE tubing RO Membrane Composite Filter x 1 Mount washer and nut x 2 RO faucet x 1 Quick-connect fitting x 2...
- Page 4 Step 1 Install the feed water adapter...
- Page 5 Shut o the water supply and turn on the kitchen faucet to release pressure. Connect the feed water adapter to the cold-water valve. (A) Position the RO system housing under the sink. (B) Step 1...
- Page 6 Before you cut each of the 2 tubes in half, measure the distance needed for the tubing length to reach the osmosis system, faucet, and water intake port and feed water adapter to be sure that they can reach, according to your home setup. Cut the included 2 tubes in half (or di erent length, based on your measurement and setup).
- Page 7 Step 2 Install the RO Faucet...
- Page 8 Using a stainless steel suitable drill bit, drill a hole in the countertop large enough to fit the two small piping on the bottom of the faucet but small enough to allow support of the faucet base and ensuring it does not go through the hole.
- Page 9 Install the mounter washer and screw the nut on to the threaded tubing under the sink. (F) Insert the quick-connect fittings in the faucet stems. (G) Step 2...
- Page 10 Connect the tubing from the Water outlet port to the bigger quick-connect fitting on the faucet stem. (H) Connect the tubing from the Pure water nozzle port to the smaller quick-connect fitting on the faucet stem. (I) Step 2...
- Page 11 Step 3 Install the Drain saddle Drain saddle will be shipped separately.
- Page 12 Drill a quarter inch hole on the vertical drain pipe. (J) Separate the front and back plates of the drain saddle. (K) Step 3...
- Page 13 Take down the front plate and insert the tubing. (L) Attach the back plate to the drain pipe. (M) Step 3...
- Page 14 Tighten the screws evenly. (N) Connect the tubing from the Waste water port to the drain saddle. (O) Step 3...
- Page 15 Step 4 Plug in RO system...
- Page 16 Insert the power cord in power socket port (P) and in the wall power socket. (Q) Step 4...
- Page 17 Step 5 Insert filters...
- Page 18 Insert the filters, one at a time, being sure to match the filters to their correct filter holes. Push them in and then twist until you hear a clicking sound to confirm it is in place. (R) Step 5...
- Page 19 Step 6 Turn on the RO System...
- Page 20 Turn on the cold-water valve and feed water adapter. Turn on the tap water faucet and let it discharge for 10 minutes. (S) Turn on the pure water faucet. Press the power switch. (O) The RO system will start to run water and after an hour you’ll have fresh, clean water.
- Page 21 Pure water, better life.
Need help?
Do you have a question about the Osmosis Home and is the answer not in the manual?
Questions and answers