
Related Manuals for Oasis MAXXFILL PULSE


Summary of Contents for Oasis MAXXFILL PULSE
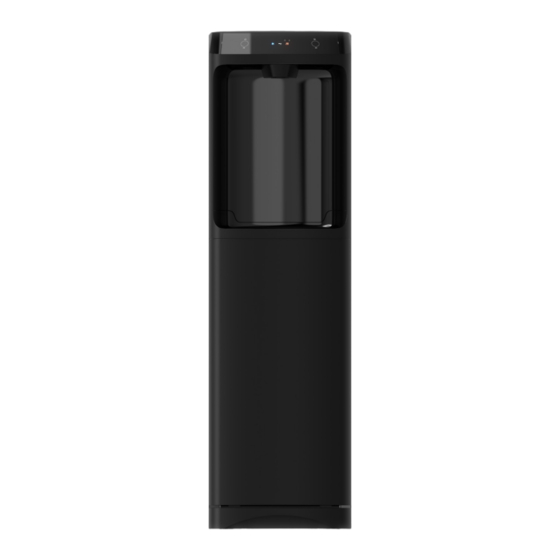
- Page 1 User Guide Please read this Instruction Manual before using your Water Dispenser ™ MAXXFILL PULSE CONTACTLESS POU HOT, COLD & ROOM TEMPERATURE WATER DISPENSER MODEL: P1CMPVHSK...
-
Page 2: Table Of Contents
TABLE OF CONTENTS IMPORTANT SAFEGUARDS pg 3 GROUNDING INSTRUCTIONS pg 3 TECHNICAL SPECIFICATIONS pg 4 PRODUCT DIAGRAM pg 4 INSTALLATION pg 5 OPERATION pg 5 PREPARING THE COOLER pg 7 INITIAL SET UP pg 8 ADDING FILTRATION pg 8 CLEANING AND MAINTENANCE pg 9 TROUBLESHOOTING pg 10... -
Page 3: Important Safeguards
Do not use an extension cord as it may overheat, increasing the risk of fire. • If the supply cord is damaged, contact Oasis or a qualified electrician to replace it before plugging it in. • Never turn the dispenser upside down. If the dispenser has been resting on its side for a long period of time, place the unit in the upright position for approximately 12 hours before using. -
Page 4: Technical Specifications
• Do not use an adapter plug with this appliance. TECHNICAL SPECIFICATIONS RATED VOLTAGE 115V - 60Hz HOT WATER/HR 1.07 GAL (4.05 L) HEATING POWER 500W COLD WATER/HR 1.4 GAL (5.3 L) COOLING POWER/CURRENT 95W/1.2A HOT WATER TEMP. RANGE 165°F - 197°F COOLANT R134a 43g PRODUCT DIAGRAM... -
Page 5: Installation
INSTALLATION TALLATION 1. After unpacking, wipe dispenser with soft cloth. 2. Place the dispenser on a hard, flat surface, making certain it is level. The dispenser should not be placed near direct sunlight or any other source of heat. 3. It is best to place the dispenser in an area with good air circulation. Make sure there is at least 6 in (15cm) of clearance in back and on both sides of the dispenser for proper ventilation. - Page 6 Remove your hand when desired water type is selected. Then hold your hand over the Dispense Senor to dispense water DISPENSING HOT WATER 1. Hold your hand above the Selection Sensor until the hot water icon illuminates Unlock the hot water - remove your hand from the Selection Sensor.
-
Page 7: Preparing The Cooler
PREPARING THE WATER SYSTEM Your cooler can be used with a direct water line connection and filtration system. The filtration system can be Do not use water installed prior to the water dispenser or can be installed inside the cabinet behind the door. that is microbiologically unsafe or of unknown quality without adequate disinfection before or after the system Fig. -
Page 8: Initial Set Up
ADDING FILTRATION (OPTIONAL) Your OASIS cooler has the option to be fitted with various filtration options (not included). 1. Turn off the water supply and then dispense water into a cup to relieve pressure. Unplug the unit. -
Page 9: Cleaning And Maintenance
3. Cut the water line – ensure there is sufficient 4. Insert the water-in line (A) into the filter inlet of free length of tubing to make connections to the the filter head and then insert the water-out line filter inlet and outlet. (B) into the filter outlet. -
Page 10: Troubleshooting
Dispenser is noisy during operation. Dispenser is touching other objects. Move dispenser away from other objects. Solenoid valve has dirt/debris in it. Contact Oasis Customer Service. 1-800-646- 2747 Water leaks from the The water dispense point has Contact Oasis Customer Service. 1-800-646- water dispense point. - Page 11 CONTACTLESS POU HOT, COLD AND ROOM TEMPERATURE WATER DISPENSER OASIS INTERNATIONAL www.oasiscoolers.com 222 East Campus View Blvd. 1-800-646-2747 Columbus, OH 43235 OASIS is a registered trademark of LVD Acquisition, LLC dba Oasis International ©2021 LVD Acquisition, LLC Rev:Orig Date:11/2021 030099-679...