Advertisement
Quick Links
Advertisement

Related Manuals for Oasis P1PV Series


Summary of Contents for Oasis P1PV Series
- Page 1 INSTALLATION & SERVICE INSTRUCTIONS P1PV / P1PVCD Series Coolers...
-
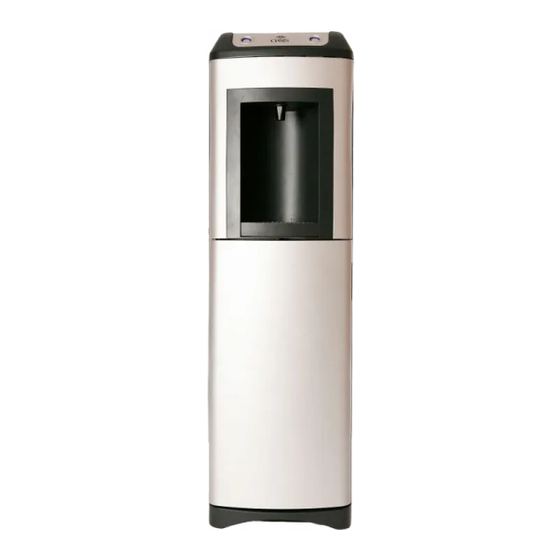
Page 2: Technical Specification
Contents: Technical Specification • Pre-Delivery Inspection • Filter Installation • Cooler Installation • General Troubleshooting Guidelines • Cleaning and Sanitizing Instructions • Technical Specification Product Dimensions: Height: 1,110 mm (43.7 in) • Width: 320 mm (12.6 in) • Depth: 345 mm (13.6 in) •... - Page 3 The ambient water should be flushed after long periods of non use. Hot Water System: The P1PV & P1PVCD Series coolers use a two-piece hot tank to aid in cleaning out scale. The • hot tank is manufactured from 304 Stainless Steel which is non-corrosive and inert.
- Page 4 P1PV / P1PVCD Series Installation & Service Instructions Self-Drain Drip Tray: The drip tray supplied with the P1PV coolers is fitted with a self-drain facility. To put the self- • drain facility into service, follow the instructions listed below: o Remove the drip tray from the cooler o Remove the grille from the drip tray o Using a 8mm (5/16”) diameter drill, drill a hole through the bottom of the drip tray stem...
- Page 5 Spare Parts: Tri Palm International supplies spare parts for all of its watercoolers. For European service, • please check the OASIS web-site at www.oasis.ie for full illustrated parts breakdowns that give full details of all replacement parts. For service from the United States, refer to the Tri Palm International web-site www.tripalmint.com...
- Page 6 P1PV / P1PVCD Series Installation & Service Instructions f) Press the dispensing button for cold temperature water and keep the button depressed until the water from the outlet runs clear – note that it will take some time to bleed all of the air from the...
- Page 7 Re-assemble the cooler by following the above instructions in the reverse order • Filter Installation: The P1PV and P1PVCD series coolers contain a large filter compartment that can be directly accessed from the front of the unit. Accessing Filter Compartment: Lift out and remove the drip tray •...
- Page 8 EPWDA member company must receive this training. The purpose of this training program is to provide an overview of POU systems offered by OASIS and an introduction to the basic guidelines that should be followed when installing an OASIS water cooler onto an existing mains water system.
- Page 9 P1PV / P1PVCD Series Installation & Service Instructions o The length of small bore tubing (usually ¼”) used to connect the cooler to the water supply should be kept to a minimum and must not exceed 20 meters (65 feet).
- Page 10 Installation & Service Instructions Connecting Water Cooler to Water Supply: All OASIS POU water coolers are supplied with a push-fit connector that should be used to connect the cooler to the water supply. Tri Palm International recommends that these guidelines should be followed when installing the cooler: Use ¼”...
- Page 11 P1PV / P1PVCD Series Installation & Service Instructions 10. Press the dispensing water for cold temperature water and keep the button depressed until the water from the outlet runs clear – note that it will take some time to bleed all of the air from the cooling tank.
- Page 12 P1PV / P1PVCD Series Installation & Service Instructions Accessing the Internal Chassis In order to carry out repairs to the refrigeration system, you may need to remove the side panel(s) from the cabinet. Please follow the instructions given below to carry out this operation: Safety Instructions: Isolate the water cooler from the water supply –...
- Page 13 P1PV / P1PVCD Series Installation & Service Instructions Cleaning and Sanitizing Instructions: This procedure should be used for initial cleaning prior to installation and also for on-site sanitization. The diagram below illustrates the water circuit used in all PV-DC model coolers:...
- Page 14 P1PV / P1PVCD Series Installation & Service Instructions disconnect the tube from the filter outlet and connect it to the outlet of the filter cleaning cartridge. Reconnect the cooler to the mains water supply. • Allow the reservoir to fill with water (leave for about 5 minutes) dispensing water from both •...
- Page 15 P1PV / P1PVCD Series Installation & Service Instructions Disconnect the blue tube running from the solenoid to the hot tank inlet – see figure for • location of this tube Thread the blue tubing through the hole in the shelf as shown above – as soon as the free end •...
-
Page 16: This Appliance Must Be Earthed
P1PV / P1PVCD Series Installation & Service Instructions Allow this water to empty into an open bucket • Remove the hot tank from the cooler as follows: • o Disconnect earth wire from column support o Disconnect live & neutral wires from hot tank switch and heat limiter...
Need help?
Do you have a question about the P1PV Series and is the answer not in the manual?
Questions and answers