Table of Contents
Advertisement
Quick Links
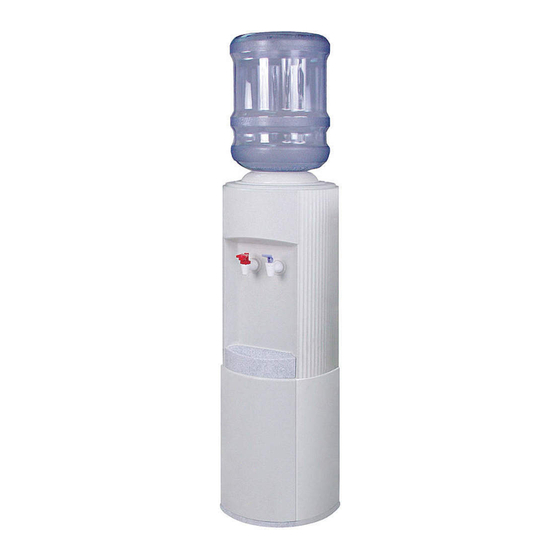
B1RRK, B1RRPK, B1SRK, B1SRPK, B1RRHS, B1RRPHS, B1SRHS, B1SRPHS INSTRUCTIONS
1. INSPECTION
Inspect the carton and water cooler for evidence of rough handling and concealed damage. Damage claims should be filed with the carrier.
2. MAINTENANCE
Periodically remove dirt and lint from the black wire and tube condenser on the back of the cooler. Disconnect the power supply cord, then clean with the small
brush attachment of a vacuum cleaner. Observance of this procedure will insure adequate air circulation so operation is efficient and economical.
3. OVERLOAD PROTECTION
The compressor motor is equipped with an automatic reset protector which will disconnect the motor from the line in case of an overload.
4. HOT TANK THERMOSTATS
ON HOT MODELS, THE HOT TANK THERMOSTATS ARE NOT DESIGNED TO OPERATE WET. AN ELECTRICAL FAULT MAY OCCUR IF THE
THERMOSTATS ARE WETTED.
a)
Do not steam or wet clean in the thermostat area.
b)
All minor water spills must be wiped up immediately after loading or unloading bottle onto or from the cooler.
c)
Where major water spills or leaks have occurred, (internal components have gotten wet) do not operate the hot tank until it is assured that the thermostats
have had a chance to dry out (a 48 hour period is sufficient) or that the thermostat(s) have been replaced.
5. LUBRICATION
This unit is equipped with a hermetically sealed compressor and requires no additional lubrication.
6. TO PUT WATER COOLER INTO SERVICE
a)
Cold & Cook Models
1)
Invert water bottle on top of cooler.
2)
Draw water from faucet(s). Allow about 30 minutes for water to chill after cooler is plugged in.
b)
Hot Models
1)
Invert water bottle on top of cooler.
2)
Open hot faucet until water flows freely.
3)
Place the hot tank heater switch in the "ON" (reset) position.
CAUTION: ON MODELS WITH HOT TANK, FAILURE TO FILL HOT TANK WITH WATER BEFORE TURNING ON HOT TANK HEATER
SWITCH, CAN CAUSE PHYSICAL DAMAGE TO THE UNIT.
c)
Check the available power supply against the water cooler data plate to assure correct electrical service. Plug power supply cord into receptacle.
d)
Allow cooler to operate about 30 minutes for chilled and hot water dispensing.
CAUTION: WATER FROM HOT FAUCET CAN SCALD.
e)
DO NOT operate the hot tank with either of the baffle parts removed from the cold tank; water from the inverted water bottle may overflow onto the floor.
Also, electrical consumption will increase.
7. TO DISCONTINUE USE OF WATER COOLER
a)
Disconnect power supply cord.
b)
Remove water bottle from cooler.
c)
Open faucet(s) to drain water.
d)
Hot Models: Place the hot water heater in the "OFF" position. Draw water from the hot faucet until the water is cool. The drain tube has a black valve
located on the condenser, place a container under the drain. For convenience insert a 4" length of 3/8" OD plastic tube into the opening at the end of the
black valve and turn the petcock or simply turn the valve's petcock without the tube in order to open the drain. Turn the drain valve to a closed position
when tank is empty.
ALWAYS DRAIN ALL WATER WHEN FREEZING TEMPERATURES ARE ANTICIPATED AND BEFORE SHIPPING THE WATER COOLER.
8. REMOVABLE RESERVOIR
The cooler is designed with a removable reservoir. The reservoir can be replaced with a sanitized unit during routine maintenance services.
a) To Remove Reservoir
1)
Drain the cooler as described in Number 7.
2)
Pour hot water over the reservoir sleeve to aid in removing the reservoir and melting any ice on the sleeve.
3)
Drain any additional water from the reservoir.
4)
Remove the faucets from reservoir by unscrewing them in a counterclockwise fashion.
5)
Grasp the top of the reservoir around the opening and pull upward in a straight motion.
b) Installing New Reservoir
1)
Align reservoir with probe. Place hand inside reservoir on the sleeve and push downward on reservoir until it is resting on the insulation.
2)
Reattach the faucets to the reservoir.
9. SANITIZING INSTRUCTIONS
a) Recommended Materials
•
Disposable gloves
•
Sanitizing solution: ½ teaspoon of household bleach to one (1) gallon of water or 2 ml of household bleach to 3 L of water
•
Mild cleaning agent for water cooler components: Mild soap and water
•
Chlorine test kit
b) Sanitizing Procedure
1)
Disconnect power supply from cooler.
2)
Remove bottle and drain water from both faucets.
3)
Remove WaterGuard (if installed) and discard air filter.
4)
Remove faucets, baffle and reservoir.
5)
Wash hands thoroughly and put on disposable gloves.
6)
Wash the faucets, WaterGuard, bottle cap, baffle and reservoir with mild soap and water.
7)
Rinse with clean water immediately.
8)
Sanitize these parts with sanitizing solution. Parts must be completely submerged for at least 5 minutes.
9)
Rinse with clean water immediately.
10) Reassemble the cooler, install new air filter in WaterGuard (if equipped).
11) Install full water bottle and flush the entire cooler at least three times.
12) Test for and contaminants with chlorine test kit. Repeat step (11) and retest if contaminants exist.
13) Clean exterior of cooler per item (11). Clean hot tank (if equipped) per separate instruction.
14) Reconnect power supply.
030099-170 Rev J
®
OASIS
WATER COOLER MODELS
Advertisement
Table of Contents

Related Manuals for Oasis B1RRK


Summary of Contents for Oasis B1RRK
- Page 1 ® OASIS WATER COOLER MODELS B1RRK, B1RRPK, B1SRK, B1SRPK, B1RRHS, B1RRPHS, B1SRHS, B1SRPHS INSTRUCTIONS 1. INSPECTION Inspect the carton and water cooler for evidence of rough handling and concealed damage. Damage claims should be filed with the carrier. 2. MAINTENANCE Periodically remove dirt and lint from the black wire and tube condenser on the back of the cooler.
- Page 2 EXPRESSED, IMPLIED OR STATUTORY, INCLUDING ANY IMPLIED WARRANTY OR MERCHANTABILITY OR FITNESS FOR 222 East Campus View Blvd. • Columbus, OH 43235 U.S.A. 1-800-950-3226 www.oasiscoolers.com is a trademark of Oasis International © 2009 Oasis International ® OASIS is a registered trademark of Oasis International 030099-170 Rev K...
Need help?
Do you have a question about the B1RRK and is the answer not in the manual?
Questions and answers