Advertisement
Quick Links
Advertisement

Related Manuals for Oasis P1PVCDKY


Summary of Contents for Oasis P1PVCDKY
- Page 1 INSTALLATION & SERVICE INSTRUCTIONS P1PVKY / P1PVCDKY Contents:...
-
Page 2: Technical Specification
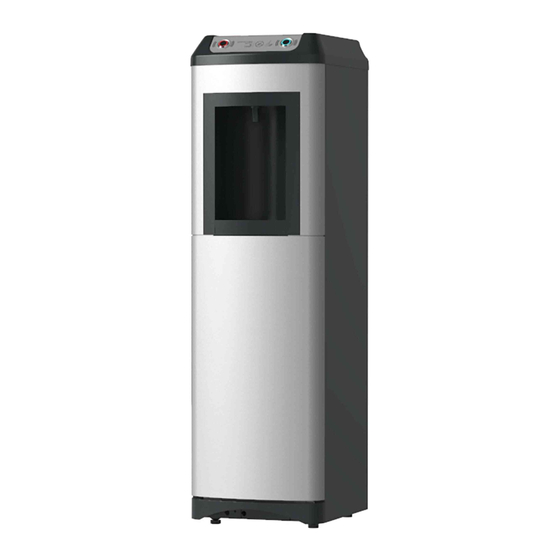
560 mm • Width: 260 mm • Depth: 120 mm Electrical Specification: • Power supply: 220 / 240V, 50 Hz • Power consumption: 100 Watts • Current: 0.8 Amps Wiring Diagram: 030099-347 pg 2 of 14 © Copyright 2007 OASIS Corporation... - Page 3 Cup Dispenser: • The P1PVCDKY contains an integrated cup dispenser built into the top of the cooler. This is the only difference between the P1PVKY and P1PVCDKY models 030099-347 pg 3 of 14...
- Page 4 The galvanised coating provides increased resistance to rust and corrosion Spare Parts: • OASIS supplies spare parts for all its watercoolers. Please check the OASIS web-site at www.oasis.ie for full illustrated parts breakdowns that give full details of all replacement parts. 030099-347 pg 4 of 14 ©...
- Page 5 Disconnect the power supply and mains water supply from the cooler h) Drain the water cooler (see relevant section below) 7. Replace the shipping bag over the water cooler 030099-347 pg 5 of 14 © Copyright 2007 OASIS Corporation...
- Page 6 The drain is located 280mm from the floor – ensure that you place a container under the valve prior to opening it. The container needs to have a minimum capacity of 2 litres • Re-assemble the cooler by following the above instructions in the reverse order 030099-347 pg 6 of 14 © Copyright 2007 OASIS Corporation...
- Page 7 P1PVKY / P1PVCDKY Installation & Service Instructions Filter Installation: The P1PVKY and P1PVCDKY coolers contain a large filter compartment that can be directly accessed from the front of the unit. Accessing Filter Compartment: • Lift out and remove the drip tray •...
- Page 8 EPWDA member company must receive this training. The purpose of this training program is to provide an overview of POU systems offered by OASIS and an introduction to the basic guidelines that should be followed when installing an OASIS water cooler onto an existing mains water system.
- Page 9 Connecting Water Cooler to Mains Supply: All OASIS POU water coolers are supplied with a push-fit connector that should be used to connect the cooler to the mains water supply. OASIS recommends that these guidelines should be followed when installing the cooler: Use ¼”...
- Page 10 Level the machine using the adjustable feet. 6. Connect the water cooler to a potable mains water supply. OASIS recommend the use of an EPDA recognised installation kit that includes a pressure reducing valve, shut off valve and a non return valve.
- Page 11 Low flow of water for all circuits of the machine: o Ensure that the filter is not blocked o Ensure all valves in the system are in the fully open position o Check the mains water pressure 030099-347 pg 11 of 14 © Copyright 2007 OASIS Corporation...
- Page 12 Remove the three screws as shown • Raise the panel vertically by about 25mm so that it clears the moulded base and the key slot, then lift the panel away from the cooler 030099-347 pg 12 of 14 © Copyright 2007 OASIS Corporation...
- Page 13 (i.e. does not contain a filter media). Proprietary systems are available from the major reputable suppliers of fittings which have ¼” push-fit inlet and outlet suitable for use with the tubing contained in OASIS coolers. •...
-
Page 14: This Appliance Must Be Earthed
MERCHANTABILITY OR FITNESS FOR A PARTICULAR PURPOSE. OASIS East Sp.z o.o. Gutenberga 20 str 44-164 Gliwice SEZ, Poland Tel: +48 32 332 6501 ; Fax: +48 32 332 6500 www.oasis.ie 030099-347 pg 14 of 14 © Copyright 2007 OASIS Corporation...
Need help?
Do you have a question about the P1PVCDKY and is the answer not in the manual?
Questions and answers