Advertisement
Table of Contents
- 1 Table of Contents
- 2 Important Safeguards
- 3 Grounding Instructions
- 4 Technical Specifications
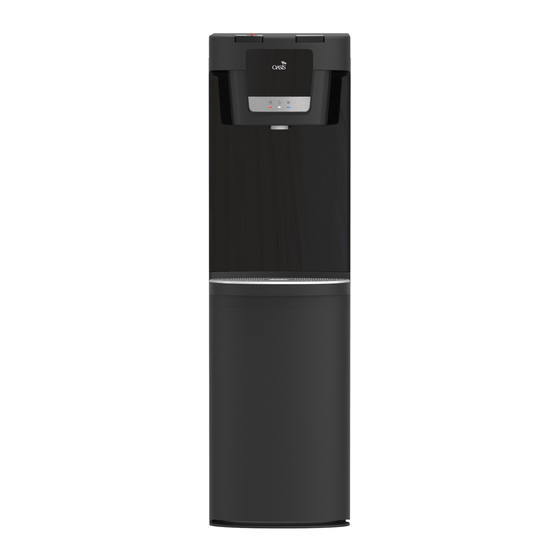
- 5 Product Diagram
- 6 Installation
- 7 Preparing the Water Dispenser for Use
- 8 Initial Setup
- 9 Adjusting the Siphon Tube for Smaller Bottles
- 10 Operation
- 11 Preparing the Cooler for Bottle-Less (Pou) Dispense
- 12 Adding Filtration
- 13 Cleaning and Maintenance
- 14 Troubleshooting
- Download this manual
Advertisement
Table of Contents


Need help?
Do you have a question about the MAXXFILL FLEX and is the answer not in the manual?
Questions and answers