Sign In
Upload
Download
Table of Contents
Contents
Add to my manuals
Delete from my manuals
Share
URL of this page:
HTML Link:
Bookmark this page
Add
Manual will be automatically added to "My Manuals"
Print this page
×
Bookmark added
×
Added to my manuals
Manuals
Brands
sangiorgio Manuals
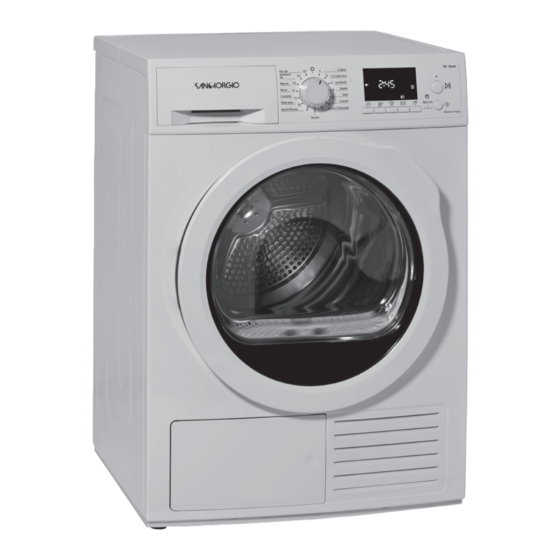
Dryer
SDR8
Use and maintenance manual
sangiorgio SDR8 Use And Maintenance Manual
Hide thumbs
1
2
Table Of Contents
3
4
5
6
7
8
9
10
11
12
13
14
15
16
17
18
19
20
21
22
23
24
25
26
27
28
29
30
31
32
33
34
35
36
page
of
36
Go
/
36
Contents
Table of Contents
Bookmarks
Table of Contents
Table of Contents
Environmental Protection Tips
Disposal of Packaging
Safety and Warnings
Intended Use
Use by Children or very Vulnerable People
Definitions of Children
Technical Safety
Correct Use
Installation
Transportation
Positioning
Aeration
Drainage of Condensation
Electrical Connection
Main Features
Control Panel
International Drying Symbols
Drying Option Table
Dryer Functions Description
Preparation of the Laundry
Starting a Programme
Delicate Basket
Energy Saving
Technical Data
EC Energy Data 392/2012
Maintenance
Filter Cleaning
Cleaning Heat Exchanger Inlet
Gasket and Closing Edge Cleaning
Cleaning Humidity Sensors
What to Do if
After-Sales Assistance Guidelines
After Sales Service
Warranty Certificate
Advertisement
Quick Links
Download this manual
Dryer
Use and Maintenance
Manual
Please read the instructions carefully
before handling, installing and using your home appliance so
as to prevent any damage to yourself and to your dryer
www.sangiorgioelettrodomestici.it
info@sangiorgioelettrodomestici.it
Table of
Contents
Previous
Page
Next
Page
1
2
3
4
5
Advertisement
Table of Contents
Need help?
Do you have a question about the SDR8 and is the answer not in the manual?
Ask a question
Questions and answers
Related Manuals for sangiorgio SDR8
Dryer sangiorgio SDR9 Use And Maintenance Manual
(36 pages)
This manual is also suitable for:
Sdr9
Table of Contents
Print
Rename the bookmark
Delete bookmark?
Delete from my manuals?
Login
Sign In
OR
Sign in with Facebook
Sign in with Google
Upload manual
Upload from disk
Upload from URL


Need help?
Do you have a question about the SDR8 and is the answer not in the manual?
Questions and answers