
Related Manuals for MAXHUB ViewPro Series


Summary of Contents for MAXHUB ViewPro Series
- Page 1 MAXHUB V6 Quick Start Guide ViewPro Series All the pictures in this manual are for reference only, subject to our available products.
- Page 2 (7) This power cable comes with the device exclusively for this device only. LCD Screen (1) Do NOT use hard nor sharp objects on the screen other than MAXHUB stylus. (2) Please unplug the power before cleaning the product. Please clean the screen with a soft, dustless and dry cloth.
- Page 3 Please contact authorised reseller for maintenance or repairing. Warranty Exclusions MAXHUB does not warranty Products that match any one or few of the following descriptions: (1) Product damages caused by violating the user manual. (2) Hardware damages caused by improper setup.
- Page 4 Type-C Cable (1.8M)×1 Passive Stylus×2 The Wireless Module×1 Power Cord* HDMI Cable (1.5M)×1 Note:【*】Power cord could be di erent for di erent regions , pls refer to the actual product. II. Installation Guide 1.Confirm the panel installation position. Align the wall-mounted screw holes with the studs on the back panel and fasten with 2 wall-mounted strips.
- Page 5 2.Steps to install the wall mount Take out the wall mount plate accessory package from the accessory box. a-1pcs b-8pcs c-8pcs d-8pcs Take the panel out of the box and place it on a soft surface, such as a mat, to protect it during installation.
- Page 6 Tighten the safety screw counter-clockwise Hang the panel vertically on the bracket to make the top of screw reach the second and then finish installation. screw hole. Mounting arms Tilt the Device & Screen Wall Plate Note: This step is especially important for Note: Please keep the panel in the center of installation on the mobile stand.
- Page 7 III. Installing the Wireless Module Please make sure that the following items are ready before setting up the wireless module. 1×Interactive Flat Panel 1×Wireless Module 2×Screws (CM3×6mm) Please make sure the power cord of the Interactive Flat Panel is disconnected before installation.
- Page 8 IV. Installing the PC module/Android Module Please make sure the power cord of the Interactive Flat Panel is disconnected before installation. Step1: Unscrew and remove the cover. Step 2: Prepare the PC module/ Android Module. PC module Android Module cover Step3: Unscrew and remove the cover.
- Page 9 V. Removing the PC module/Android Module Please make sure the power is o before proceeding with the removal. To remove the module, press up on the module and release the lock. VI.Power On/0 Plug the power cable into the power socket of the product. Plug the power cable into the power supply.
- Page 10 VII. Control Panel To ensure the proper functioning of the product, it is important to keep it free of dust and moisture. Regular cleaning with a soft, dust-free, and dry cloth is recommended. Remember to unplug the product before cleaning. 4 6 7 Number Function description...
- Page 11 Number Function description USB 3.0 Connect USB devices such as mobile hard disk, U disk, USB : keyboard ,mouse, USB drives, etc. Loudspeaker Sound output : Microphone The sound is collected when the microphone is on : Camera The images are collected when the camera is on :...
- Page 12 IX.Bring Your Own Device Through HDMI in & Touch USB HDMI IN TOUCH Through USB Type-C Type-C...
- Page 13 PC. Please refer to Screen-share with MAXHUB Share application. Get to know more from MAXHUB Share User Manual. The interactive flat panel can be set as an additional display. • Display: The interactive flat panel can be used as a duplicate or extended display.
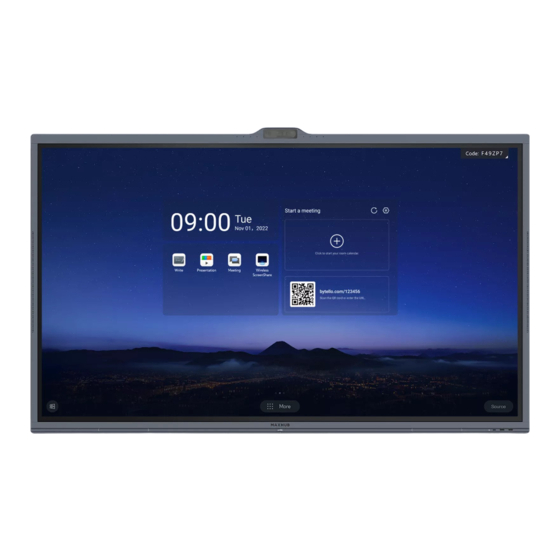
- Page 14 AUDIO OUT AUDIO IN Amplifier/Acoustics/Earpone XI. First Start of MAXHUB Interactive Flat Panel To start the MAXHUB V6, press the power key. Once the device is on, it is ready for use with all of its features. ViewPro series power...
- Page 15 XII. Maintenance To ensure the proper functioning of the product, it is important to keep it free of dust and moisture. Regular cleaning with a soft, dust-free, and dry cloth is recommended. Remember to unplug the product before cleaning. Cleaning the Screen 1.
- Page 16 @MAXHUBUSA sales@maxhub-usa.com @MAXHUBUSA @MAXHUBUSA...
Need help?
Do you have a question about the ViewPro Series and is the answer not in the manual?
Questions and answers