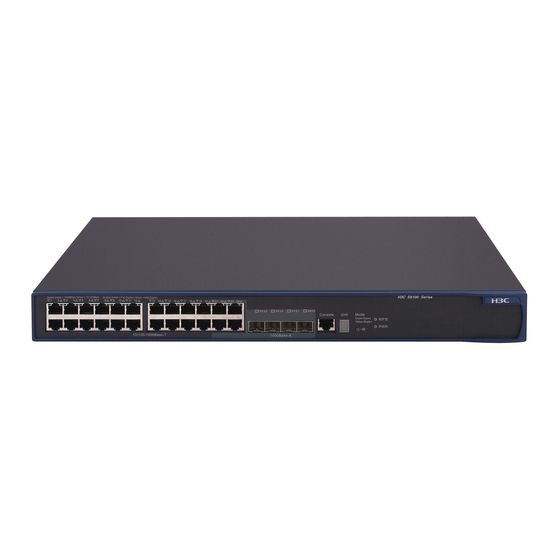
H3C S5120-HI Series Quick Start
Hide thumbs
Also See for S5120-HI Series:
- Security configuration manual (379 pages) ,
- Installation manual (76 pages) ,
- Configuration manual (20 pages)
Advertisement
Tool list 工具参考
Flathead screwdriver
Phillips screwdriver
一字螺丝刀
十字螺丝刀
ESD-preventive wrist strap
Blow dryer
防静电腕带
热吹风
Introduction to installation accessories 安装附件介绍
Grounding cable
M6 screw (user supplied)
(one hole)
M6螺钉(请用户自备)
单孔地线
Front mounting bracket
Rubber pads
and M4 screw
胶垫贴
前挂耳和M4螺钉
Before installation, wear an ESD-preventive wrist strap, and make
sure that the wrist strap makes a good skin contact and is well
grounded.
在以下安装交换机的过程中,操作者需佩戴防静电腕带,请确保防
静电腕带已经正确接地并与皮肤良好接触。
Mounting the switch to a rack 安装交换机到机柜
Method 1—Using front mounting brackets 前挂耳安装
1
Needle-nose pliers
Diagonal pliers
尖嘴钳
斜口钳
The installation tools are not provided with the
switch. Prepare them yourself.
交换机不随机提供安装工具,请用户根据实际安
装需求自己准备安装工具。
Grounding cable (two
Cage nut (user supplied)
holes, optional)
浮动螺母(请用户自备)
双孔地线(选购)
Rear mounting bracket and
Slide rail and chassis rail
load-bearing screw
(optional)
后挂耳和承重螺钉
滑道和导轨(选购)
Only the S5120-34C-HI and S5120-58C-HI support this installation method. 仅S5120-
34C-HI和S5120-58C-HI支持此安装方式。
You can install the front mounting brackets at the port side or power side of the switch as
needed.用户可以根据安装场景的需要,将前挂耳安装在设备端口侧或电源侧。
You must ground the switch by using the grounding point on the rear panel of the chassis.
需使用机箱后面板接地点接地。
If you are installing an LSP5GP8P0 interface card, make sure the rack depth is 800 mm
(31.50 in) or 1000 mm (39.37 in). This card adds 69.75 mm (2.75 in) to the chassis
depth in addition to the clearance required for installing transceiver modules and cables.
Marker
交换机安装LSP5GP8P0接口模块扩展卡后,整机深度会增加69.75mm,同时还需要为光
记号笔
模块和光纤预留部分安装空间,因此若需要安装LSP5GP8P0接口模块扩展卡则必须选择
深度为800mm或1000mm的机柜。
Installation at the port side
端口侧安装
Method 2—Using front and rear mounting brackets 前挂耳和后挂耳配合安装
Only the S5120-28SC-HI and S5120-52SC-HI support this installation method. 仅S5120-
28SC-HI和S5120-52SC-HI支持此安装方式。
Method 2 applies to the rack with a front-to-rear post distance of 389 mm (15.32 in) to
555 mm (21.85 in). You must install the front mounting brackets at the port side and
load-bearing screws at the power side of the switch. 此安装方式仅适用于前后方孔条间距
在389mm~555mm范围内的机柜,且必须将前挂耳安装在设备端口侧,承重螺钉安装在
设备电源侧。
Installation at the power side
电源侧安装
1U
2
Advertisement
Table of Contents

Summary of Contents for H3C S5120-HI Series
- Page 1 Only the S5120-34C-HI and S5120-58C-HI support this installation method. 仅S5120- 34C-HI和S5120-58C-HI支持此安装方式。 You can install the front mounting brackets at the port side or power side of the switch as needed.用户可以根据安装场景的需要,将前挂耳安装在设备端口侧或电源侧。 You must ground the switch by using the grounding point on the rear panel of the chassis. 需使用机箱后面板接地点接地。...
- Page 2 To use the grounding point on the side panel, you must connect the grounding cable to the switch before mounting the switch to the rack. 用户可以根据安装 场景的需要,选择机箱后面板或侧面板的任意一个接地点接地。如果选用机箱侧面板接 地点接地,请注意先将地线和交换机连接后,再将交换机安装到机柜中。 H3C recommends using method 2 in the data center network environment. 推荐您在数据 中心组网环境下使用此安装方式。...
- Page 3 The S5120-28SC-HI and S5120-52SC-HI support two hot swappable fan tray models: LSPM1FAN and LSPM1FANB. LSPM1FAN blows air from the power side to port side, and LSPM1FANB draws air from the port side to power side. Select a fan tray as needed.
- Page 4 LSP5GP8P0 interface card adds 69.75 mm (2.75 in) to the chassis depth, as shown in the figure below. 设备安装LSP5GT8P接口模块扩展卡后,整机深度会增加34.75mm; 安装LSP5GP8P0接口模块扩展卡后,整机深度会增加69.75mm(如下图所示)。 After an LSP5GP8P0 is installed LSP5GP8P0安装完成图 Obtaining documentation 资料获取方式 To access the most up-to-date H3C product documentation on the H3C website at www.h3c.com: Go to http://www.h3c.com/Technical_Documents. Choose the desired product category and model. 您可以访问H3C网站(www.h3c.com)获取最新的产品配套资料:...


Need help?
Do you have a question about the S5120-HI Series and is the answer not in the manual?
Questions and answers