Advertisement
Quick Links
Advertisement

Subscribe to Our Youtube Channel
Related Manuals for AVYCON AVC ELN41AVT


Summary of Contents for AVYCON AVC ELN41AVT
- Page 1 ELN41AVT QUICK START GUIDE 4MP WATER-PROOF TURRET NETWORK CAMERA...
-
Page 2: Table Of Contents
TABLE OF CONTENTS Warning and Caution....................... Package Content..........................Overview........................... Overview: Connecting Network Cable .................. Camera Installation ........................5 Network Connection......................... Lorem ipsum... -
Page 3: Warning And Caution
Please read this instruction carefully before operating the unit and keep it for further reference. All the examples and pictures used here are for reference only. The contents of this manual are subject to change without notice. Warning and Caution If the product does not work properly, please contact your dealer or the nearest service center. -
Page 4: Package Content
Thank you for purchasing this AVYCON IP Network Camera. This guide provides basic instructions on installing and accessing this IP Network Camera. For more details, please refer to the User Manual. Package Contents AVC-ELN41AVT Camera Quick Start Guide Plastic plug x 3... -
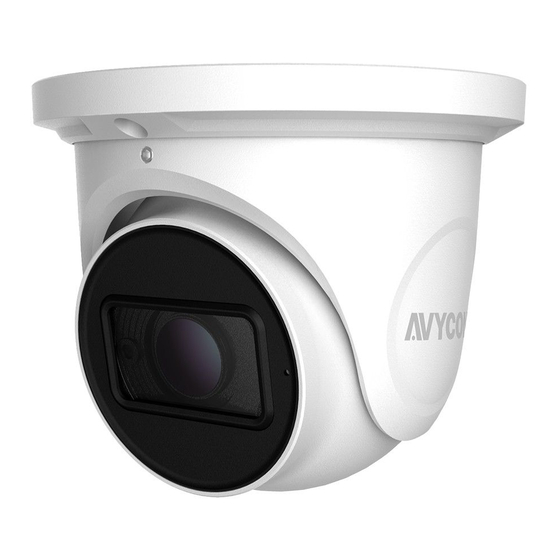
Page 5: Overview
Overview AVC-ELN41AVT Ethernet connector Fixed screw Audio input connector Microphone Power connector Micro SD card slot Mounting base Reset 4MP WATER-PROOF TURRENT NETWORK CAMERA| AVC-ELN41AVT... -
Page 6: Overview: Connecting Network Cable
DC12V * 1,It is recommended to install the security cap for outdoor installation. * 2, If the PoE switch is used to power the camera, DC12V power supply is not required. Overview - Connecting Network Cable AVC-ELN41AVT Step 1: Loosen the nut from the main element. Step 2: Run the network cable (without RJ 45 connector) through the both elements. -
Page 7: Camera Installation
Camera Installation AVC-ELN41AVT Please make sure that the wall or ceiling is strong enough to withstand 3 times the weight of the camera. Please install the camera under dry environment. Step 1: Loosen the fixed screw to disassemble the camera. Then open the cover of the dome and then insert a micro SD card. - Page 8 Step 3: Route and connect the cables and then secure the camera to the ceiling or wall with the screws. Rubber Plug Step 4: Adjust the camera to obtain an optimum angle. Before adjustment, preview the image of the camera on a monitor. Pan: 360°...
-
Page 9: Network Connection
Network Connection AVC-ELN41AVT Access through IP-Tool Switch Network Cable Network Cable MENU Computer Router Step 1: Make sure that the camera and the PC are well connected to the local network. Step 2: Install IP-Tool from the CD and run it after installation. Device Network Search About Immediate Refresh... - Page 10 Modify Network Parameter CE :98 :23 :75 :35 :22 Mac Address IP Address 192 .168 . 1 . 201 Subnet Mask 255 . 255 . 255 . 0 Gateway 192 .168 . 1 . 1 Modify For Example, if the IP address of your computer is 192.168.1.4 then the IP address of the camera shall be changed to 192.168.1.X.
- Page 11 Copyright © AVYCON. All rights reserved. Specifications and pricing are subject to change without notice. phone: 949-752-7606 email: info@avycon.com social: @avycon_aivo website: avycon.com...
Need help?
Do you have a question about the AVC ELN41AVT and is the answer not in the manual?
Questions and answers