Advertisement
Available languages
Available languages
Quick Links
π
H-1978
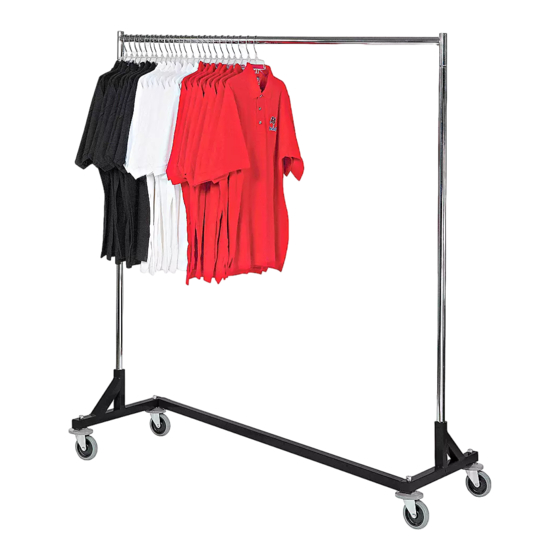
Z-RACK
TOOLS INCLUDED
Allen Wrench
Horizontal Hang Bar x 1
Vertical Bar x 2
Frame Cross Bar x 1
1. Remove the included washers
and bolts from the frames,
using the included Allen
wrench. (See Figure 1)
Figure 1
PAGE 1 OF 4
1-800-295-5510
uline.com
Thin Open End Wrench
2. Slide the frame and the frame
cross bar together, aligning the
bolt holes. (See Figure 2)
Figure 2
PARTS
Caster Bumper x 4
Caster x 4
Frame x 2
ASSEMBLY
Pour le français, consulter les pages 3-4.
Bolt x 4
Nut x 4
Washer x 4
3. Insert bolts into aligned bolt
holes, placing the washers
between the frame and bolt.
Tighten using included Allen
wrench. (See Figure 3)
Figure 3
0414 IH-1978
Advertisement

Related Manuals for U-Line H-1978


Summary of Contents for U-Line H-1978
- Page 1 Pour le français, consulter les pages 3-4. π H-1978 1-800-295-5510 uline.com Z-RACK TOOLS INCLUDED Allen Wrench Thin Open End Wrench PARTS Horizontal Hang Bar x 1 Caster Bumper x 4 Caster x 4 Bolt x 4 Vertical Bar x 2...
- Page 2 ASSEMBLY INSTRUCTIONS CONTINUED 4. Place caster bumpers on 6. Insert the vertical support bars 7. Slide horizontal hang bar on to casters with concave side into the frame. (See Figure 5) top of the vertical support bars toward caster. and lock into place. (See Figure 6) 5.
- Page 3 π H-1978 1-800-285-5510 uline.ca PENDERIE MOBILE EN Z OUTILS INCLUS Clé Allen Clé plate PÌECES Barre de penderie horizontale x 1 Butée de roulette x 4 Roulette x 4 Boulon x 4 Barre verticale x 2 Écrou x 4 Rondelle x 4 Socle x 2...
- Page 4 ASSEMBLAGE SUITE 4. Placez les butées des roulettes 6. Insérez les barres verticales 7. Glissez la barre de penderie sur les roulettes, côté concave dans les socles. (Voir Figure 5) horizontale sur les barres orienté vers la roulette. verticales et verrouillez-la en position.
Need help?
Do you have a question about the H-1978 and is the answer not in the manual?
Questions and answers