Advertisement
Available languages
Available languages
Table of Contents
Para Español, vea páginas 3-4.
Pour le français, consulter les pages 5-6.
H-3787
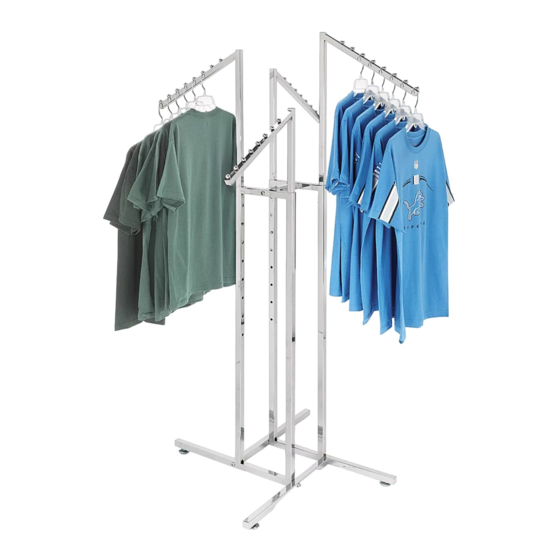
4 WAY SLANTED ARM
CLOTHES RACK
TOOL INCLUDED
Allen Wrench
PARTS LIST
Bolt x 6
Leveler x 4
(Attached to Frame Ends)
Leg x 2
Spacer
Frame x 2
Arm x 4
PAGE 1 OF 6
0421 IH-3787
Advertisement
Table of Contents

Related Manuals for U-Line H-3787


Summary of Contents for U-Line H-3787
- Page 1 Para Español, vea páginas 3-4. Pour le français, consulter les pages 5-6. H-3787 4 WAY SLANTED ARM CLOTHES RACK TOOL INCLUDED Allen Wrench PARTS LIST Bolt x 6 Leveler x 4 (Attached to Frame Ends) Leg x 2 Spacer Frame x 2...
- Page 2 ASSEMBLY 1. Attach two frames using spacer and two bolts. 3. Insert levelers into holes on the bottom of the legs (See Figure 1) and frames. Stand unit up. 4. Slide arms into holes at the top of each frame. Figure 1 (See Figure 3) NOTE: Press the button on the side of the arm...
- Page 3 H 3787 800-295-5510 uline.mx RACK DE BRAZO INCLINADO DE 4 LADOS PARA ROPA HERRAMIENTA INCLUIDA Llave Allen LISTA DE PARTES 6 Pernos 4 Niveladores (Pegados en los Extremos de los Marcos) 2 Patas Separador 2 Marcos 4 Brazos PAGE 3 OF 6 0421 IH-3787...
- Page 4 ENSAMBLE Fije los dos marcos usando el separador y dos 3. Inserte niveladores en los orificios de la parte inferior pernos. (Vea Diagrama 1) de las patas y los marcos. Ponga la unidad en posición vertical. Diagrama 1 4. Inserte los brazos en los orificios de la parte superior de cada marco.
- Page 5 H-3787 1-800-295-5510 uline.ca SUPPORT À VÊTEMENTS À BRAS INCLINÉS – 4 CÔTÉS OUTIL INCLUS Clé Allen LISTE DES PIÈCES Boulon x 6 Patin réglable x 4 (Attachés aux extrémités du cadre) Patte x 2 Entretoise Cadre x 2 Bras x 4 PAGE 5 OF 6 0421 IH-3787...
- Page 6 MONTAGE Reliez les deux cadres à l’aide de l’entretoise et 3. Insérez les patins réglables dans les trous en deux boulons. (Voir Figure 1) dessous des pattes et des cadres. Placez l’unité à la verticale. Figure 1 4. Insérez les bras dans les trous en haut de chaque cadre.
Need help?
Do you have a question about the H-3787 and is the answer not in the manual?
Questions and answers