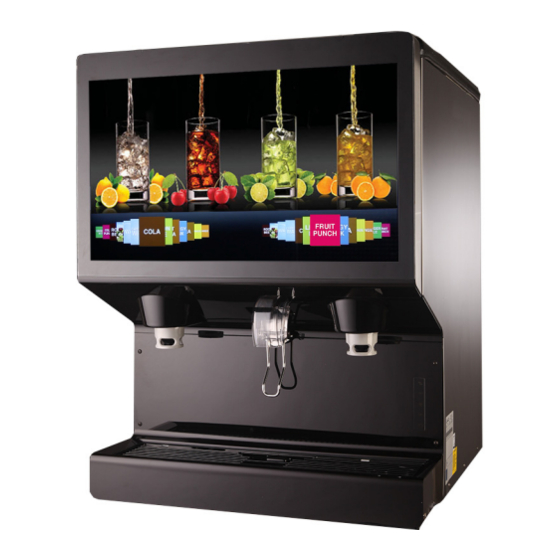
Cornelius IDC PRO 255 Service Manual
Splash panel installation and removal
Hide thumbs
Also See for IDC PRO 255:
- Service manual (50 pages) ,
- Operator's manual (46 pages) ,
- Installation manual (43 pages)
Advertisement
Advertisement
Table of Contents

Related Manuals for Cornelius IDC PRO 255


Summary of Contents for Cornelius IDC PRO 255
- Page 1 Cornelius IDC PRO 255 Splash Panel Installation and Removal...
- Page 2 Removing the Upper Splash Panel • Remove the thumb screw behind the door • Pull the panel up and forward to release. Guide the panel down making sure to clear ice dispense lever and nozzles • NOTE: Re-insert thumb screw to avoid losing it.
- Page 3 Lower Splash Panel Removal • Loosen 2 screws; one on each side of lower splash panel. You may have to completely remove the screw on the right side due to the ADA panel. • Slide splash panel up & pull forward and out from the bottom •...
- Page 4 Lower Splash Panel Installation (standard and Z-Style) • Slide the splash panel keyholes over the screws. • Apply slight pressure on the frond side of the splash panel (one side at a time) and push down to seat the lower tabs. Starting on the left side simplifies the installation.
- Page 5 Installing the Upper Splash Panel • Guide the upper splash panel up around the ice dispense lever and the dispensing nozzles. • Align the two hooks on each side of the upper splash panel with the two slots on the right side and left side of the cladding.
Need help?
Do you have a question about the IDC PRO 255 and is the answer not in the manual?
Questions and answers