Table of Contents
Advertisement
Quick Links
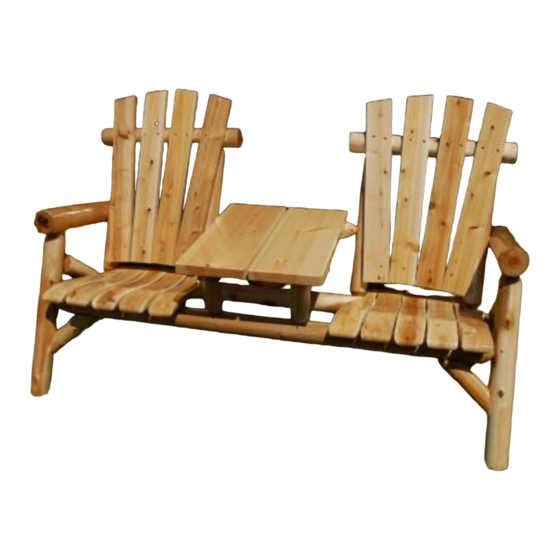
M1401 Tete-a-Tete Glider Assembly Instructions
NOTE: Please check contents and read directions carefully before assembly. If any items are missing or damaged, do
not take the product back to the store. Call Moon Valley customer service at 313-766-4950 and we will correct the
problem as promptly and as efficiently as possible. Also, checking or cracking of the logs is a natural part of the
drying aspect of cedar. This does not affect the structural integrity of the wood. This natural occurrence enhances the
A
B
E
G
F
A
Step 2: Insert pre-assembled seat back (B) into pre-drilled holes of pre-assembled seat
bottom (A). Use mallet or hammer with padding to prevent damage to the unit to secure
B
dowels into holes. Note: Each seat back (B) has a pre-drilled hole on one side only. Be
sure these holes on each chair face inward for table (E) (step #3) to attach to.
A
rustic beauty of the product.
Tete-a-Tete Components
(1) Pre-Assembled Seat Bottom (A)
(2) Pre-Assembled Seat Backs (B)
(2) 9" Doweled Supports (C)
(2) 9" Braces (D)
(1) Pre-Assembled Table Top (E)
(2) Pre-Drilled Legs (w/ 2 holes) (F)
(2) Pre-Drilled Legs (w/ 1 hole) (G)
(2) Pre-Drilled Arms (J)
(1) 18" Table Brace (K)
J
D
K
3 ½" Lag Bolts
2 ½" Lag Bolt
1/4" Washers
2 ½" Screws
C
2" Screws
Square-Head Bit
Tools Needed:
Socket Wrench, Drill or Screwdriver
Section 1:Tete-a-Tete Assembly
Step 1:
Lay pre-assembled seat bottom (A) onto flat padded surface.
Note: For convenience a bench or table may be used to build on.
see attached hardware sheet
see attached hardware sheet
see attached hardware sheet
see attached hardware sheet
see attached hardware sheet
see attached hardware sheet
Rubber Mallet or Hammer, ½" Socket and
Advertisement
Table of Contents

Related Manuals for Moon Valley M1401


Summary of Contents for Moon Valley M1401
- Page 1 NOTE: Please check contents and read directions carefully before assembly. If any items are missing or damaged, do not take the product back to the store. Call Moon Valley customer service at 313-766-4950 and we will correct the problem as promptly and as efficiently as possible. Also, checking or cracking of the logs is a natural part of the drying aspect of cedar.
- Page 2 Step 3: Insert pre-assembled table top (E) into hole on each side of seat back (B) (as shown). Next, repeat Step 1 for the remaining seat back (B). Step 4: Attach angled end of table brace (K) to bottom of table top underlay (E), and be sure to center the brace (K) as much as possible.
- Page 3 Step 6: Use 2” screws (O) at both insertion points to attach seat back (B) to seat bottom (A) (as shown). Step 7: Use 3 ½” lag bolt (H) to secure angle brace (K) to seat bottom (A). Use a 1/4” washer (W) when inserting this lag bolt. Back of tete-a-tete Step 8: Secure table (E) to seat back (B) using 2”...
- Page 4 Step 12: Using 2” screws (O), secure all doweled points (as shown in photo series). Repeat process for both sides of item. Front of seat to front of leg Front of arm to front of leg Back of leg to back of seat Step 13: Using pre-drilled holes on seat back (B) side pieces, install a 3 ½”...
- Page 5 Thank you for your Moon Valley purchase and we hope that you enjoy your Tete-a-Tete Glider. To view other Moon Valley products, please contact your local dealer or visit us at www.moonvalleycedarworks.com.
Need help?
Do you have a question about the M1401 and is the answer not in the manual?
Questions and answers