Advertisement
Table of Contents
- 1 Step 2: Apply Wood Glue into Hole and Insert Dowel with Holes into Leg.
- 2 Step 3: Use Wood Glue and Insert Dowel Without Holes into Leg.
- 3 Step 4: in Remaining Holes Put Wood Glue and Attach Remaining Legs Onto Unit.
- 4 Step 5: Use Wood Glue and Attach Arms Onto Unit.
- 5 Step 6: Apply Wood Glue and Insert Small Dowel into Side Dowels. Attach Chair Back Top Bar.
- 6 Step 9: Insert 2” Screws at an Angle into each Dowel, Like Shown in the Photo Series.
- 7 Step 12: Attach Back Slats Like Shown in Photo Series Below. Use Wood Glue and 2” Screws.
- 8 Step 13: Use 2-1/2” Screws to Attach Angle Braces to each Side of Chair.
- Download this manual
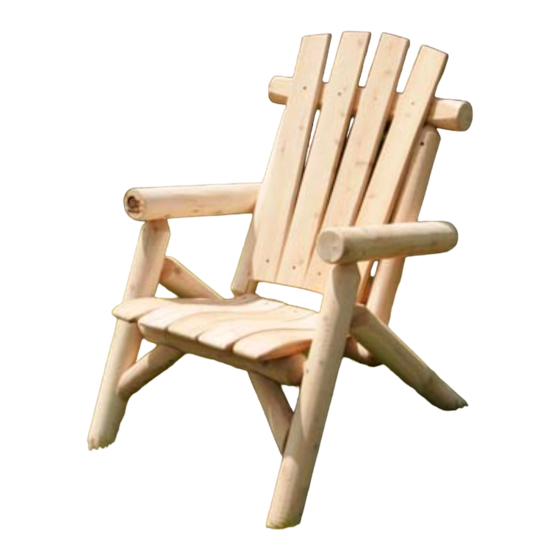
M-1500 Lawn Chair Assembly Instructions
NOTE: Please check contents and read directions carefully before assembly. If any items are missing or damaged,
please contact the retailor who you purchased the product from and they will correct the problem as promptly and
as efficiently as possible. Also, checking or cracking of the logs is a natural part of the drying aspect of cedar. This
does not affect the structural integrity of the wood. This natural occurrence enhances the rustic beauty of the
product. This item is in kit form which may require some light sanding.
Step1: Insert wood glue into hole. Connect the one-hole leg into
the two-hole leg. Repeat for other side.
Advertisement
Table of Contents

Related Manuals for Moon Valley M-1500


Summary of Contents for Moon Valley M-1500
- Page 1 M-1500 Lawn Chair Assembly Instructions NOTE: Please check contents and read directions carefully before assembly. If any items are missing or damaged, please contact the retailor who you purchased the product from and they will correct the problem as promptly and as efficiently as possible.
- Page 2 Step 2: Apply wood glue into hole and insert dowel with holes into leg. Step 3: Use wood glue and insert dowel without holes into leg. Step 4: In remaining holes put wood glue and attach remaining legs onto unit.
- Page 3 Step 5: Use wood glue and attach arms onto unit. Step 6: Apply wood glue and insert small dowel into side dowels. Attach chair back top bar.
- Page 4 Step 7: Insert assembled pieces from step 6 into remaining holes of chair bottom after applying wood glue. Step 8: Find personal comfort angle for chair back. From 3 ¼” from back of arm, attach with washer and lag bolts. Step 9: Insert 2”...
- Page 5 Step10: Lay out seat slats like in photo series below. Make sure seat slats with cut-outs are on the outside. Apply wood glue and fasten with 2-1/2” screws. Step 11: On floor or work surface, lay out back slats in order shown in this photo before attaching to unit.
- Page 6 Step 12: Attach back slats like shown in photo series below. Use wood glue and 2” screws. Step 13: Use 2-1/2” screws to attach angle braces to each side of chair.
Need help?
Do you have a question about the M-1500 and is the answer not in the manual?
Questions and answers