
Related Manuals for Advaning GA Series


Summary of Contents for Advaning GA Series
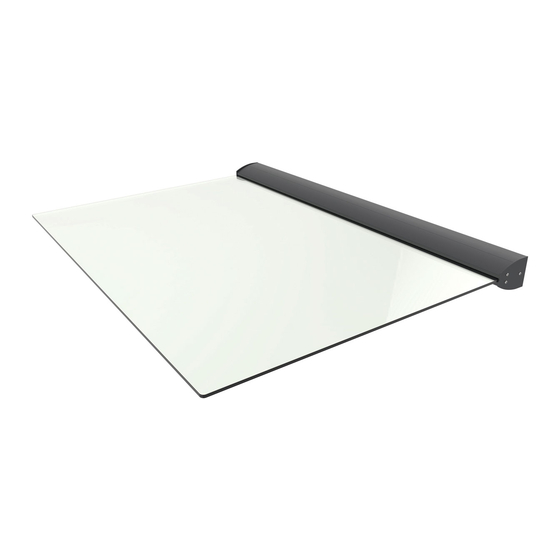
- Page 1 DOOR AWNING : GA SERIES Owner’s Manual For your safety and the safety of others, please read all of the instructions and warnings in this manual carefully before peceeding with installation and usage...
-
Page 2: Table Of Contents
Limited Warranty and Contacts ........13~14 SAFETY INSTRUCTIONS AND WARNINGS CAUTION! GA Series awning MUST be mounted to main structural supports, header, SOLID MASONRY 4”... -
Page 3: Safety Instructions And Warnings
Owners are solely responsible for proper handling, storage, assembly, installation and use of this product. Advaning is not responsible for any damages or injury to you, any other parties, or property resulting from improper handling, storage, assembly, installation, or misuse of the product. -
Page 4: Package Contents And Parts
[Qty: 2] Rubber Strip [Qty: 6] Lag Screws & Washers [Qty: 8] Bracket Bolts [Qty: 2] Side Cover Foam [Qty: 2] Side Cover [Qty: 6] Side Cover Screws Masonry Expansion Bolt, Part#: ZDA-WEB-R2 NOT INCLUDED / SOLD SEPARATELY Fig 3 www.advaning.com... -
Page 5: Assembly Diagram
ASSEMBLY DIAGRAM Fig.4 Tempered Glass Panel Awning Bracket (Base) Clear PVC Clip Awning Bracket (Top) Bracket Cover Rubber Strip Lag Screws & Washers Bracket Bolts Side Cover Foam Side Cover Side Cover Screws www.advaning.com... -
Page 6: Required Tools
Safety Glasses/Gog- gles Fig.5 *A slow curing high qual- ity outdoor silicone is rec- ommended – Specific for your exterior surfaces. NOTE: For solid masonry installation a 3/8” drill bit will be required. Masonry Expansion Bolt, Part# ZDA-WEB-R2 SOLD SEPARATELY www.advaning.com... -
Page 7: Pre-Installation Guide
CAUTION! tionality. GA Series awning MUST be mounted to main structural supports, header, or solid SOLID MASONRY 4” HEADER BOARD masonry 4-inch in thickness 4” or more. -
Page 8: Assembly And Installation
Fig 8 NOTE: Installation struction Step#5~8 is for wood installs only. For solid masonry instal- lation guides, please visit www.advaning.com request from Advaning’s service team. Insert Rubber Strips into the back Fig 9 grooves of the Awning Bracket (Base) and guide them through to the other end. - Page 9 – To avoid scratching the glass surface during in- stallation, carefully cut the plastic wrap to allow the Clear PVC Clip to be attached and remove the remaining plastic wrap once entire awning is in- Fig 16 stalled. www.advaning.com...
- Page 10 Tempered Glass Pan- el until all bolts are se- curely fastened, Step#13. Securely tighten the Bracket Bolts with 13mm socket wrench. Fig 19 NOTE: Ensure the Tem- pered Glass Panel with Clear PVC Clip is butting up to the internal bevel. www.advaning.com...
- Page 11 Side Covers firmly pressing together to affix. Fig 21 Align the Side Cover Awning Bracket assembly with the Side Cover Foam facing inward. Secure Side Covers with Side Cover Screws using a Phillips Head Fig 22 screwdriver. www.advaning.com...
- Page 12 ASSEMBLY AND INSTALLATION Apply the Silicone on the top of the Awning Bracket running along the wall for weatherproofing. NOTE: Allow 24hrs for the silicone to fully set/ cure. Fig 23 www.advaning.com...
-
Page 13: Maintenance
MAINTENANCE CLEANING To clean your GA Series awning, we recommend a 1 part (white vinegar) to 10 parts (water) cleaning solution mix. Use the cleaning solution in a spray bottle or dip into it with a sponge. Scrub off any dirt or debris with a sponge and wipe clean with lint free chamois cloth or squeegee. -
Page 14: Limited Warranty And Contacts
Should the original owner/purchaser submit a claim within the warranty period from the date of the purchase and after being deemed defective by Advaning, will the warranty claim be resolved by either of the following: A. Defective components are replaced (shipping charges may apply). - Page 15 3-days of signing for the delivery in order to make a claim. Likewise, there is a 7-day window from the time of delivery to report missing parts to Advaning. Failure to report shipping damage and missing parts in a timely manner and in accordance with the shipper/ carrier guidelines may result in the owner incurring all costs.
- Page 16 CONTACT Product Questions? Please contact Advaning via email at service@advaning.com, INFORMATION by phone at 714-622-2600, or by chat on our website; www.advaning.com Advaning Customer Service is available Monday through Friday from 8:30 a.m. to 4:00 p.m. PST www.advaning.com GA.OM.V02.062022...
Need help?
Do you have a question about the GA Series and is the answer not in the manual?
Questions and answers