Advertisement
Quick Links
Advertisement

Related Manuals for Midea MRO1790B-400G


Summary of Contents for Midea MRO1790B-400G
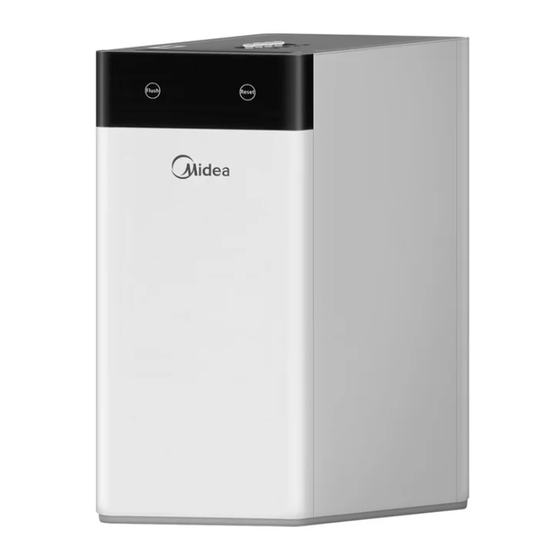
- Page 1 MRO1790B-400G...
- Page 3 PURIFIED DO NOT DRAIN WATER REMOVE WATER WATER PAC lter Cover Main unit Carbon lter Base RO lter Cover Flush Button Filter Reset Button Flush Reverse Osmosis lter life time Indicator Carbon lter life time Indicator Poly Aluminium Chloride lter life time Indicator...
- Page 6 To avoid danger of suffocation, keep plastic bags away from children and pets. Do not use plastic bags in cribs, beds, carriages or playpens. NOTICE It is normal for the water puri er to emit some noise and slightly vibrate when in use, this is normal.
- Page 7 Push the PE-tube into the fi ng. There is an exis ng mark at the end of the tube for you to confirm if the tube is fully inserted into the fi ng. Mark for Full Insert Locking Clip PURIFIED DO NOT DRAIN WATER...
- Page 8 Step 1: Installing the 3-way valve...
-
Page 9: Step 2: Installing The Faucet
Step 2: Installing the faucet Φ... -
Page 10: Step 3: Installing The Drain Saddle
Step 3: Installing the drain saddle vertical (Fig. 8) NOTICE: If you are installing the drain saddle on the horizontal pipe B, please install so the PE tube is located on the top of the horizontal drain pipe. (See Fig 9) Gaster Place the square gasket through the PE- tube and it to the inner wall of the... -
Page 11: Drain Water
Step 4: Connec ng the PE-tubes to the main unit DRAIN WATER Step 5: Checking for leaks... - Page 12 power off few minutes. Power up again, The product returns to normal. Connect the adapter and faucet to the unit cable connector then connect the plug to a 100-240V GFCI power outlet. 5 seconds , After this the on the front panel system is starting up.
- Page 13 ( Flag .13). Push up the locking handle. Pull up the filter pops out. Carbon filter filter Insert new filter (The bo om of the filter should be inserted into the hole of the Base. Pressed the upper part of the filter into the corresponding hole.
- Page 15 MRO1790B-400G 3600L 100-240V~ 50/60Hz 1.0L 0.1-0.6MPa Recommended Model Function Quantity Replacement Cycle Filter the dust, rust, suspended matter, residual chlorine and odor 3-6 months compound filter effectively. Improve the water taste and Post carbon absorb the abnormal color and 6-12 months filter...
Need help?
Do you have a question about the MRO1790B-400G and is the answer not in the manual?
Questions and answers
The system displays error E6