
Subscribe to Our Youtube Channel
Related Manuals for Water Right Impression


Summary of Contents for Water Right Impression
- Page 1 Master Programming Guide October 2019 Edition For Models: •Impression •Impression Plus •Impression Twin...
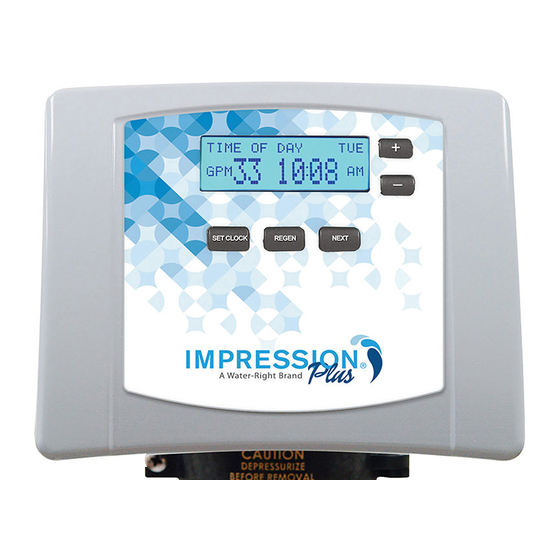
- Page 2 Button appearance and position may be different than actual valve Cycle times, sequences, and settings in this guide are only examples of how your system may be programmed. Actual settings are determined by the manufacturer. Please contact them if more information is needed. Important button sequences to note: –...
- Page 3 Softener/Filter Installer/User Screens Accessed by pressing and holding NEXT and + simultaneously for three seconds. Returns to general display after five minutes of inactivity. Softeners Set water hardness with + or — buttons WATER HARDNESS Adjustable from 1-150 grains, within limits determined by capacity settings as to not override gallons capacity setting.
- Page 4 Service Alarm/Dealer Setting Screens Accessed by pressing and holding buttons simultaneously for three seconds. NEXT The service alarm feature is used to warn the owner Once screen changes, press and hold buttons again for three seconds. NEXT that the unit currently needs service. Some application examples includes reminding the owner when a filter Returns to general display after five minutes of inactivity.
- Page 5 Service Alarm/Dealer Setting Screens Accessed by pressing and holding buttons simultaneously for three seconds. NEXT Once screen changes, press and hold buttons again for three seconds. NEXT Returns to general display after five minutes of inactivity. continued from previous page To Turn Off Dealer Name/Number Screen Access Scrolling Dealer Name and Phone Number Feature...
-
Page 6: Set Cycle
Service/OEM SOFTENING Screens – Accessed by pressing and holding simultaneously for three seconds. NEXT Returns to general display after five minutes of inactivity. Select SOFTENING or FILTERING with + or — buttons SOFTENING TYPE If you have selected FILTERING, please refer to “Service/OEM FILTERING screens”, page 7-8. - Page 7 Service/OEM SOFTENING Screens cont’d – Accessed by pressing and holding simultaneously for three seconds. NEXT Returns to general display after five minutes of inactivity. continued from previous page Set fourth cycle position with + or — buttons REGENERANT DRAW DN CYCLE 4 Set draw time with + or —...
- Page 8 Service/OEM FILTERING Screens – Accessed by pressing and holding simultaneously for three seconds. NEXT Returns to general display after five minutes of inactivity. NOTE: Numbers and cycles used as examples on this page are typical of AIR FILTER systems. Select SOFTENING or FILTERING with + or — buttons FILTERING TYPE If you have selected SOFTENING, please refer to...
- Page 9 Service/OEM FILTERING Screens cont’d – Accessed by pressing and holding simultaneously for three seconds. NEXT Returns to general display after five minutes of inactivity. NOTE: Numbers and cycles used as examples on this page are typical of AIR FILTER systems. continued from previous page Set draw time with + or —...
-
Page 10: Configuration Screens
Configuration Screens – Accessed by pressing and holding simultaneously for three seconds. NEXT – Once screen changes, press and hold simultaneously again for three seconds. NEXT Select meter size with + or — buttons VALVE TYPE Set to 1”, 1.25”, 1.5”, 2” or 1.0T (for twin units). Upflow brining will not be an option if set to anything other than 1” or 1.0T. With 1.0T set: •Meter calibration will be fixed. - Page 11 Configuration Screens cont’d – Accessed by pressing and holding simultaneously for three seconds. NEXT – Once screen changes, press and hold simultaneously again for three seconds. NEXT continued from previous page Set first relay trigger with + button. Press + to reach desired triggering event. RELAY 1 TRIGGER If not using a relay, make sure OFF is selected and press NEXT.
- Page 12 Configuration Screens cont’d – Accessed by pressing and holding simultaneously for three seconds. NEXT – Once screen changes, press and hold simultaneously again for three seconds. NEXT continued from previous page Set relay trigger with + or — buttons RELAY 1 TRIGGER REGEN REGEN GALLONS indicates that relay will be energized after a specified number of gal- lons are expended during service and regen.
- Page 13 First Level History Screens – Accessed by pressing and holding simultaneously for three seconds. Returns to general display after five minutes of inactivity. Displays number of days since last regen DAYS SINCE REGEN Displays number of gallons since last regen VOLUME SINCE REGEN Displays reserve capacity RESERVE FOR...
- Page 14 First Level History Screens cont’d – Accessed by pressing and holding simultaneously for three seconds. Returns to general display after five minutes of inactivity. continued from previous page Displays peak flow rate history MAX FLOW HISTORY – buttons to scroll through last 7 days to view peak flow rate for that day.
- Page 15 Second Level History Screens – Accessed by pressing simultaneously for three seconds. – Once screen changes, press simultaneously again for three seconds. Non-resettable history. Displays software version Displays total regens since startup SOFTWARE VERSION TOTAL REGENS Displays total gallons used by Displays last ten valve errors that occurred TOTAL GALLONS ERROR LOG...
- Page 16 1900 Prospect Court • Appleton, WI 54914 Phone: 920-739-9401 • Fax: 920-739-9406 MAN-IMP MASTER Rev A1019...
Need help?
Do you have a question about the Impression and is the answer not in the manual?
Questions and answers