Microtek ScanMaker V6UPL Installation Manual
Microtek scanmaker v6upl: installation guide
Hide thumbs
Also See for ScanMaker V6UPL:
- Installation manual (8 pages) ,
- User manual (99 pages) ,
- Install manual (4 pages)
Advertisement
Microtek Scanner
Installation Guide
for the ScanMaker
Use this installation guide if you have: 1) Windows 95 / Windows NT 4.0; or 2) if you have Windows 98 but have no USB port.
This document provides information on how to install your Microtek scanner on a PC using the scanner's Parallel Port
(EPP) interface.
Parallel Port Installation on the PC
1. Unpack scanner
Open your scanner package and check the
components as stated in your packing list. Before
proceeding any further, check that you have the
items listed on the packing list. If any item is missing,
contact Microtek.
Energy Star Notice
As an ENERGY STAR Partner,
Microtek International, Inc. has
determined that this scanner
meets the ENERGY STAR
guidelines for energy efficiency.
Copyright © 1999 Microtek Lab, Inc.
®
V6
UPL
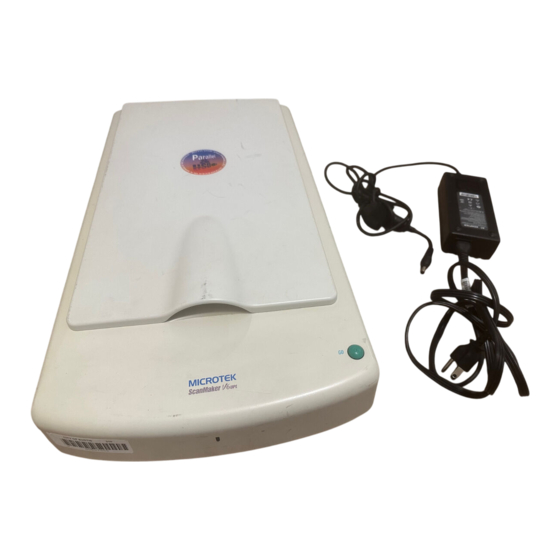
Your Microtek ScanMaker scanner comes with two
built-in interfaces: USB and Parallel. For parallel
(EPP) installation, use the scanner' s parallel port.
See the graphic below to locate the different ports
on the back of the scanner, including the scanner
accessory port.
Power
Connector
Port A
Printer Port
(Parallel Port;
(Connect to
connect to
your printer)
your PC)
http://www.microtekusa.com
Enhanced
Parallel
Port
Parallel
Version
For PC
(Windows
NT4.0)
USB
Accessory
Port
Port
Port
®
95/98/
MQ0006099
Advertisement
Table of Contents

Related Manuals for Microtek ScanMaker V6UPL


Summary of Contents for Microtek ScanMaker V6UPL
- Page 1 Use this installation guide if you have: 1) Windows 95 / Windows NT 4.0; or 2) if you have Windows 98 but have no USB port. This document provides information on how to install your Microtek scanner on a PC using the scanner’s Parallel Port (EPP) interface.
- Page 2 Connect this end to the port at the back of your scanner labeled Port A 4. Connect the other end of the scanner cable to the computer’ s printer port. 3. Connect printer to scanner 1.
- Page 3 Microtek Software Installer. Do not restart your computer until all the software has been installed. Here is a list of software on your Microtek CD. a) Microtek ScanWizard 5. This is your scanner controller program for capturing images from your scanner and delivering it to your image- editing application.
- Page 4 Resize dotted line for size of the actual scan 7. Reading the documentation 1. Insert the Microtek CD-ROM into your CD- ROM drive. 2. When the Microtek Software Installer comes up on your screen, click the Manual button that corresponds to the manual you wish to read.
Need help?
Do you have a question about the ScanMaker V6UPL and is the answer not in the manual?
Questions and answers