Prostat PGA-710B Getting Started Operations Manual
Autoanalysis system
Hide thumbs
Also See for PGA-710B:
- Getting started operations manual (12 pages) ,
- User manual (44 pages)
Advertisement
Quick Links
Advertisement

Related Manuals for Prostat PGA-710B


Summary of Contents for Prostat PGA-710B
- Page 1 AUTOANALYSIS SYSTEM PGA-710B Getting Started Operations Guide...
-
Page 3: Table Of Contents
Genera ng a Detailed Report Copyright © 2013 by Prostat® Corpora on. All rights reserved. Printed in the United States of America. No part of this manual may be used or reproduced in any manner whatsoever without wri en permission. For informa on contact Prostat Corpora on, 1072 Tower Lane, Bensenville, IL 60106 USA Prostat is the registered trademark of Prostat®... -
Page 4: System Requirements
• Microso ® DirectX 9b • Instrument input limits to ± 2 volts. Note: Providing greater than ± 2 volts to the PGA-710B Autoanalyzer will void the warranty. For appropri- ate adapters or cables, please contact Prostat Corpora on or your Prostat Authorized Reseller. - Page 5 PGA-710B Autoanalysis System B. Installing the Autoanalysis Applica on So ware NOTE: DO NO connect your PGA-710B Device to your computer or laptop un l installa on is complete. NOTE .NET Framework 4 is required to run the Autoanalysis Applica on So ware.
-
Page 6: Connec Ng The Pga-710B Autoanalysis System To Your Computer
C. Connec ng the PGA-710B Autoanalysis System to your computer Before you start using or connect the PGA-710B, make sure to charge its ba ery for at least 8 to 14 hours using the supplied AC/DC converter. Es mated opera ng ba ery life is approximately 8 to 10 hours of con nuous opera on without connec on to USB port, or supplied ba ery charger. -
Page 7: Adjust Or Confi Rm The "Zero" Reference For The Pga-710B System
PGA-710B Autoanalysis System At this point, the “Save and Erase” LED will be ON indica ng the PGA-710B Autoanalyzer’s ba ery is re- ceiving a charging voltage from the computer’s USB. NOTE: This charge is not suffi cient to completely charge the ba ery during normal op- era ons. -
Page 8: Assembling Your Autoanalysis System To The Field Meter And Charge Plate Monitor
Monitor. A ach the Field Meter to a tested earth ground. 2. From the Edit Menu, click on Device Con- trol. Do the following: 2. Connect the PFM-711A to the PGA-710B using the provided analog cable. a. Click Set Zero b. Click Set Device Time c. -
Page 9: Capture And Analyze Data
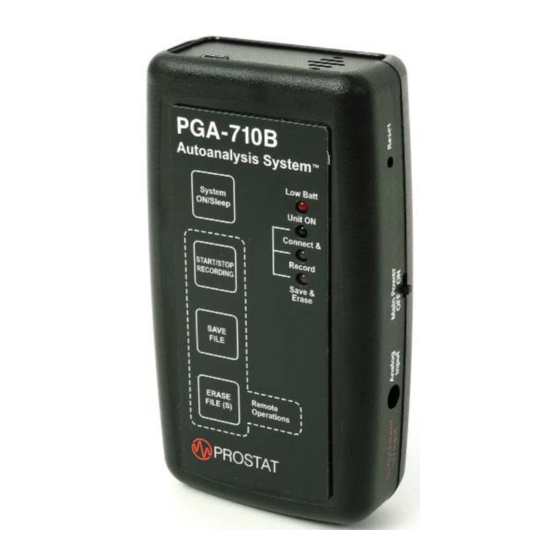
PGA-710B Autoanalysis System APPLICATION The PGA-710B records and converts analog input from a fi eld meter instrument to digital data, then transmits that data to your computer via USB, or stores it for future use. Anything your fi eld meter measures will be transmi ed via the analog cable to the PGA- 710B, then to the computer where the dynamic measurements are displayed on the screen. - Page 10 PGA-710B Autoanalysis System Step 11 Step 12 Voltage Genera on Add Minimum or Maximum Data Peaks 1. Trimmed por ons of the chart are eliminat- 1. Click the Adjust bu on. This allows addi on ed from the analysis or removal of minimum or maximum peaks from the analysis.
-
Page 11: Genera Ng A Detailed Report
PGA-710B Autoanalysis System G. Genera ng a Detailed Report TIP: There should be an equal number of alterna ng minimum and maximum peaks. ±3 Sigma in Step 12 must be completed before genera ng a report (Step 13). Step 13... - Page 12 Specifi ca ons are subject to change without no ce. All Prostat trademarks and trade names are the property of Prostat Corpora on. All other trademarks and trade names are the property of their respec ve companies. P R O F E S S I O N A L...
Need help?
Do you have a question about the PGA-710B and is the answer not in the manual?
Questions and answers