Advertisement
Table of Contents
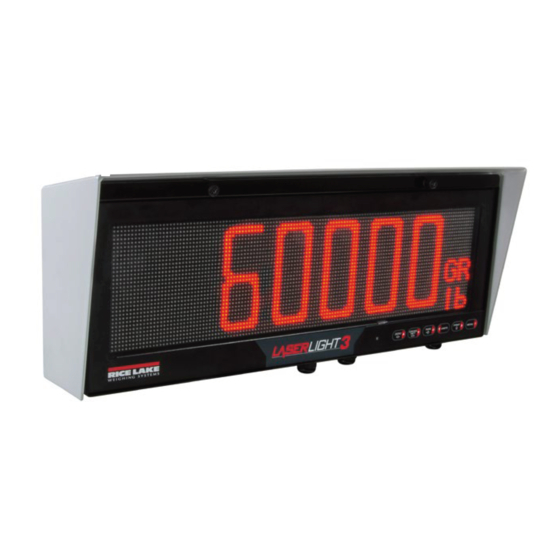
LaserLight3
™
ConnexLink
™
The ConnexLink Wireless Radio kit (PN 212753) allows communication from a LaserLight3 to a device with the matching radio
(such as an indicator or remote display).
Manuals and additional resources are available from the Rice Lake Weighing Systems website at
Warranty information can be found on the website at
NOTE: For more information about LaserLight3, see LaserLight3 Large Display Indicator Technical Manual (PN 213589) or
LaserLight3 Remote Display Technical Manual (PN 214748).
ConnexLink documentation and resources can be found at www.lairdconnect.com.
CAUTION: The LaserLight3 does not have a power switch. Before working with the unit, ensure the power cord is
disconnected from the power outlet.
Parts List
September 27, 2022
Wireless Radio Installation
Item
Table 1. ConnexLink Wireless Radio Kit Parts List
www.ricelake.com/warranties
Part No.
129662
RF Pair Transceivers
N/A
Antenna (Included with 129662)
166240
Antenna Extension Cable
180683
ConnexLink Transceiver to Display Cable
214713
LaserLight3 ConnexLink Power Cable
214698
Adhesive Standoff with #6 Screw
www.ricelake.com
Description
Qty
1
1
1
1
1
4
PN 214716 Rev A
Advertisement
Table of Contents

Related Manuals for Rice Lake ConnexLink 212753


Summary of Contents for Rice Lake ConnexLink 212753
- Page 1 The ConnexLink Wireless Radio kit (PN 212753) allows communication from a LaserLight3 to a device with the matching radio (such as an indicator or remote display). Manuals and additional resources are available from the Rice Lake Weighing Systems website at www.ricelake.com Warranty information can be found on the website at www.ricelake.com/warranties...
- Page 2 LaserLight3 ConnexLink Wireless Radio Installation Installation IMPORTANT: Each ConnexLink radio is marked as Client or Server. Install the server type in indicators and the client type in remote displays. LaserLight3 Type or ConnexLink Type in Paired ConnexLink Operating Mode LaserLight3 LaserLight3 Indicator Server Client...
- Page 3 8. Remove nut and tooth washer from antenna extension cable. Figure 6. Remove Retaining Hardware from Antenna Extension Cable 9. Inside enclosure, insert threaded end of antenna extension cable into antenna hole. Figure 7. Insert Antenna Cable in Mounting Hole © Rice Lake Weighing Systems ● All Rights Reserved...
- Page 4 LaserLight3 ConnexLink Wireless Radio Installation 10. Install washer and nut (previously removed) on threaded end of extension cable protruding from bottom of enclosure. 11. Turn antenna clockwise onto the antenna extension cable until tight. Figure 8. Install Antenna and Retaining Hardware 12.
- Page 5 IMPORTANT: Ensure ConnexLink position will not obstruct enclosure door operation or make contact with circuit boards. 17. Apply firm pressure to adhesive pads for 30 seconds. Figure 12. Attach ConnexLInk with Adhesive Standoffs to Enclosure © Rice Lake Weighing Systems ● All Rights Reserved...
- Page 6 LaserLight3 ConnexLink Wireless Radio Installation Serial Configuration After hardware installation, LaserLight3 software must be configured to communicate from its RS-232 port with the ConnexLink. In order to function correctly, the Baud and Bits parameters in the LaserLight3 require setup. NOTE: By default LaserLight3 is configured with the required parameters to operate the ConnexLink. Ensure that the following settings are configured.
- Page 7 • 10% to 90% Weight: • <6 oz (<170 g) Dimensions: • 4.75 x 2.75 x 1.17 in (121 x 70 x 30 mm) Antenna Connector: • Reverse polarity SMA jack (female) © Rice Lake Weighing Systems ● All Rights Reserved...
- Page 8 © Rice Lake Weighing Systems Specifications subject to change without notice. 230 W. Coleman St. • Rice Lake, WI 54868 • USA U.S. 800-472-6703 • Canada/Mexico 800-321-6703 • International 715-234-9171 • Europe +31 (0)26 472 1319 September 27, 2022 PN 214716 Rev A...
Need help?
Do you have a question about the ConnexLink 212753 and is the answer not in the manual?
Questions and answers