Table of Contents
Advertisement
Quick Links
Advertisement
Table of Contents

Subscribe to Our Youtube Channel
Related Manuals for Regin EXOCLEVER EC-PU4-2


Summary of Contents for Regin EXOCLEVER EC-PU4-2
- Page 1 WE TAKE BUILDING AUTOMATION PERSONALLY MANUAL EXOCLEVER EC-PU4-2...
- Page 2 Our goal is to make real estates in the world more energy efficient. Regin is an international group and our products sells in over 90 countries. Thanks to our global presence with strong local representation, we are well aware of the requirements of the market, as well as of how our products and systems function under the most variable conditions.
-
Page 3: Table Of Contents
Table of Contents 1 Introduction ..........................5 About this manual.......................5 More information........................5 2 Information for the end user ......................6 Introduction ........................6 General information ......................6 2.2.1 With AC supply ....................6 2.2.2 With DC supply ....................6 2.2.3 Using an isolated communication port ..............6 2.2.4 Using the EFX port ....................6 2.2.5... -
Page 5: Introduction
This box is used to show formulas and mathematical calculations This box is used to represent the display window on the controller 1.2 More information All the above documents are available for download from Regin’s website, www.regincontrols.com EXOclever EC-PU4-2 manual, Rev. A 5 (18) -
Page 6: Information For The End User
0.5 W in both ends. Shielded cables are preferable, use twisted pair with min. 24 AWG conductor size. ✓ Cable screen should be connected to “N” terminal at both ends (port isolated at PIFA end). ✓ 6 (18) EXOclever EC-PU4-2 manual, Rev. A... -
Page 7: System Setup Example
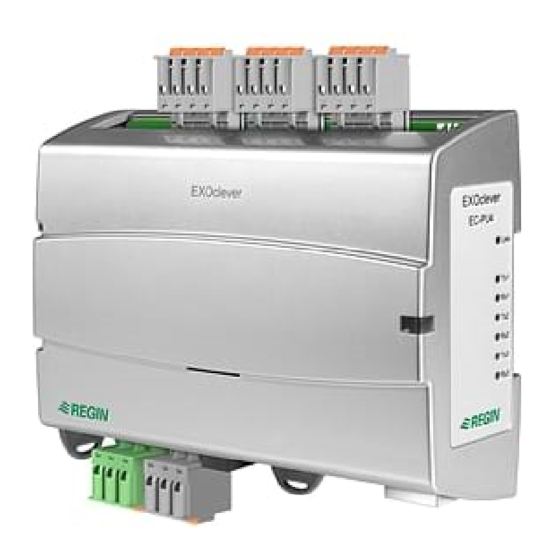
2.3.1 System status EXOclever EC-PU4-2 has a system status indicator (1) which can be inspected both when it is mounted on the backside or on its side. The indicator changes colour depending on system status. EXOclever EC-PU4-2 manual, Rev. A... -
Page 8: Port Status
C C a a u u t t i i o o n n ! ! Follow proper ESD precautions when changing the battery; i.e. an earthed wristband or similar protection must be used! To change the battery: 1. Remove the DIN lock. 8 (18) EXOclever EC-PU4-2 manual, Rev. A... -
Page 9: Resetting The Application Memory
A recommendation is to use a wooden toothpick to access the reset button. If the controller is not possible to reset in this way for some reason it should be powered down. Then keep the reset button pressed in while reconnecting the power. Reset button EXOclever EC-PU4-2 manual, Rev. A 9 (18) -
Page 10: Updating The Operating System
Base address Jumpers 3 2 1 (use this setting) 3, 2 and 1 in the table refers to the jumpers for setting the base address in the below figure: 10 (18) EXOclever EC-PU4-2 manual, Rev. A... - Page 11 Information for the end user 3 2 1 Figure 2-2 Jumpers EXOclever EC-PU4-2 manual, Rev. A 11 (18)
-
Page 12: Information For The Specialist
3.1.1 Installation EXOclever EC-PU4-2 is intended to be mounted on DIN-rail. It can be mounted on its backside, and it can also be mounted on the short side to save space. EXOclever uses push-in connectors for easy cable installation. The push-in connectors have integrated test holes in each terminal for easy test measurements. -
Page 13: Wiring
System ground, 0 V connection (-) at power supply EMI earth, connect to earth rail Table 3-3 Pinout EFX port Signal Signal description Cable screen earth Inverted (-) data signal line Non-inverted (+) data signal line EXOclever EC-PU4-2 manual, Rev. A 13 (18) -
Page 14: Appendix A Technical Data
Built-in protocol EXOline Other protocols Control signal, RS485 Speed Configurable, max 76800 bps Standard speed 9600 bps Galvanic isolation, common max. 150V mode voltages Max communication distance 1200 m (depending on communication speed 14 (18) EXOclever EC-PU4-2 manual, Rev. A... -
Page 15: Efx Port
EXOlineTCP Slave, EXOlineTCP Master Modbus TCP Slave, BACnet/IP, HTTP, SMTP Auto MDIX Fast connector shielded RJ45 Supported standards IEEE 802.3u and IEEE 802.3x full-duplex flow control Cable length (max) 100 m (min CAT 5e) EXOclever EC-PU4-2 manual, Rev. A 15 (18) -
Page 16: Appendix B Model Overview
Model overview Appendix B Model overview Name Supply voltage Description EC-PU4-2 24 V AC 50…60 Processor unit, 4 communication ports Hz or 24 V DC 16 (18) EXOclever EC-PU4-2 manual, Rev. A... - Page 17 EXOclever EC-PU4-2 manual, Rev. A 17 (18)
- Page 18 HEAD OFFICE AB Regin, Box 116, SE-428 22 Kållered • Visiting address: Bangårdsvägen 35, SE-428 36 Kållered Phone: +46 (0)31 720 02 00 • Fax: +46 (0)31 720 02 50 • info@regincontrols.com • www.regincontrols.com...
Need help?
Do you have a question about the EXOCLEVER EC-PU4-2 and is the answer not in the manual?
Questions and answers