Advertisement
Quick Links
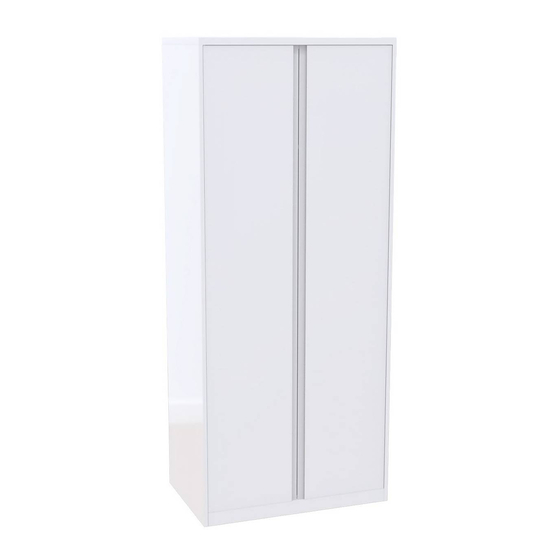
Modular Bedroom: Double wardrobe
Assembly Instructions
Dimensions
Width - 90 cm
Depth - 58 cm
Height - 219.6 cm
Important
– Please read these instructions fully before starting assembly
If you need help or have damaged or missing parts, return to your local store.
- Please keep for future reference
IM848_00
Advertisement

Related Manuals for House Beautiful Realm Double Wardrobe


Summary of Contents for House Beautiful Realm Double Wardrobe
- Page 1 Modular Bedroom: Double wardrobe Assembly Instructions - Please keep for future reference Dimensions Width - 90 cm Depth - 58 cm Height - 219.6 cm Important – Please read these instructions fully before starting assembly If you need help or have damaged or missing parts, return to your local store. IM848_00...
-
Page 2: Handy Hints
Safety and Care Advice Important – Please read these instructions fully before starting assembly • Check you have all the • During assembly do not stand • To reduce components and tools listed on or put weight on the product, the likelihood of this could cause damage. - Page 3 Components - Panels If you have damaged or missing components, return to your local store. Please check you have all the panels listed below Side panel x 2 Door x 2 Back panel x 1 (44.6 x 212.8 cm) (58 x 219.6 cm) (88 x 211 cm) SUPPLIED SEPARATELY...
-
Page 4: Tools Required
Components - Fittings Please check you have all the fittings listed below Note: The quantities below are the correct amount to complete the assembly. In some cases more fittings may be supplied than are required. Wooden dowel x 12 Metal dowel x 16 16mm Screw x 18 Euro screw x 4 Back fitting x 12... - Page 5 Assembly Instructions Step Step 1 Preparing side panels Insert 16 metal dowels into side panels Screw 2 metal plates using 4 screws holes 67/68 Step holes 67/68 holes Fitting hinge plates 43/44 Attach 4 hinge plates to side panels holes 28/29 Be sure to use correct holes for hinge plates.
- Page 6 Assembly Instructions Step 4 Fit top and bottom panel Insert 4 wooden dowels on top and bottom panels as shown. Then connect these parts to side panel Step 5 Insert 6 locking nuts into top and bottom panel where shown. Use a screwdriver to turn locking nuts clockwise...
- Page 7 Assembly Instructions Step 6 Insert 2 wooden dowels on rails as shown. Then connect these parts to side panel Step 7 Insert 2 locking nuts into rails where shown. Use a screwdriver to turn locking nuts clockwise to lock.
- Page 8 Assembly Instructions Step 8 Fitting back panel Slide back panel into groove. Step 9 Insert 5 wooden dowels on top and bottom panels as shown. Then connect side panel to these parts. Step 10 Insert 7 locking nuts into top, bottom panel and rail where shown.
- Page 9 Assembly Instructions Step 11 Fix 2 feet in bottom panel as shown. Step 12 Carefully fix back panel using 10 back fitting pushing it into the groove on the side panels top and bottom panels Once fitting in place carefully secure by tighten screw.
- Page 10 Assembly Instructions Step 14 Fitting shelf Insert 6 shelf holders onto side panels Then carefully slide shelf inside cabinet. Step 15 Fitting door hinges Attach 4 door hinges door , using 8 screws Fix 2 bumpers to door . Step 16 Fitting door handles Before drilling check your handle length by placing it close to...
- Page 11 Assembly Instructions Step 17 Fixing units If you want to fix together two or more units first level units. Then fix them using clamps (not provided). Drill through side panels next to hinge plates, using a 5mm drill bit and placing a scrap piece of wood on the other side.
- Page 12 Assembly Instructions Step 18 Wall fixing This unit must be secured to the wall. If you have any doubt in installing this unit, you should seek the service of a professional fitter. Firstly drill a 5mm hole through the cabinet back panel, through the holes in the brackets Then place the cabinet in...
- Page 13 Assembly Instructions Step 19 Hanging doors With help, slot door hinges onto hinge plates Tighten screw to lock hinges in position. Fix the soft close onto the hinges. Hinge adjustment To move doors up or down: loosen screws shown and move doors to suit.
-
Page 14: Care And Maintenance
A Guide to Wall Mounting & Fixings IMPORTANT: When drilling into walls always check that there are no hidden wires or pipes etc. Make sure that the screws and wall plugs being used are suitable for supporting your unit. Consult a qualified tradesperson if you are unsure. HINTS: 1) General Rule Always use a larger screw and wall plug if you are not sure.
Need help?
Do you have a question about the Realm Double Wardrobe and is the answer not in the manual?
Questions and answers