Advertisement
π
H-2597
PLASTIC WALL MOUNT
SANITARY NAPKIN
RECEPTACLE
TOOLS NEEDED
Drill
Drill Bit
Receptacle x 1
NOTE: Ensure that proper mounting hardware
is used for appropriate wall composition.
Enclosed hardware may not be compatible
with wall surface.
NOTE: Recommended mounting height is
approximately equal to toilet tissue dispenser.
SCREWS
1.
Hold up receptacle to desired location and mark two
holes on the wall where screws will be inserted.
(See Figure 1)
Figure 1
Mounting Locations
PAGE 1 OF 2
1-800-295-5510
uline.com
Phillips Screwdriver
Level
Liner x 1
MOUNTING INSTRUCTIONS
Tape Measure
PARTS
Adhesive Strip x 2
2. Drill into wall at two marked locations with
appropriate-sized drill bit. Insert wall anchors if
necessary.
3. Hold receptacle over previously drilled holes and
insert screws.
ADHESIVE STRIPS
1.
Remove backing from adhesive strips.
2. Firmly press onto receptacle. (See Figure 2)
3. Remove secondary backing from strips. Press
receptacle firmly onto surface.
Figure 2
Recommended
Placement
Screw x 2
0620 IH-2597
Advertisement
Table of Contents

Related Manuals for U-Line H-2597


Summary of Contents for U-Line H-2597
- Page 1 π H-2597 1-800-295-5510 uline.com PLASTIC WALL MOUNT SANITARY NAPKIN RECEPTACLE TOOLS NEEDED Drill Drill Bit Phillips Screwdriver Level Tape Measure PARTS Adhesive Strip x 2 Screw x 2 Receptacle x 1 Liner x 1 MOUNTING INSTRUCTIONS NOTE: Ensure that proper mounting hardware 2.
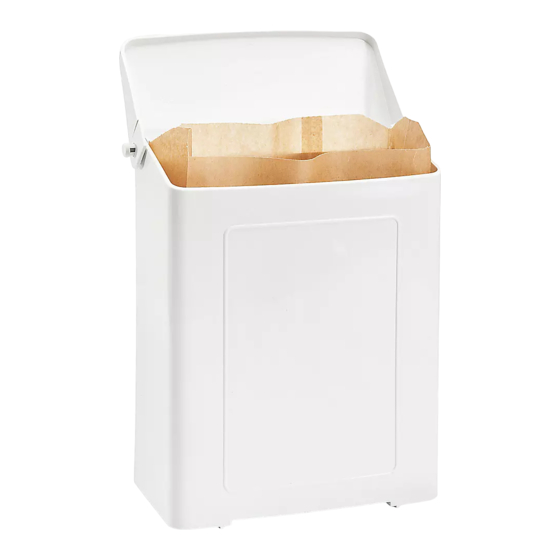
- Page 2 LINER LOADING INSTRUCTIONS 1. Open top of receptacle. Figure 3 2. Place an open liner (S-15960) down into receptacle. NOTE: Liner should be tucked behind the receptacle arms. (See Figure 3) LINER REMOVAL INSTRUCTIONS TOP REMOVAL Figure 4 1. Open the door on top of receptacle. (See Figure 4) 2.
Need help?
Do you have a question about the H-2597 and is the answer not in the manual?
Questions and answers