Advertisement
Available languages
Available languages
Quick Links
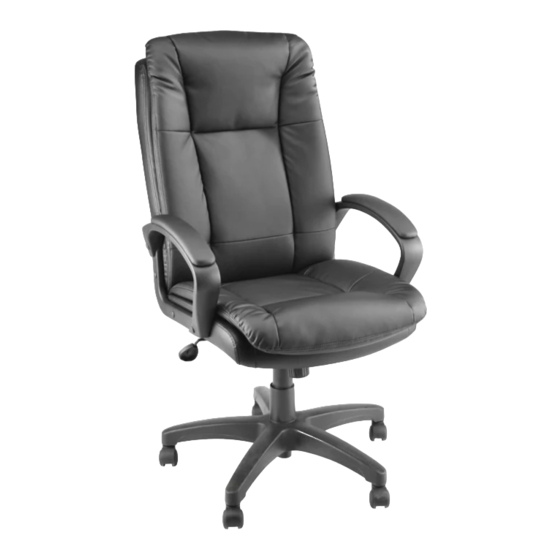
H-2753
CONFERENCE
ROOM CHAIR
TOOL INCLUDED
Allen Wrench
Back Cushion x 1
Gas Lift x 1
Dust Cover x 1
Figure 1
Dust
Cover
Gas Lift
PAGE 1 OF 9
1-800-295-5510
uline.com
Seat Cushion x 1
5-Star Base x 1
Mechanism x 1
PARTS
Caster x 5
Armrest x 2
ASSEMBLY
1.
Insert casters into legs of five-star base. Turn base
upright. Insert gas lift into center of base and place
dust cover over gas lift. (See Figure 1)
Para Español, vea páginas 4-6.
Pour le français, consulter les pages 7-9.
Hardware Kit
1
2
Screw x 4
Screw x 8
1/4 x 3/4"
1/4 x 1"
3
Plastic Cap x 8
0621 IH-2753
Advertisement

Related Manuals for U-Line H-2753


Summary of Contents for U-Line H-2753
- Page 1 Para Español, vea páginas 4-6. Pour le français, consulter les pages 7-9. H-2753 1-800-295-5510 uline.com CONFERENCE ROOM CHAIR TOOL INCLUDED Allen Wrench PARTS Hardware Kit Screw x 4 Screw x 8 1/4 x 3/4" 1/4 x 1" Back Cushion x 1...
- Page 2 ASSEMBLY CONTINUED 2. Align mechanism with holes on bottom of seat Figure 2 cushion with tension knob facing the front of seat. Use four 1/4 x 3/4" screws (1) to secure. (See Figure 2) Front NOTE: Use Allen wrench to tighten all screws. of Seat 3.
-
Page 3: Chair Adjustments
CHAIR ADJUSTMENTS 1. Seat Height Adjustment – To raise seat height, lift lever up with little to no weight on the seat. To lower seat height, lift lever up while sitting. 2. Upright Tilt Lock – To lock chair in an upright position, push the lever in toward the center of the seat. - Page 4 H-2753 800-295-5510 uline.mx SILLA PARA SALA DE CONFERENCIAS HERRAMIENTA INLCUIDA Llave Allen PARTES Kit de Tornillería 4 Tornillos 8 Tornillos 1/4" x 3/4" 1/4" x 1" 1 Respaldo 1 Asiento 1 Base Estrella 5 Ruedas 8 Tapas de Plástico 2 Descansabrazos 1 Pistón de Gas...
- Page 5 CONTINUACIÓN DE ENSAMBLE 2. Alinee el mecanismo con los orificios en la parte Diagrama 2 inferior del asiento acojinado con la perilla de tensión volteando hacia la parte frontal del asiento. Parte Frontal Use cuatro tornillos de 1/4" x 3/4" (1) para asegurarlo. del Asiento (Vea Diagrama 2) NOTA: Utilice la llave Allen para apretar todos...
- Page 6 AJUSTES DE LA SILLA 1. Ajuste de la Altura del Asiento – Para subir la altura del asiento, levante la palanca sin o con poco peso en el asiento. Para bajar la altura del asiento, levante la palanca mientras está sentado. 2.
- Page 7 H-2753 1-800-295-5510 uline.ca CHAISE DE CONFÉRENCE OUTIL INCLUS Clé Allen PIÉCES Matériel d'installation Vis x 4 Vis x 8 6,4 x 19 mm 6,4 x 25,4 mm Dossier x 1 Siège x 1 Étoile à 5 Roulette x 5 (1/4 x 1 po) (1/4 x 3/4 po) branches x 1...
- Page 8 ASSEMBLAGE SUITE 2. Alignez le mécanisme sur les trous situés sous le Figure 2 siège en orientant la molette de réglage de tension vers l'avant du siège. Fixez à l'aide de quatre vis de 1/4 x 3/8 po (1). (Voir Figure 2) Face avant du siège REMARQUE : Utilisez la clé...
- Page 9 RÉGLAGES DE LA CHAISE 1. Réglage de la hauteur du siège – Pour élever le siège, soulevez le levier avec peu ou sans poids sur le siège. Pour abaisser le siège, soulevez le levier en position assise. 2. Inclinaison avec blocage en position verticale – Pour bloquer la chaise en position verticale, poussez le levier vers le centre du siège.
Need help?
Do you have a question about the H-2753 and is the answer not in the manual?
Questions and answers