
Subscribe to Our Youtube Channel
Related Manuals for Schaller SW1


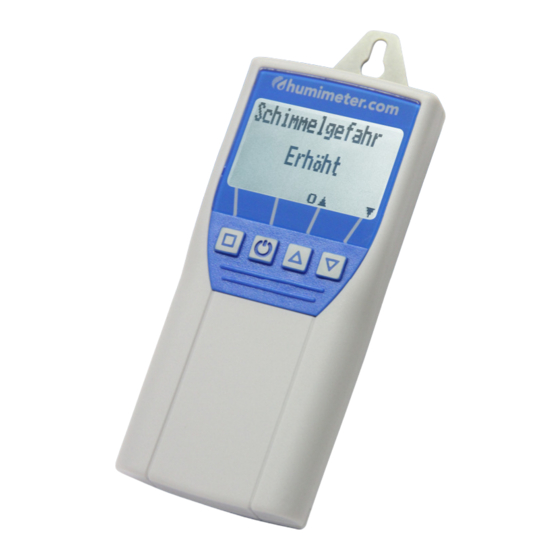
Summary of Contents for Schaller SW1
- Page 1 User manual mould and air guard humimeter SW1 to prevent from health threats version 1.1_en © Schaller GmbH 2017...
- Page 2 Function Preventing and avoiding mould: Mount a wall hook on a position with increased potential of mould (e.g. outer wall) and position the humimeter SW1 device on the hook. Switch on the instrument by pressing the button for 3 seconds. Select the calibration curve “Risk of mould”...
-
Page 3: Calibration Curves
Function climate monitor: Switch on the instrument and select the calibration curve “relative humidity” using the arrow keys . Measure the relative humidity in a central position of your room and let it adjust to the surrounding climate for a few minutes. -
Page 4: Operating The Instrument
risk level % relative humidity < 65 little 65% - 72% Luftfeuchte increased 72% - 80% high 80% - 90% very high > 90% Absolute humidity: shows the contained amount of water in gramme per cubic metre of air. The absolute humidity is a direct degree for the amount of water vapour contained in a certain air volume. - Page 5 Changing measuring interval: Menu – Options- Interval Standard is a measuring interval of 15 minutes. To increase the battery life, this interval can be exceeded to up to 12 hours. We recommend a measuring interval of about 15 minutes to one hour. Datalog: For activating the datalog, effect the following steps: Unlock: Menu - Options –...
- Page 6 Menu level overview – advanced user Keypad symbols Measuring window: Rolling menu Type selection menu Power ON / OFF Next calibration curve Previous calibration curve Switch upper Power off Switch lower Save Store menu Hold Show last log Autolog Store new log Watch saved data Power off Enter supplier´s...
-
Page 7: Design Of The Device
Design of the device warning light wall holder display of measuring calibration value curve selection of calibration curve ON button batteries slot (flipside) version 1.1_n page 7... -
Page 8: Care Instructions
Conditioning of the sensor The conditioning of the sensor (time until the device shows the actual measuring value) depends on several parameters. The parameter responsible for the highest measuring error is a temperature discrepancy between the sensors resp. the whole measuring instrument and the material to measure resp. -
Page 9: Exemption From Liability
For eventual resulting damages we cannot provide any warranty. In case of a faulty device, please contact Schaller GmbH (www.humimeter.com) or your dealer. version 1.1_n page 9... -
Page 10: Technical Data
128 x 64 matrix display, with LED backlight Dimensions housing: 166 x 64 x 30 mm Weight: 210g (with batteries) Protection class: IP 40 Scope of supply: humimeter SW1, 4 x 1.5Volt AA Alkaline batteries, manual page 10 version 1.1_n... -
Page 11: Important! Please Read
!IMPORTANT! Please read Common reasons for incorrect measurements • Don´t position the instrument at a wall that was treated with mould remover recently • Sunlight or other sources of heat or cold that doesn´t correspond to the surrounding temperature • Dripping or sprayed water •... -
Page 12: Short Manual
Short manual: Mould warning function: Calibration curve: Risk of mould Insert batteries – hang instrument on the wall In case of a mould risk the warning light is blinking. Ventilation monitor: Calibration curve: Absolute humidity If the measuring value INDOORS is HIGHER you can ventilate. INDOORS - OUTDOORS - VENTILATE?
Need help?
Do you have a question about the SW1 and is the answer not in the manual?
Questions and answers