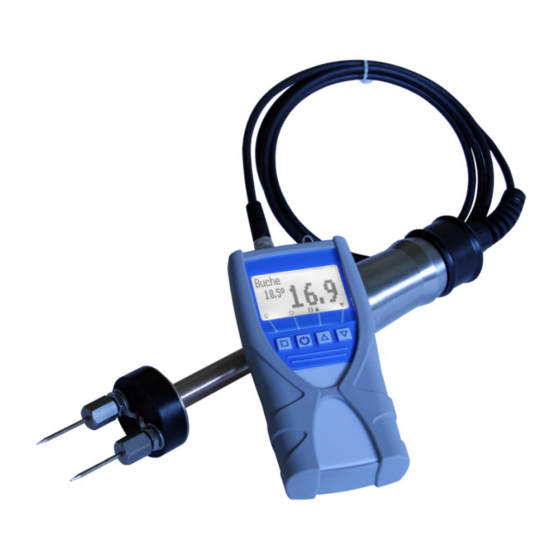
Summary of Contents for Schaller humimeter WLW
- Page 1 User manual humimeter WLW Moisture meter with ram electrode for round timber & split logs Version 1.1_en © Schaller GmbH 2013...
- Page 2 Short instruction manual Inside the ram electrode a temperature sensor is situated, which measures the temperature of the wood. Let the sensor assimilate to the temperature wood, because measured temperature is used for the internal material compensation. To switch on the device, press the key for three seconds.
- Page 3 Now you can save the measurement by pressing the key in the saving level. Press (Rolling Menu) key to enter the saving level. When the digit in front of the disk symbol increases, the saving was successfully. Tip: Take a few logs on different positions of each piece of wood you intend to measure, humimeter will...
- Page 4 Teak Declaration: The main group of wood is the wood sort, which is shown on the measurement display of your humimeter WLW. Do you want to measure wood, which is not in the list of the main group, you should search it at the sub groups in the table above. Then use the wood of the main group for the measuring.
- Page 5 View of the instrument (12626) WLW Hammer (12630): Sensor cabel Wood moisture Sort of wood Temperature value USB interface Elektrodes of ram electrode Keys to change the wood sort Power key Rolling Menu / HOLD-key Batteries case (flip side) Hand electrode (12847): Sensor cabel Elektrodes of ram electrode...
-
Page 6: Main Menu
Menu level overview Keypad symbols Measuring window: Rolling Menu Power ON / OFF Wood selection menu Switch upper Switch lower Save Next wood type Hold Previous wood type Watch the Off (3 sec.) Backlight saved data Suppliers data Store menu can be added Menu: View last Logs... - Page 7 Running the instrument Switch on the device: Press the key for three seconds. Change the kind of wood: Press the key. Set the clock: press two times the key - Options – Date / Time Here you set the date and the time by pressing (YY.MM.DD).
-
Page 8: Transfer Saved Data To The Pc
The bigger connector has to be connected to a USB slot on your PC. Start the LogMemorizer software on your PC and switch on your humimeter WLW. The data transfer can be started on your humimeter or on the software. - Page 9 WLW. At first plug in the side of the connector with the close plastic casing at the humimeter WLW. Then switch on the device. Not till then the other side of the cable has to be plugged in at the printer.
-
Page 10: Changing The Batteries
The frequency for technical check of the instrument depends on the use and required level of accuracy. For a fee, Messtechnik Schaller GmbH can also carry out a calibration at their factory. In this case you will receive a calibration certificate. -
Page 11: Technical Data
Weight (including batteries) 265g Weight Ram electrode 1500g Protection Category IP 40 Scope of delivery humimeter WLW, rubber protection cover, 4 x 1,5Volt AA Alkaline Batteries Optional WLW ram electrode + plastic case (12846) WLW hand electrode (12847) WLW hammer (12630) - Page 12 !IMPORTANT! Essential reading Common reasons for incorrect measurements • Product temperature out of application range Material below 0° C resp. above +50° C (32 to 122 °F) may cause faulty measurements.. • Not adjusted temperature of the device Let your humimeter BLW adjust to the surrounding temperature of the material to be measured for at least half an hour.


Need help?
Do you have a question about the humimeter WLW and is the answer not in the manual?
Questions and answers