Crestron Control System 3 Series Quick Start Manual
Automated processors
Hide thumbs
Also See for Control System 3 Series:
- Reference manual (68 pages) ,
- Operation manual (48 pages) ,
- Supplemental manual (22 pages)
Table of Contents
Advertisement
Quick Links
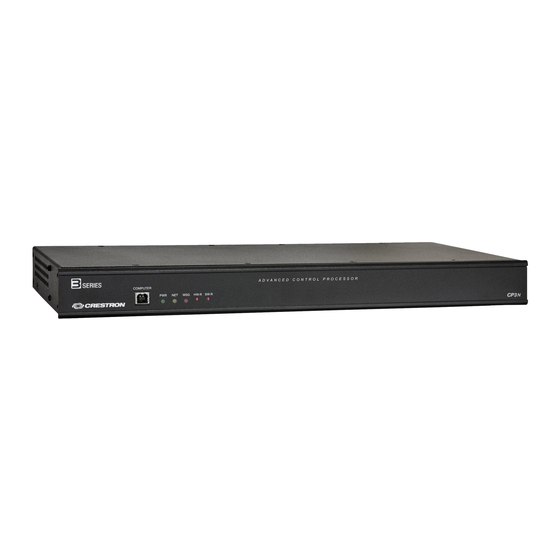
CP3 and CP3N
3-Series Control System® Automated Processors
The Crestron®
CP3
and
CP3N
are compact, rack-mountable 3-Series®
automated control processors with numerous integrated control ports.
Featuring the 3-Series control engine, the CP3 and CP3N unify the
disparate technologies in residential, commercial, and government
buildings so that they can communicate and work together intelligently.
The CP3N also supports the Crestron Control Subnet, which is an isolated
gigabit Ethernet network dedicated exclusively to Crestron devices.
NOTE:
The CP3 and CP3N are functionally similar. For simplicity within
this guide, the term "control system" is used to refer to both unless
otherwise noted.
In the Box
1
CP3 or CP3N, 3-Series Control System
Additional Items
2
Bracket, Rack Ear, 1U (2032122)
2
Connector, 3-Pin (2003575)
1
Connector, 4-Pin (2003576)
1
Connector, 5-Pin (2003577)
4
Connector, 8-Pin (2003580)
1
Connector, 9-Pin (2003581)
4
Foot, 0.5 in. x 0.5 in. x 0.23 in., Adhesive (2002389)
1
Cable, Power, 5 ft 10 in. (1.78 m) (2042043)
1
Power Pack, 24 VDC, 2.5 A, 100-240 VAC (2045873)
Install the Device
The control system can be mounted into a rack or placed on a flat
surface.
Mount into a Rack
The control system occupies 1U of rack space. Use the three screws from
the front part of each side panel, and a #1 Phillips screwdriver to attach
the two included rack ears to the device, as shown in the following
illustration. Then mount the control system into the rack using four
mounting screws (not included).
Rack Mounting Safety Precautions
Elevated Operating Ambient Temperature: If installed in a closed or
multi-unit rack assembly, the operating ambient temperature of the rack
environment may be greater than room ambient temperature. Therefore,
consideration should be given to installing the equipment in an
Quick Start
1
Advertisement
Table of Contents

Related Manuals for Crestron Control System 3 Series


Summary of Contents for Crestron Control System 3 Series
- Page 1 The control system can be mounted into a rack or placed on a flat buildings so that they can communicate and work together intelligently. surface. The CP3N also supports the Crestron Control Subnet, which is an isolated gigabit Ethernet network dedicated exclusively to Crestron devices. Mount into a Rack NOTE: The CP3 and CP3N are functionally similar.
- Page 2 Quick Start CP3 and CP3N 3-Series Control System® Automated Processors Place on a Flat Surface environment compatible with the maximum ambient temperature (Tma) specified by the manufacturer. Attach the included feet near the corners on the underside of the control Reduced Airflow: Installation of the equipment in a rack should be such system before placing it onto a flat surface or stacking it with other that the amount of airflow required for safe operation of the equipment equipment.
- Page 3 Connect the control system as called out in the following illustration. Connect power last. When connecting the control system: Use Crestron power supplies for Crestron equipment. The control system can be powered with the included 24 VDC power pack or via Cresnet® network power via the NET 4-pin terminal block port.
- Page 4 TX (from CP3/CP3N) TX- (from CP3/CP3N) TX-/RX- The CP3N has a dedicated Control Subnet used for communication between the control system and Crestron Ethernet devices without RX (to CP3/CP3N) RX+ (to CP3/CP3N) Not used interference from other traffic on the network.
- Page 5 1. Use the Device Discovery tool in Crestron Toolbox to discover the control system and its IP address on the network. 2. Use Crestron Toolbox to set the time zone. For more information refer to the Crestron Toolbox help file.
- Page 6 6. Click OK to reboot the control system after a reboot confirmation To enable the Apple HomeKit functionality on the control system: message is displayed. 1. Open Crestron Toolbox and establish a connection to the control 7. Return to the main Setup page. A unique eight-digit code is now shown system.
- Page 7 Crestron XiO Cloud environment. 2. Do either of the following: For existing accounts, navigate to https://portal.crestron.io. For new accounts, register at www.crestron.com/xiocloud. 3. Claim the device to the service as described in the Crestron XiO Cloud User Guide (Doc. 8214) at www.crestron.com/manuals.
- Page 8 Crestron disclaims any proprietary interest in the marks and names of others. Crestron is not responsible for errors in typography or photography.
Need help?
Do you have a question about the Control System 3 Series and is the answer not in the manual?
Questions and answers