Advertisement
Quick Links
Advertisement

Subscribe to Our Youtube Channel
Related Manuals for ZALMAN Z-MACHINE GT1000


Summary of Contents for ZALMAN Z-MACHINE GT1000
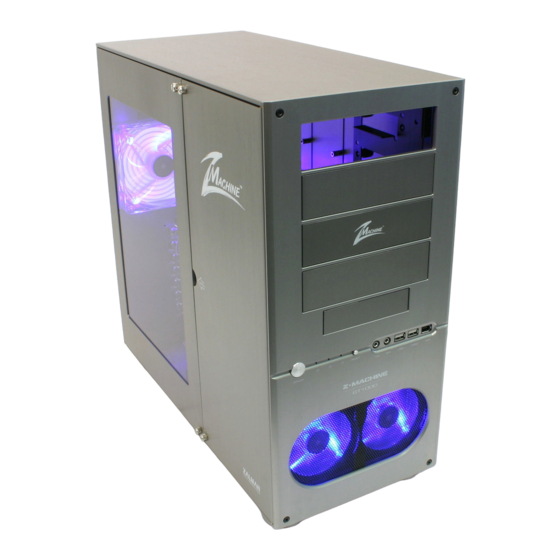
- Page 1 Z-MACHINE GT1000 English version ◈ Please read this manual thoroughly before installation. ◈ Visit our website and view the Z-MACHINE GT1000 installation video first to ease the installation process. www.zalman.co.kr www.zalmanusa.com www.zalman.co.kr www.zalmanusa.com...
-
Page 2: Table Of Contents
Z-MACHINE GT1000 ▣ Table of Contents 1. Safety Notices 2. Components 3. Specifications 4. Front Panel Buttons and I/O Ports 5. Installation Guide The specifications of any product may change without prior notice to improve performance. -
Page 3: Safety Notices
Disclaimer Zalman Tech Co., Ltd. is not responsible for any damages due to external causes, including but not limited to, improper use, problems with electrical power, accident, neglect, alteration, repair, improper installation, and improper testing. -
Page 4: Components
Z-MACHINE GT1000 Components (1) Z-MACHINE GT1000 Main Chassis The specifications of any product may change without prior notice to improve performance. - Page 5 Z-MACHINE GT1000 (2) Parts D D i i a a g g r r a a m m P P a a r r t t N N a a m m e e S S p p e e c c i i f f i i c c a a t t i i o o n n Q Q t t y y...
-
Page 6: Specifications
Z-MACHINE GT1000 Specifications E E n n c c l l o o s s u u r r e e T T y y p p e e Tower E E n n c c l l o o s s u u r r e e D D i i m m e e n n s s i i o o n n s s 480mm X 220mm X 450mm ( ( D D ×... -
Page 7: Front Panel Buttons And I/O Ports
Z-MACHINE GT1000 Front Panel Buttons and I/O Ports ① ② ⑤ ③ ④ ① System Power Button ② System Power LED ③ System HDD Power LEDs (1~2) ④ System Reset Button ⑤ Audio (Headphones, MIC), USB 2.0, IEEE1394 Port The specifications of any product may change without prior notice to improve performance. -
Page 8: Installation Guide
Z-MACHINE GT1000 Installation Guide (1) Enclosure Disassembly Unscrew the four Bolts (Bolt, FH M3x6) as shown in the diagram to open the Doors. (2) Power Supply Installation Place the PSU on the Power Bracket, and screw the four Bolts (Bolt, PHM #6- 32*10 (Black)) from outside the enclosure. - Page 9 Z-MACHINE GT1000 (3) Motherboard Installation Install the motherboard onto the enclosure. Now install the computer components (CPU, VGA, RAM, etc.) onto the motherboard. 참 고) To install a microATX motherboard, first install the 2 enclosed microATX Stand Offs to align the height with the ATX Stand Offs.
- Page 10 Z-MACHINE GT1000 (4) 5.25" & 3.5" Drive Installation 1) Remove the Bay Covers of the 5.25” (ODD) and 3.5” (FDD) bays. 2) Insert the ODD into a bay, and fix it in place with the Tool Free Bolts. - ODD Solts No. 3 & 4 and the FDD Slot are designed for using the Fixing Bolts (Bolt, M3x5).
- Page 11 Z-MACHINE GT1000 (5) Hard Disk Drive Installation 1) Basic Installation HDD Lock Bar Fixing Screw Hole HDD Lock Bar Fixing Screw ① Open (raise) the HDD Lock Bar of the HDD Chassis’ Bay where the HDD will be installed. ② Slide in the HDD into the Bay and close (lower) the HDD Lock Bar behind the HDD.
- Page 12 Z-MACHINE GT1000 2 2 ) ) L L o o c c k k i i n n g g I I n n s s t t a a l l l l a a t t i i o o n n Note) For moving the assembled enclosure, please fix the HDD Locking Device into place as shown on the diagrams.
- Page 13 Z-MACHINE GT1000 3) HDD Installation & Removal on the Bottom Panel AVM(Anti Vibration Mount) AVM Clamp ① ② ③ ① Remove the AVM(Anti Vibration Mount) installed on the Bottom Panel of the enclosure and install them on the left/right sides of the HDD.
- Page 14 Z-MACHINE GT1000 (6) Cable Connection 1) Button PCB Connection ※ Improper connection of the Power LED and HDD LED can lead to LED malfunction. Please refer to the motherboard manual before making cable connections. The specifications of any product may change without prior notice to improve performance.
- Page 15 Z-MACHINE GT1000 2) Front I/O Connections Note) ※ Precautions for Cable Connections ▶ Please refer to the motherboard manual for connecting the USB 2.0, IEEE1394a, and audio connectors. ▶ Do not connect the USB2.0 connector to the IEEE1394a connector. It will cause serious damage to the product.
Need help?
Do you have a question about the Z-MACHINE GT1000 and is the answer not in the manual?
Questions and answers