Table of Contents
Advertisement
Quick Links
Specifications
Min: 0.2 bar
Inlet Water Temperature
65°C
60°C
60-65°C Recommended
Maximum Static Pressure: 10.0 bar
Tools You'll Need
Flat Head
Crosshead
Screwdriver
Screwdriver
Prior to Installation
All products manufactured and supplied by Bristan are safe
provided they are installed, used correctly and receive regular
maintenance in accordance with these instructions.
This product has been tested to the Water Regulations Advisory
Scheme (WRAS) and satisfies the requirements of the Water
Supply (Water Fittings) Regulations 1999 and current bylaws.
For full Installation Requirements & Notes (IRN)
please visit wras.co.uk/directory.
We recommend isolation valves to be fitted to the inlet water
supplies to ensure ease of future maintenance.
Before installing these taps the water supply must be thoroughly
flushed in order to remove any swarf, solder etc.
This product must not be modified in any way as this will
invalidate the guarantee.
Flexible Tail Positions
Curved
Slight
90 °
round
bend
angle
Installation Instructions
& User Guide
Please leave these instructions
with the end user
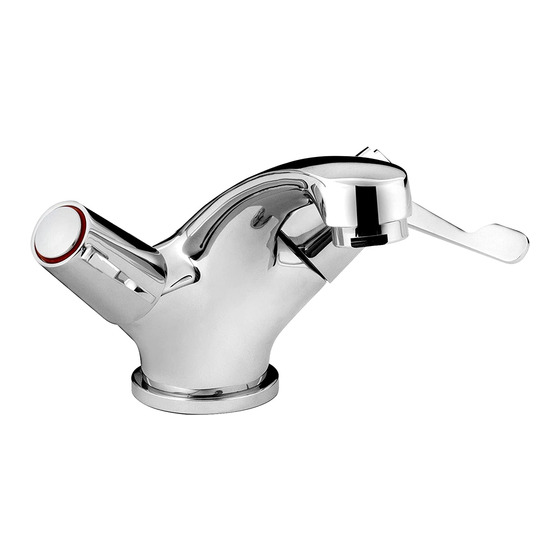
Product Code: VAL2 BAS C CD (D2)
Dynamic Water Pressure
Inlet Connections
Max: 5.0 bar
3.0
2.0
3.0
2.0
4.0
1.0
1.0
4.0
5.0
0.2
0.2
5.0
Pressure
Pressure
BAR
BAR
Adjustable
Long-Nosed
Pipe Cutter
Spanner
Pliers
Pack Contents
x1
x1
x1
x1
x1
x1
Kinks
Twists
Spare Parts
To replace any spare parts
for your tap, why not
scan the QR Code or
visit www.bristan.com
and search for your product.
Installation
1
Screw the
flexible tails and
fixing kit rod to
the tap base by
hand only.
DO NOT
OVERTIGHTEN.
1/2" BSP
Flexible Tails
3
Secure the tap
body using
the fixing kit.
Connect the
flexible tails
to the hot and
cold water
supplies.
x2
5
x1
x1
x1
2
Push the vertical rod through
4
Screw the horizontal arm on
to the waste body, ensuring
6
Use the
pop-up link to
connect the
vertical and
Fit the waste
horizontal rods.
body to the
basin, ensuring
the washers are
in place.
sits comfortably
straight. Tighten
Feed the tap
body through
the basin hole,
ensuring the
plinth is in place.
the back of the basin tap.
Connect the lower rod to
the vertical rod.
the washer is in place.
Adjust so the
horizontal rod
the screws to
secure in place.
Advertisement
Table of Contents

Related Manuals for Bristan VAL2 BAS C CD (D2)


Summary of Contents for Bristan VAL2 BAS C CD (D2)
- Page 1 Connect the Prior to Installation Pack Contents flexible tails to the hot and All products manufactured and supplied by Bristan are safe cold water provided they are installed, used correctly and receive regular maintenance in accordance with these instructions. supplies.
- Page 2 Love Your Chrome At Bristan, we want to make things as easy as possible for our customers. That’s why we offer solid guarantees on all our products, effective from the date of purchase, Bristan offers an effective chrome-friendly cleaning kit to give you peace of mind.
Need help?
Do you have a question about the VAL2 BAS C CD (D2) and is the answer not in the manual?
Questions and answers