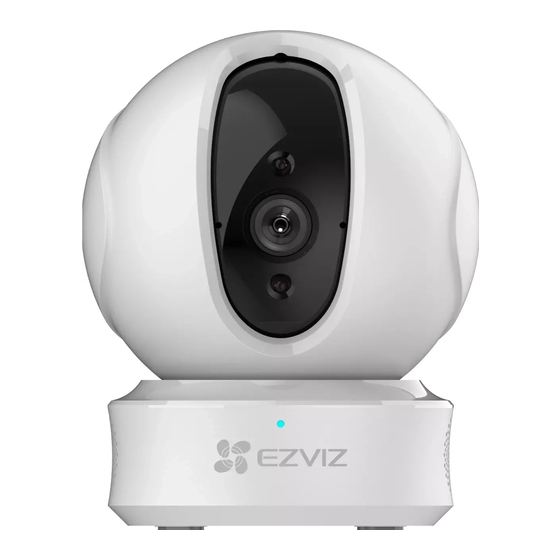
Ezviz C6CN Manual
Hide thumbs
Also See for C6CN:
- Quick start manual (66 pages) ,
- Quick start manual (9 pages) ,
- Quick start manual
Summary of Contents for Ezviz C6CN
- Page 1 Package Contents Camera (x1) Base (x1) Screw Kit (x1) Drill Template (x1) Power Cable (x1) Power Adapter (x1) Quick Start Guide (x1) The camera appearance is subject to the actual model you have purchased.
- Page 2 Slow-flashing Red: Wi-Fi connection has failed. Fast-flashing Red: Device exception (e.g. MicroSD card error). Solid Blue: Video is being viewed or played back in EZVIZ App. Slow-flashing Blue: Camera is running properly. Fast-flashing Blue: Camera is ready for the Wi-Fi connection.
- Page 3 Ethernet Port Power Port Setup Power-on Plug the power cable into the camera, and then plug the power adapter into an outlet as shown in the figure below. Power Outlet Power Cable The LED turning fast-flashing blue indicates that the camera is powered on and ready for Wi-Fi configuration.
- Page 4 Search for "EZVIZ" in the App Store or Google Play (TM) Download and install the EZVIZ app. Launch the app. Create and register an EZVIZ user account by following the start-up wizard. The camera works with 2.4GHz Wi-Fi signals. If you have a dual-band router with separate 2.4GHz and 5GHz networks, make sure your...
- Page 5 After installing the Micro SD card, you should initialize the card in the EZVIZ app before using it. In the EZVIZ app, tap the Storage Status in the Device Settings interface to check the SD card status. If the memory card status displays as Uninitialized, tap to initialize it.
- Page 6 Install the Base The camera can be placed horizontally or mounted on the ceiling. Here we take ceiling mounting as an example. • Make sure the ceiling is strong enough to withstand three times the weight of the camera. • Avoid positioning the camera in an area that gets a lot of light shining directly into the camera lens.
- Page 7 Install the Camera Mount the camera to the base, and turn it clockwise until it is fixed. After installing the camera, please go to the EZVIZ app to flip the camera image. For detailed information, please visit www.ezviz.com. EXPOSURE TO RADIOFREQUENCY RF...
- Page 8 INFORMATION FOR PRIVATE HOUSEHOLDS 1. Separate collection of waste equipment: Electrical and electronic equipment that has become waste is referred to as waste equipment. Owners of waste equipment must dispose of it separately from unsorted municipal waste. In particular, waste equipment does not belong in household waste, but in special collection and return systems.


Need help?
Do you have a question about the C6CN and is the answer not in the manual?
Questions and answers
how do i open sd card cover