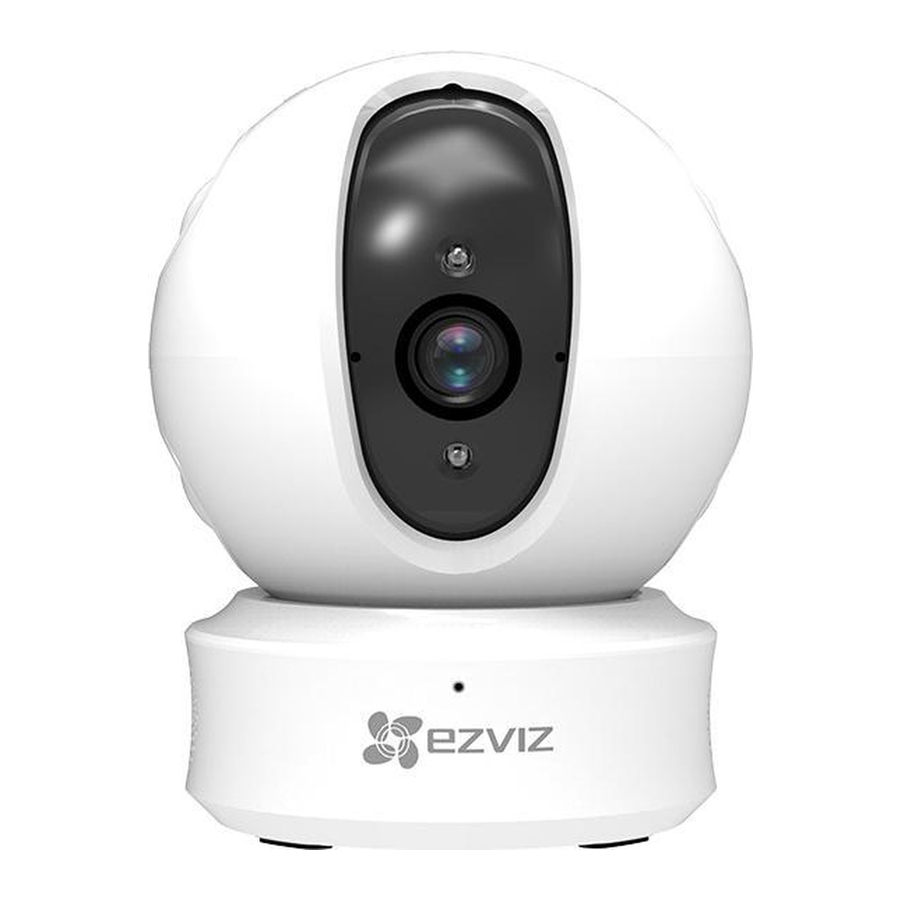
EZVIZ C6C - Smart Home Camera Manual
Also See for C6C:
- Quick start manual (99 pages) ,
- Quick start manual (58 pages)
Advertisement
Table of Contents
Contents
EZVIZ C6C - Smart Home Camera Manual

Setup
Step 1: Power-on
Plug the power cable into the camera, and then plug the power adapter into an outlet as shown in the figure below.

LED Indicator Status

 | Solid Red: Camera is starting up. Slow-flashing Red: Wi-Fi connection has failed. Fast-flashing Red: Device exception (e.g. MicroSD card error). |
 | Solid Blue: Video is being viewed or played back in EZVIZ App. Fast-flashing Blue: Camera is ready for the Wi-Fi connection Slow-flashing Blue: Camera is running properly. |

Step 2: Camera Setup
- Create a user account
- Connect your mobile phone to Wi-Fi using your 2.4GHz network.
- Search for "EZVIZ" in the App Store or Google Play
- Download and install the EZVIZ app.
- Launch the app.
- Create, and register an EZVIZ user account by following the startup wizard.
- Add a camera to EZVIZ
- Log in to your account using the EZVIZ app.
- Tap "+" on the Home page to go to the Scan QR Code interface.
![EZVIZ - C6C - Camera Setup - Step 1 Camera Setup - Step 1]()
- Scan the QR Code on the camera.
![EZVIZ - C6C - Camera Setup - Step 2 Camera Setup - Step 2]()
- Follow the EZVIZ app wizard to finish Wi-Fi configuration.
![EZVIZ - C6C - Camera Setup - Step 3 Camera Setup - Step 3]()
- If the camera fails to connect to your Wi-Fi network, press and hold the Reset button for 5s and repeat Step 2.2.
- To select another Wi-Fi network, press and hold the Reset button for 5s to reboot the device.
- Enable the Image Encryption
After enabling it, your video and image can be encrypted in transmission. You can also change the default password.
- Go to the camera settings.
- Tap "Change Password".
![EZVIZ - C6C - Camera Setup - Step 4 Camera Setup - Step 4]()
- Tap "Edit".
- Enter the original verification code located on the label of the camera.
- Enter new password (6 to 12 characters and numbers).
- Angle Adjustment
You can adjust the camera via the EZVIZ app to get an optimum angle. The panning angle ranges from 0° to 340°, and the tilting angle ranges from -15° to 105°.
SD Card Management
- Insert a MicroSD card into the slot before mounting.
- MicroSD card not included in the Box Contents. Recommended compatibility: Class 10, Max.128GB.
![]()
- In the EZVIZ app, tap the Storage Status in the Device Settings interface to check the SD card status.
![]()
- If the memory card status displays as Uninitialized, tap to initialize it.
The status will then change to Normal and it can store videos and/or pictures.
Mounting (Optional)
The camera can be mounted on the wall or ceiling.
- Make sure the wall/ceiling is strong enough to withstand three times the weight of the camera and the mounting.
- Camera should stay away from any reflective objects such as mirrors.
- Place drill template onto the surface you have chosen to mount the camera.
- (For cement wall/ceiling only) Drill screw holes according to the template and insert three expansion screws.
- Use three metal screws to fix the camera base according to the template.
![]()
- Install the camera on the base, and turn it 15° to secure it.
![]()
- Connect the power cable to the camera. If the camera was previously connected to the Wi-Fi network, it will automatically connect to the same Wi-Fi network.
Box Content

Type
Type A

Type B


Documents / Resources
References
Download manual
Here you can download full pdf version of manual, it may contain additional safety instructions, warranty information, FCC rules, etc.
Advertisement


Need help?
Do you have a question about the C6C and is the answer not in the manual?
Questions and answers