SATO CL4NX Plus, CL6NX Plus - Industrial Label Printer Quick Guide
- Operator's manual (889 pages) ,
- Programming reference manual (759 pages) ,
- Driver manual (106 pages)
Advertisement
This is the quick start guide for your first operation.
For detail, refer to the operator manual available on your region's website (https://www.sato-global.com/).
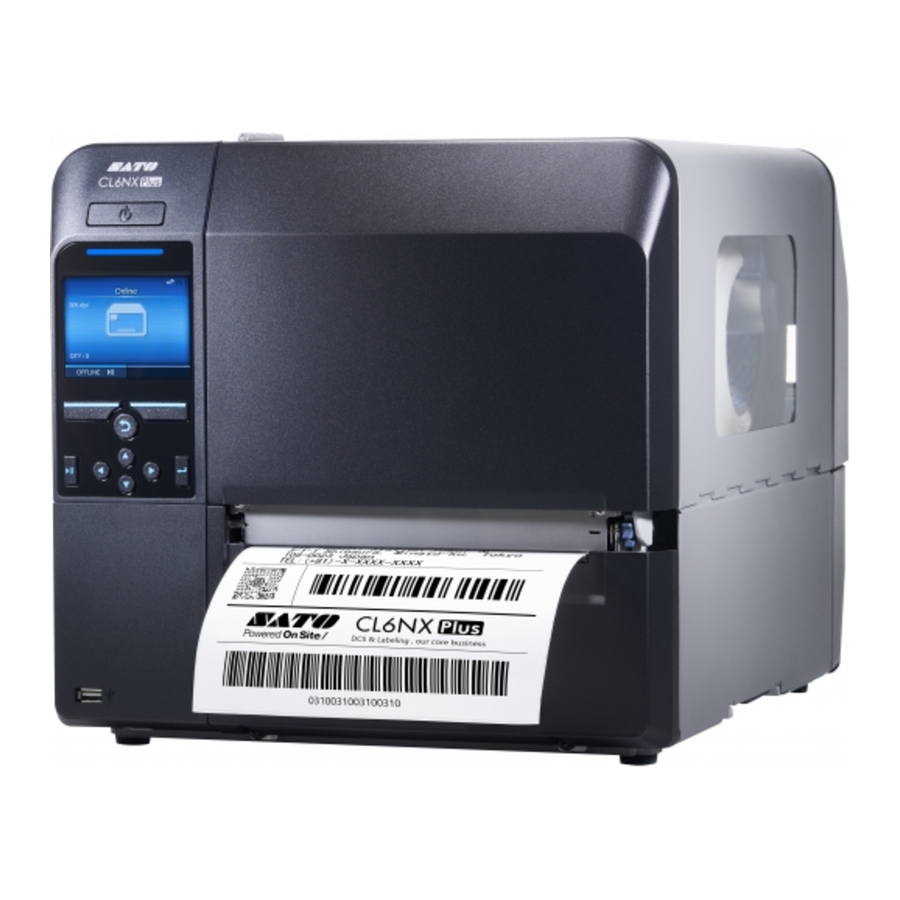
Illustrations used in this quick guide is CL4NX Plus unless otherwise specified.
This equipment is not suitable for use in locations where children are likely to be present.
When carrying this equipment, be careful not to drop it. There is a risk of injury.
Accessories

- CL4NX Plus/CL6NX Plus
- Quick guide
- Global Warranty Program leaflet
- Documents
- Power cord*
* The shape of power plug varies depending on the region.
Parts Identification

![]() (Power) button
(Power) button- Operator panel
- Media discharge outlet
- USB connector (Type A)
- Top cover
- Ribbon rewind spindle
- Ribbon supply spindle
- Media holder guide
- Media holder
- AC input terminal
- USB connector (Type A)
- WLAN antenna (optional)
- RS-232C connector
- IEEE1284 connector
- EXT connector
- USB connector (Type B)
- LAN connector
Options

- Cutter unit
- Dispenser unit
- Rotary cutter kit (CL4NX Plus only)
Connecting the Power Cord

- Connect the power cord to the AC input terminal
![]() .
. - Plug the power plug into an AC outlet.
 .
.Loading Ribbon (For thermal transfer)

- Open the top cover
![]() fully to prevent accidental dropping of the cover.
fully to prevent accidental dropping of the cover. - Push the ribbon rewind spindle
![]() all the way in.
all the way in. - Push the head lock lever
![]() toward the rear.
toward the rear. - Load and insert the ribbon
![]() onto the ribbon supply spindle
onto the ribbon supply spindle ![]() note of the wind direction.
note of the wind direction. - From the ribbon supply spindle
![]() , pass the ribbon below the print head
, pass the ribbon below the print head ![]() .
. - Wind the ribbon counterclockwise to the ribbon rewind spindle
![]() and grip sheet
and grip sheet ![]() .
. - Press the print head
![]() down until the head lock lever is locked.
down until the head lock lever is locked. - Close the top cover.
 fully to prevent accidental dropping of the cover.
 all the way in.
 toward the rear.
 onto the ribbon supply spindle
  note of the wind direction.
 .
. .
.Loading Media

- Open the top cover
![]() fully to prevent accidental dropping of the cover.
fully to prevent accidental dropping of the cover. - Push the head lock lever
![]() toward the rear.
toward the rear. - Pull the media holder guide
![]() and media guide
and media guide ![]() away from the product. Turn the knob
away from the product. Turn the knob ![]() counterclockwise to release the media guide.
counterclockwise to release the media guide. - Load the media roll firmly onto the media holder
![]() .
. - Push the media holder guide
![]() lightly against the media roll.
lightly against the media roll. - Pass the media below the media damper
![]() and the media sensor guide
and the media sensor guide ![]() while pushing the media toward the inside of the product. Make sure that the end of the media extends out the front of the product.
while pushing the media toward the inside of the product. Make sure that the end of the media extends out the front of the product. - Push the print head
![]() down until the head lock lever is locked.
down until the head lock lever is locked. - Push the media guide
![]() lightly against the near side
lightly against the near side ![]() of the media and turn the knob
of the media and turn the knob ![]() to lock the media guide.
to lock the media guide. - Close the top cover.
 and media guide
  away from the product. Turn the knob
  counterclockwise to release the media guide.
 .
. and the media sensor guide
  while pushing the media toward the inside of the product. Make sure that the end of the media extends out the front of the product.
 of the media and turn the knob
 Powering-On the Product

Press the  (Power) button
  until the LED of the operator panel lights in blue.
Starting Up the Product (Startup Guide)
When you power-on the product for the first time after purchase, the display shows the startup guide. The startup guide is to help you through the initial product settings, such as setting the time and date, and loading the ribbon and media.
Follow the displayed instructions.
You can close the startup guide and perform configuration later from the menu.
Powering-Off the Product
- Make sure that the product is in Offline mode.
- Press and hold the
![]() (Power) button
(Power) button ![]() for more than two seconds.
for more than two seconds.
Basic Specifications
Model name: CL4NX Plus/CL6NX Plus
Print method: Direct thermal and Thermal transfer
Head density (Resolution):
- CL4NX Plus: 203, 305, 609 dpi (8, 12, 24 dots/mm)
- CL6NX Plus: 203, 305 dpi (8, 12 dots/mm)
Dimensions:
- CL4NX Plus: 271 (W) x 457 (D) x 321 (H) mm
(10.7" x 18.0" x 12.6") (Excludes projection) - CL6NX Plus: 338 (W) x 457 (D) x 321 (H) mm
(13.3" x 18.0" x 12.6") (Excludes projection)
Weight:
- CL4NX Plus: 15.1 kg (33.3 lbs) (Excludes media, ribbon and options)
- CL6NX Plus: 20.3 kg (44.7 lbs) (Excludes media, ribbon and options)
Power requirements:
- Input voltage
CL4NX Plus: AC 100 - 240 V, 3.0 A, ±10 %
CL6NX Plus: AC 100 - 240 V, 4.5 A, ±10 % - Frequency: 50 - 60 Hz
- Power consumption
Input power voltage condition: AC 230 V, 50 Hzz
CL4NX Plus: At peak: 190 VA / 180 W (at 30% printing ratio), Standby: 40 VA / 20 W
CL6NX Plus: At peak: 233 VA / 217 W (at 30% printing ratio), Standby: 60 VA / 23 W
Environmental conditions (Temperature/Humidity):
- Operating: 0 - 40 ºC (32 - 104 ºF), 30 - 80% RH (non-condensing)
- Storage: −20 - 60 ºC (−4 - 140 ºF), 30 - 90% RH (non-condensing)
Technical Specification ([B] Bluetooth [W] Wireless LAN [U] RFID UHF * 1 [H] RFID HF (CL4NX Plus) [N] NFC)
Frequency band: [B] 2402 - 2480 MHz, [W] 2412 - 2472 MHz, 5180 - 5825 MHz, [U] 865 - 868 MHz, 902 - 928 MHz, [H] 13.56 MHz, [N] 13.56 MHz, Modulation: [B] GFSK, DQPSK, 8DPSK, [W] DSSS, OFDM, [U] PR-ASK, [H] ASK, [N] NFC Type 2 Tag (Passive), Max. output power*2: [B] ≦ 10 dBm, [W] ≦ 20.5 dBm, [U] ≦ 30 dBm, [H] ≦ 23 dBm, Antenna Gain*2: [B] +1.4 dBi, [W] +2.5 dBi, [U] −41.97 dBi(SRA), −21.36 dBi(FRONTCOUPLER), [H] −65 dBi
*1 The frequency written above is the specification of the module, and the frequency range is limited by regional regulation of each country where the printers are sold.
*2 [N] Operating distance of up to 100 mm (depending on various parameters, such as field
Open Source Software
This printer product includes open source software applied to the open source software license. Please see our web site for more information. https://www.sato-global.com/licenses/oss/
First edition: Sep. 2020
Q05360600
©2020 SATO Corporation


VideosSato CL4NX Plus - Calibrating Video
Documents / Resources
References
Download manual
Here you can download full pdf version of manual, it may contain additional safety instructions, warranty information, FCC rules, etc.
Download SATO CL4NX Plus, CL6NX Plus - Industrial Label Printer Quick Guide
Advertisement


Need help?
Do you have a question about the CL4NX Plus and is the answer not in the manual?
Questions and answers