SATO CL6NX Kitting Manual
Dispenser kit. dispenser kit + rewind
Hide thumbs
Also See for CL6NX:
- Operator's manual (807 pages) ,
- Programming reference manual (756 pages) ,
- Service manual (160 pages)

Related Manuals for SATO CL6NX


Summary of Contents for SATO CL6NX
-
Page 1: Barcode Printer
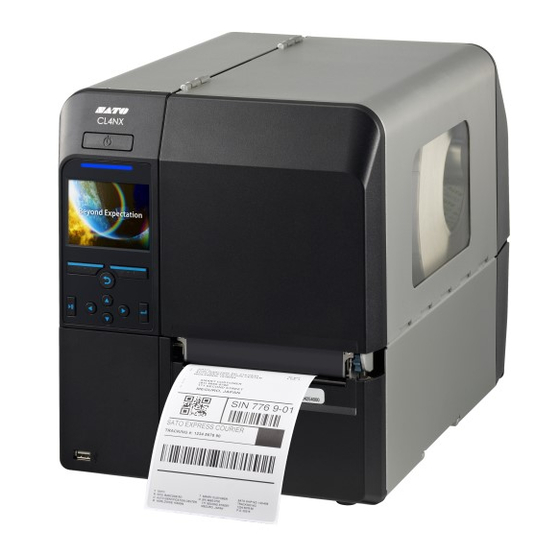
原 本 BARCODE PRINTER CL6NX +Dispenser (KITTING MANUAL) WWCL95200: Dispenser kit WWCL95300: Dispenser kit + Rewind 15/Jan/2015 Production Engineer Dept SATO TECHNOLOGY CO.,LTD APPROVED CHECKED INCHARGE 間下 白濱 横山 2015.1.15 2015.1.15 2015.1.15 PE-E70Z02... -
Page 2: Revision History
Revision History Model : DISPENSER / DISPENSER + REWIND Kitting (CL6NX) Date Description Revised Page(s) 初版発行 15/Jan/2015... - Page 3 CL6NX KITTING MANUAL Page. 1 P562409xx MOTOR COVER(DIS) REWIND ASSY DISPENSE ASSY R288240xx EXT SIGNAL JG100011A CABLE SET REWIND CORE TIE WRAP R291150xx RELAY PCB ASSY MD3300622 PAN SCREW SW+WS (2JP3006 SW+WS) P321972xx For RELAY PCB Assy EXT POWER MD4300622...
- Page 4 CL6NX KITTING MANUAL Page. 2 DISPENSE ASSY R291150xx RELAY PCB ASSY MD3300622 PAN SCREW SW+WS (2JP3006 SW+WS) For RELAY PCB Assy P562405xx DIS. PLATE MD4300622 PAN SCREW SW+WL MD3401028 (Black) (2JP3006 SW+WL) PAN SCREW SW+WS For Dispense Bar (8JP4010 SW+WS) &...
- Page 5 CL6NX KITTING MANUAL Page. 3 <Preparation tool and Caution> *Phillips screwdriver +No.2 *Nipper Please turn OFF the power before assembling the dispenser. <Procedure (Dismantle)> 1. Open the open-cover, and Head-open 2. Remove (1) screw, and take-out (2) and (3) .
- Page 6 CL6NX KITTING MANUAL Page. 4 5. Remove (6) screw, take out (7). 6. Remove (8) screw, take out (9). Reuse (Need modify) LABEL HOLDER 7. Delete (modify) the circle shape of (9) GUIDE -RH Use the nipper, please cut the ribs (3-places) of joint.
- Page 7 CL6NX KITTING MANUAL Page. 5 <Procedure (Assembly)> 8. Attach (10), fix by (11) screw. 9. Attach (12), fix the motor cable. KIT items REWIND MOTOR 10. Re-attach (13), fix by (14) screw. (10) Motor cable is in the shaded area , do not...
- Page 8 CL6NX KITTING MANUAL Page. 6 Fit the shape 11. Pass thru (15), (16), to Rewind-shaft and fix by Rewind-lock-plate. 12. Insert a (17) to Rewind core assy. 13. Attach (18) to the Rewind shaft. 14. Attach (19), fix by (20) screw.
- Page 9 CL6NX KITTING MANUAL Page. 7 15. Connect the (0) Option-cable on (26) Relay-PCB * Option-cable is printer-side items. OPTION CABLE 16. Connect Dispense-unit’s cable (Dispense Sensor- cable to Relay-PCB KIT items (26) RELAY-PCB KIT items Dispense Sensor cable (from Dispense Unit)
- Page 10 CL6NX KITTING MANUAL Page. 8 20. Open the Dispenser-unit. KIT items 21. Attach (31), fix by (32) screw. <Note> Refer to below photo. (31) DISPENSER BAR Set to match Center-line of Dispense-bar and ▲ mark (of Engine-frame), then fix it by screw.
- Page 11 CL6NX KITTING MANUAL Page. 9 <Check and adjust after assembly Dispenser-kit> <Preparation (set the Label, etc)> (1) Set Pressure roller in center of used label. Label Route (2) Set Label and Ribbon to Printer Label: Peel off the label (about 50cm) from Label roll (3) Open the thermal-head (4) Open the Dispense-unit, pass thru the Label into it.
- Page 12 CL6NX KITTING MANUAL Page. 10 <Check and adjust after assembly Dispenser-kit> Label Route <Preparation (set the Label, etc)> (1) Set Pressure roller in center of used label. (2) Set Label and Ribbon to Printer Label: Peel off the label (about 30cm) from Label roll (3) Open the thermal-head (4) Open the Dispense-unit, pass thru the Label into it.
- Page 13 CL6NX KITTING MANUAL Page. 11 <Check and adjust after assembly Dispenser-kit> Power <Test printing method> (1) Power ON the CL6NX printer (press 「Power」key) (2) Clock display confirmation. (DS+RW MODEL only) (3) Press 「Soft-L」 (4) Press 「Soft-R」, display the “Offline” Soft-R (5) Press 「Enter」...
- Page 14 CL6NX KITTING MANUAL Page.12 Power <Check and adjust after assembly Dispenser-kit> <Check contents and adjust> Ⅰ. Dispense-Sensor function Confirm that the next-label is printed when peeling-off the label. (next-label does not printed before peeling-off the label) Soft-R Ⅱ. Dispense functions...
- Page 15 CL6NX KITTING MANUAL Page.13 <Check and adjust after assembly Dispenser-kit> Ⅱ. Dispense functions (2) In case of printing (alignment) is slanting, or backing-paper is slant loading by rewind-core. Adjust the slope angle of Dispense-bar Center line Adjust method (1) Loose the screw...
- Page 16 CL6NX KITTING MANUAL Page.14 <Packing method> 1. Remove Small-piece from Cushion (Bottom-Front) ~with Dispenser & Dispenser +Rewind model Cushion (Top Front -L) Cushion (Top Rear) Cushion (Top Front -R) Cushion (Bottom-Rear) Modify the Cushion (Bottom-Front) +DS & DS+REWIND model CUSHION...
- Page 17 CL6NX KITTING MANUAL Page.15 Susunan packing item seperti gambarajah di bawah. Pastikan taping bawah carton case bentuk “H”. Q046294xx CARTON SPACER Q046290xx CUSHION (T-R) Q046289xx CUSHION (T-F- LH) PACKING TAPE Q046288xx TOP : H PASTE CUSHION (T-F- RH) BOTTOM : H PASTE...
Need help?
Do you have a question about the CL6NX and is the answer not in the manual?
Questions and answers