Sign In
Upload
Download
Table of Contents
Contents
Add to my manuals
Delete from my manuals
Share
URL of this page:
HTML Link:
Bookmark this page
Add
Manual will be automatically added to "My Manuals"
Print this page
×
Bookmark added
×
Added to my manuals
Manuals
Brands
SOLIS Manuals
Data Loggers
WL Stick
Quick installation manual
SOLIS WL Stick Quick Installation Manual
Wl stick datalogger
Hide thumbs
1
2
3
4
5
6
7
8
9
10
11
12
13
14
15
16
17
18
19
20
21
22
23
page
of
23
Go
/
23
Contents
Table of Contents
Bookmarks
Table of Contents
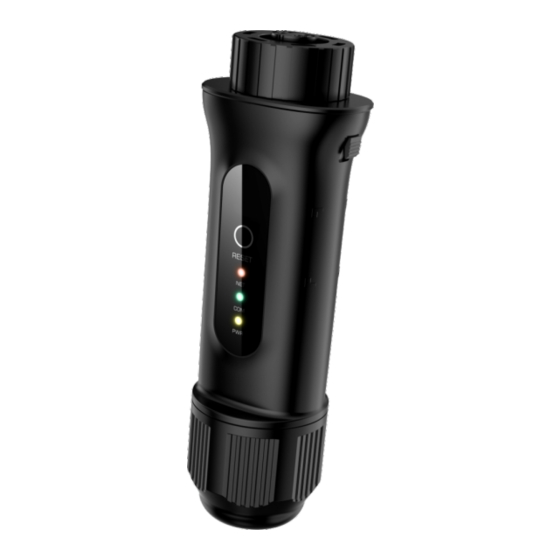
LED and Button
LAN Configuration
Wifi Configuration
Change the Password
FCC Certification
Advertisement
Quick Links
1
Wifi Configuration
Download this manual
WL Stick Datalogger
Quick Installation Manual
Version: 1.2
Delivery Content
1 WL stick
1 Quick Installation Manual
Table of
Contents
Previous
Page
Next
Page
1
2
3
4
5
Advertisement
Table of Contents
Need help?
Do you have a question about the WL Stick and is the answer not in the manual?
Ask a question
Questions and answers
Related Manuals for SOLIS WL Stick
Data Loggers SOLIS W4G Quick Installation Manual
Stick datalogger (22 pages)
Data Loggers SOLIS W4G Quick Installation Manual
Stick datalogger (21 pages)
Data Loggers SOLIS W4G Setup Manual
Wifi datalogger (6 pages)
Data Loggers SOLIS S3-WIFI-ST User Manual
External wifi data logger for remote system monitoring (17 pages)
Data Loggers SOLIS S3-Logger User Manual
(28 pages)
Data Loggers SOLIS DLS Quick User Manual
Data logger wifi stick version 2.1 (5 pages)
Data Loggers SOLIS S3-WiFi-ST Quick Installation Manual
Wi-fi stick data logger (21 pages)
Data Loggers SOLIS S4-WIFI-ST User Manual
External wi-fi data logger for remote system monitoring (20 pages)
Data Loggers SOLIS S3-Logger User Manual
(26 pages)
Data Loggers SOLIS S2-WL-ST-4PIN User Manual
External wi-fi & lan data logger for remote system monitoring (21 pages)
Data Loggers SOLIS S2-WL-ST(USB) Quick Installation Manual
Wi-fi/lan stick data logger (25 pages)
Data Loggers SOLIS S5-WiFi-ST-4Pin Quick Installation Manual
Wi-fi stick data logger (24 pages)
Data Loggers SOLIS S1-W4G-ST-4PIN User Manual
External wi-fi & cellular data logger for remote system monitoring (24 pages)
Data Loggers SOLIS S5-WiFi-ST-4Pin Quick Installation Manual
Wi-fi stick datalogger (24 pages)
Data Loggers SOLIS S2-RF-LINK 4Pin Quick Installation Manual
Rf data logger (24 pages)
This manual is also suitable for:
S2-wl-st
Table of Contents
Print
Rename the bookmark
Delete bookmark?
Delete from my manuals?
Login
Sign In
OR
Sign in with Facebook
Sign in with Google
Upload manual
Upload from disk
Upload from URL


Need help?
Do you have a question about the WL Stick and is the answer not in the manual?
Questions and answers