Table of Contents
Advertisement
Quick Links
Advertisement
Table of Contents

Subscribe to Our Youtube Channel
Related Manuals for AmScope AFDM1080


Summary of Contents for AmScope AFDM1080
- Page 1 AFDM1080 Auto-Focus Digital Microscope v0.9.20221026...
- Page 2 Other indicators can be a loud buzzing sound or crackling. Contact AmScope to report such behavior. Do not use around flammable liquids or gases. Electric instruments can ignite flammable substances which could result in an explosion or fire.
-
Page 3: Table Of Contents
Measurement Calibration ..............................12 The Camera Control Toolbar ............................13 Measurement ........................................14 Magnification ........................................15 Image Format ........................................15 Video ............................................. 16 SD Card ..........................................16 Language ..........................................17 Time ............................................17 Auto Focus ..........................................18 Miscellaneous ........................................19 amscope.com... -
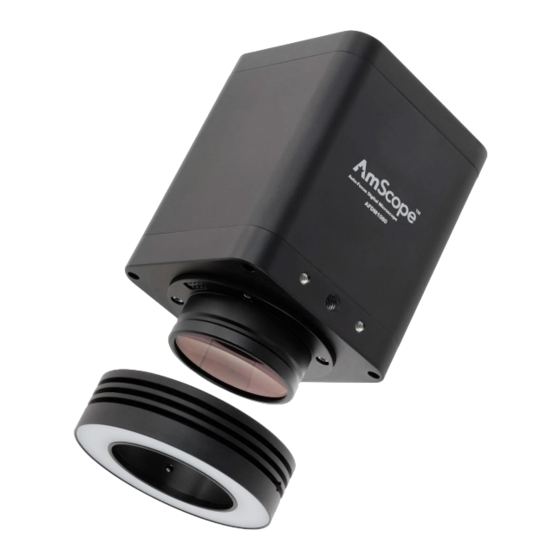
Page 4: What's In The Box
Lens Optical Magnification 0.028X-0.56X Lens Zoom Ratio 1:20 Power Requirements 12VDC 3A input 100-240VAC 50/60Hz adapter What’s In The Box The AFDM1080 standard outfits include: • One digital microscope • One ring light (AFDM1080L only) • One USB mouse •... -
Page 5: Setup
50mm collar by sliding the lens into the collar. To mount the AFDM1080 to a 76mm collar, either the RLAFDM ring light must be attached, or a mounting adapter such as the AD-SZ76 must be used. When attaching the RLAFDM ring light, be sure to align the electrical pins with the inter- face on the base of the microscope. -
Page 6: The Usb Mouse
Click the icon on the Camera Control Toolbar to display the illumination level. Click on the slider and drag to the left to decrease the brightness, or to the right to increase the brightness. amscope.com... -
Page 7: User Interface
By default, the panels will only display when the mouse cursor is hovering over the appropriate area. Left-clicking on the “pin” icon will maintain the panel’s visibility, but will prevent other panels from opening. amscope.com... -
Page 8: The Camera Control Panel
Select when using AC powered illumination with 50Hz to re- move flickering. AC (60Hz) Select when using AC powered illumination with 60Hz to re- move flickering. Default Restore all values in the Camera Control Panel to their default settings. amscope.com... -
Page 9: Image Exposure
To compensate for these variations, digital imaging devices can process images using what is called “white balance.” The white balance process shifts colors based on the color of the light source, with the goal of produc- ing a more neutral white or grey. amscope.com... -
Page 10: The Measurement Toolbar
Show / Hide Measurement Objects Select Measurement Unit Select Magnification (requires calibration process) Object Selector Point Angle 4-Point Angle Arbitrary-Angle Line 3-Point Lines 3 Points Vertical Line Parallel Horizontal Line Vertical Line Rectangle Circle 3-Point Circle Ellipse Annulus (Concentric Circles) amscope.com... - Page 11 Move Left • Move Right • Adjust Color • Delete When the Pin icon is clicked to lock the Measurement Toolbar, the Camera Control Panel will not be displayed until the Measurement Toolbar is unpinned by clicking the Exit icon amscope.com...
-
Page 12: Measurement Calibration
Once all values have been entered, click the OK button. This calibrated magnification can now be accessed from the toolbar. You can select your preferred unit of measure, and on-screen measurements will be calculated using that unit. amscope.com... -
Page 13: The Camera Control Toolbar
The Browse tool allows you to view media files recorded by the camera on the inserted SD media. The Settings panel can be used to customize certain display options, manage saved magnification calibrations, choose image formats, and configure the camera for network operation. amscope.com... -
Page 14: Measurement
Sets the shape used at each endpoint of a line. Includes null or rectangle Angle, Point, Line, Parallel Line, Vertical Line, Rectangle, Ellipse, Circle, Annulus, Two Circles, Arc, Text, Polygon, Curve, Scale Bar, Arrow Each shape or element can be customized using attributes such as Line Width and Color amscope.com... -
Page 15: Magnification
The number of pixels per meter. Clear All Clears all saved calibration data Delete Clears the selected calibration data Image Format Image Format allows you to select the file type which will be used when saving images. You can choose JPEG or TIFF. amscope.com... -
Page 16: Video
SD Card displays the format of any recognized Secure Digital storage media. If compatible media is recognized, the me- dia’s file system will be shown, such as FAT32, and NTFS. Unformatted cards and cards which do not use the compatible formats must be formatted on a computer or other device prior to being used with the microscope. amscope.com... -
Page 17: Language
AF DM1 0 80 User G uide Language Options include English, Simplified Chinese, Traditional Language setting selects which language will be displayed. Chinese, Korean, and Japanese. Time The Time settings allow you to set the date and time. amscope.com... -
Page 18: Auto Focus
AF DM1 0 80 User G uide Auto Focus This setting allows you to select the color used for the ROI rectangle displayed when auto-focus is engaged. amscope.com... -
Page 19: Miscellaneous
Ruler Select whether to display the on-screen rulers or not. Camera Parameters Import Import previously-saved parameters from the SD card Export Export current parameters to the SD card Reset to Factory Restore all parameters to the factory-default values defaults amscope.com...
Need help?
Do you have a question about the AFDM1080 and is the answer not in the manual?
Questions and answers