Table of Contents
Advertisement
Quick Links
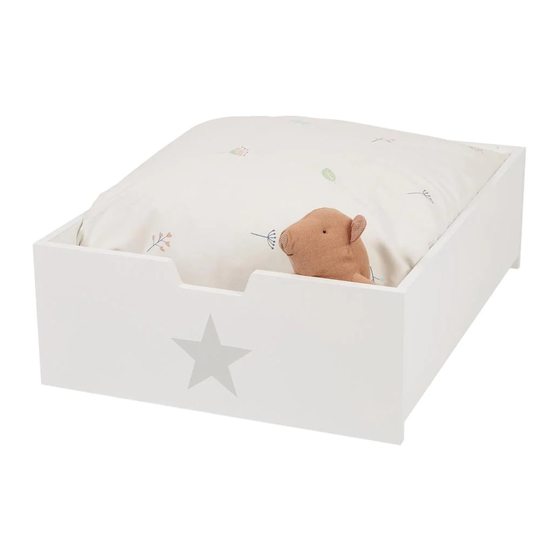
Under-Bed Storage Drawer
L5116
Assembly Difficulty
one-person job
easy
- medium - hard
Thank you for shopping with GLTC, we hope you enjoy
having this product in your home.
We know assembling furniture, toys or accessories is not everyone's
favourite way to spend their time, so we've tried to make assembling
this item as quick and painless as possible.
A few important pointers before you start:
•
Please read the instructions right through before you start, and
check that all the components have been included in the pack;
we find separating all the hardware into piles makes it easier to
be sure that everything is present and correct.
•
Make sure you have the right tools. Allen keys are provided
if required, but screw drivers and other tools are not. You'll
find details of the tools you need at the beginning of the
instructions.
•
It's a good idea to build the unit in the room where you are
going to be using it, to avoid the need to move it after it's been
assembled.
•
Do not throw away any packing materials until assembly is
complete, just in case you accidentally discard smaller parts or
hardware.
Could we do better?
If there is anything you think could be improved in these instructions or in the
assembly of this product we'd be grateful if you could let us know; we'll pass
any helpful hints and tips on to other customers via our website and update
the instructions.
All you need to do is drop us a line at instructions@gltc.co.uk
V3
Thank you
06/05/2022
1
Advertisement
Table of Contents

Subscribe to Our Youtube Channel
Related Manuals for Great Little Trading L5116


Summary of Contents for Great Little Trading L5116
- Page 1 Under-Bed Storage Drawer • Please read the instructions right through before you start, and L5116 check that all the components have been included in the pack; we find separating all the hardware into piles makes it easier to be sure that everything is present and correct.
- Page 2 SAFETY WARNINGS! AVERTISSEMENTS DE SÉCURITÉ! • Not suitable for children under 3 years due to small parts which may become detached and • Ne convient pas aux enfants de moins de 3 ans en raison de petites pièces qui peuvent se present a choking hazard.
- Page 3 SICHERHEITSWARNUNGEN! ADVERTENCIAS DE SEGURIDAD! • Nicht geeignet für Kinder unter 3 Jahren wegen Kleinteilen, die sich lösen und eine • No apto para niños menores de 3 años debido a las piezas pequeñas que pueden desprenderse Erstickungsgefahr darstellen können. y presentar peligro de asfixia. •...
- Page 4 Component Check List Component Check List 8x Cam Dowels 8x Cam Locks 2x Front Panels 35mmL 14mm Diameter 16x Screws 4x Castors 2x Side Panels 12mmL You will need (not supplied) 1x Base Panel Philips Head Screwdriver...
- Page 5 STEP 1: STEP 2: Insert the cam dowels #1 into the front panel A and back panel A. When the front panel and side panels are in place as shown, insert the cam lock hardware (#2) into the holes in the side panels and turn clockwise to lock and secure. Hardware for Step 1: Hardware for Step 2: 8x #1 Cam Dowels...
- Page 6 (#2) into the holes in the side panels and turn clockwise to lock and secure. 16x #3 12mmL Screws Hardware for Step 4: 4x #2 Cam Locks Copyright© 2016 G.L.T.C. Ltd. All rights reserved. Great Little Trading Company and GLTC are registered trade marks of G.L.T.C. Limited.
Need help?
Do you have a question about the L5116 and is the answer not in the manual?
Questions and answers