Table of Contents
Advertisement
Quick Links
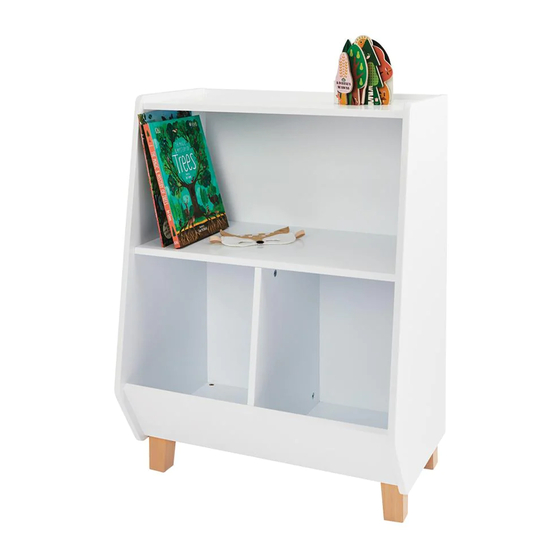
Bridie Book & Toy Storage Unit
L5014
Assembly Difficulty
one person job
medium
easy -
- hard
Thank you for shopping with GLTC, we hope you enjoy
having this product in your home.
We know assembling furniture, toys or accessories is not everyone's
favourite way to spend their time, so we've tried to make assembling
this item as quick and painless as possible.
Hopefully our efforts will have been worthwhile and you'll sail
through the whole process. But if it all feels a bit too much
like hard work, then we do have an assembly company we
can recommend: the Flatpack Construction Company offers a
nationwide service and can be contacted on 0843 289 4951 or
www.flatpackconstruction.co.uk.
A few important pointers before you start:
•
Please read the instructions right through before you start, and check
that all the components have been included in the pack; we find
separating all the hardware into piles makes it easier to be sure that
everything is present and correct.
•
Make sure you have the right tools. Allen keys are provided if required,
but screw drivers and other tools are not. You'll find details of the tools
you need at the beginning of the instructions.
•
Do not throw away any packing materials until assembly is complete,
just in case you accidentally discard smaller parts or hardware.
V1
20/07/2020
1
Advertisement
Table of Contents

Related Manuals for Great Little Trading L5014


Summary of Contents for Great Little Trading L5014
- Page 1 Hopefully our efforts will have been worthwhile and you’ll sail Bridie Book & Toy Storage Unit through the whole process. But if it all feels a bit too much L5014 like hard work, then we do have an assembly company we can recommend: the Flatpack Construction Company offers a nationwide service and can be contacted on 0843 289 4951 or www.flatpackconstruction.co.uk.
- Page 2 Safety Warnings: Customer Service: • Adult assembly required. • If you find that any components are missing or damaged, please do not begin assembly and do not use the item. Please contact GLTC • In an unassembled state product contains small parts which may pose Customer Services on 0344 848 6000 immediately.
- Page 3 Component Check List Component Check List Cam Locks Cam Dowels 1x Side Panel 1x Side Panel Wooden Dowels 4x Leg Bolts (25mm) 1x Shelf Panel 1x Top Shelf 20x Back Panel Screws Anti-Tip Kit (20mm) You will need (not supplied) 1x Base Panel 1x Front Panel Philips Head Screwdriver...
- Page 4 STEP 1: STEP 2: Hardware for Step 1: Working on a protective/carpeted surface, take panels D Starting with shelf panel D, orientate it so that the small drill holes on the long edge of & E and place with the small centrally placed drill holes the panel are on the floor, now insert 2x wooden dowels (#3) in the holes next to the facing up.
- Page 5 STEP 3: STEP 4: Hardware for Step 3: Lay side panels A & B on a protected surface and using a Take panel B and insert 9x wooden dowels (#3) into the remaining holes. Phillips screwdriver insert 8x cam dowels (#2) into the Take the part built panels (D/E/G) and place onto panel B as shown.
- Page 6 STEP 5: STEP 6: Keeping the unit on its side, insert 9x wooden dowels (#3) into the inner holes of the shelf Keeping the unit on its side, attach the 4x legs (J). edges. Insert 1x wooden dowel (#3) into the smaller hole on EACH of the legs. Then position Now take side panel A and join it to the unit, aligning all the cam dowels with their the legs in the corners of the base panel using the dowels.
- Page 7 Please use (20mm) the anti-tip kit provided to tether your unit to the wall for safety. 1x Anti-Tip Kit Copyright© 2020 G.L.T.C. Ltd. All rights reserved. Great Little Trading Company and GLTC are registered trade marks of G.L.T.C. Limited.
Need help?
Do you have a question about the L5014 and is the answer not in the manual?
Questions and answers